Transfer Case Driven Gear Seal
Transfer Case Driven Gear Seal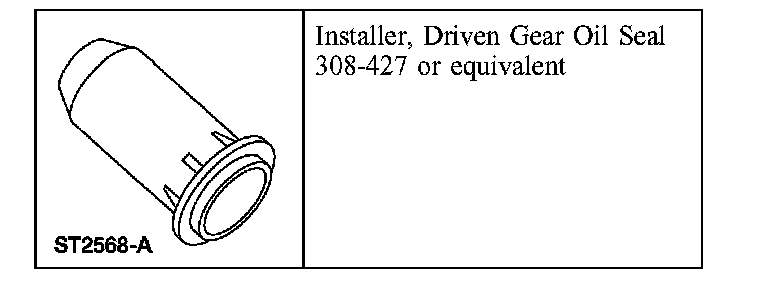
Special Tool(s)
Removal
1. Remove the transfer case.
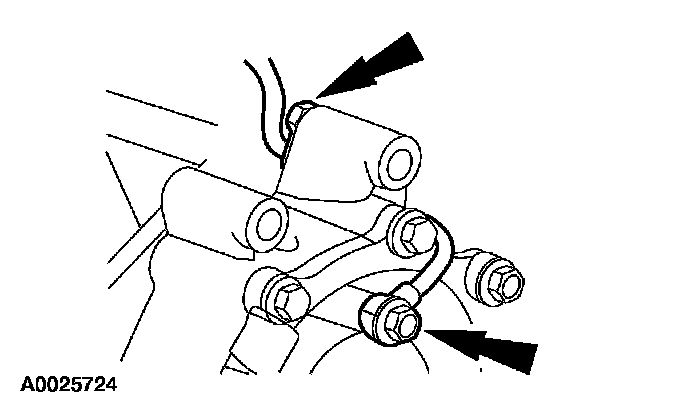
2. Remove the transfer case vent tube.
^ Remove the 2 transfer case vent tube bolts.

3. Remove and discard the dust shield.
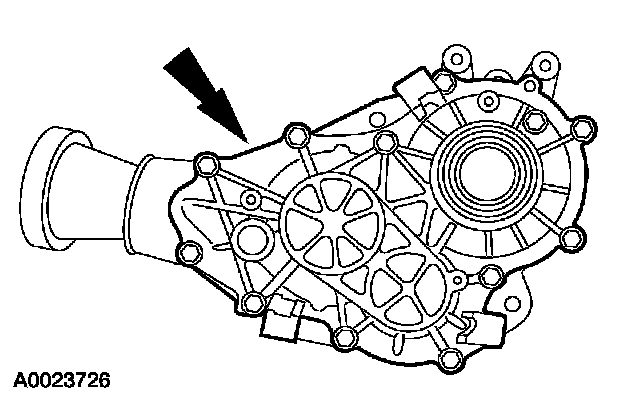
4. CAUTION: The transfer case cover is aligned with the case using 2 hollow dowels. Remove the cover squarely from the dowels to avoid cracking the cover bosses.
Remove the 12 transfer case cover bolts, the transfer case cover, and the gears.
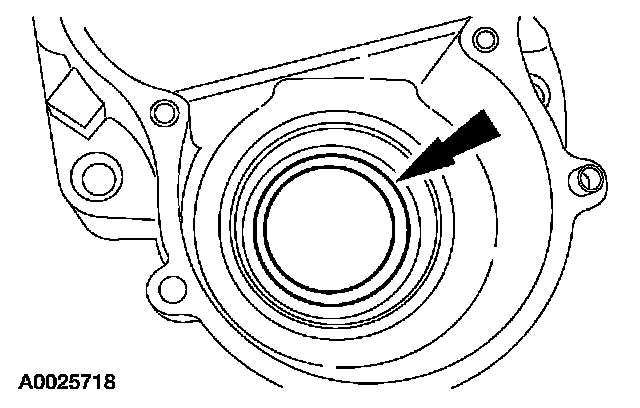
5. Remove the transfer case driven gear seal.
6. CAUTION: The transfer case cover and case sealing surfaces must be free of grease prior to applying new silicone sealant.
Clean the transfer case sealing surfaces.
Installation
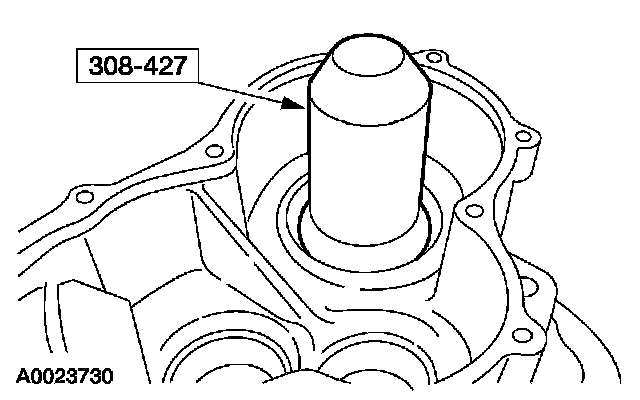
1. Using the special tool, install the transfer case driven gear seal.
2. CAUTION: Take care not to roll the transfer case inner halfshaft seal lip when installing the drive gear.
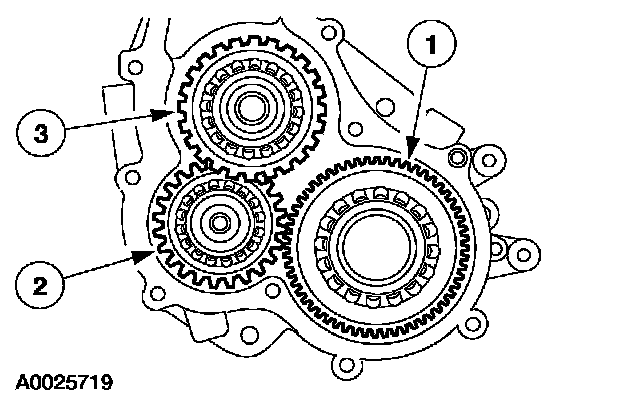
Install the gears.
1 Install the drive gear.
^ Install the drive gear using a slight rotation to prevent damaging the transfer case inner halfshaft seal.
2 Install the idler gear.
3 Install the driven gear.
3. CAUTION: The transfer case cover must be installed within 15 minutes of applying the silicone sealant. If the time limit is exceeded, clean the sealing surfaces and reapply.
NOTE: Apply a 3 mm (0.11 inch) bead of silicone gasket and sealant to the sealing surface of the transfer case cover before installing it on the transfer case.
Install the transfer case cover.
^ Install the 12 transfer case cover bolts in a cross pattern.
^ Tighten to 32 Nm (24 ft. lbs.).
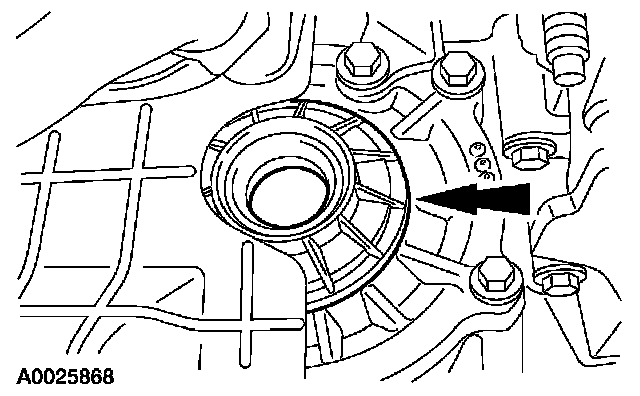
4. Install a new dust shield.
5. Install the transfer case vent tube.
^ Install the 2 transfer case vent tube bolts.
^ Tighten to 30 Nm (22 ft. lbs.).
6. Install the transfer case.