(Part 2 of 2)
Transaxle Removal (Part 2 of 2)- 3.0L Continued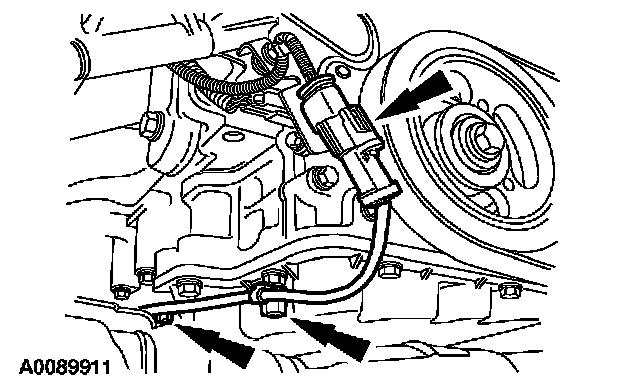
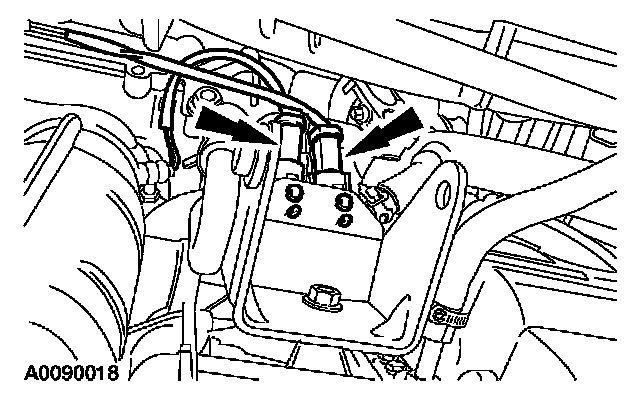
32. Disconnect the H02S sensor connector and remove the 2 clips from the oil pan bolt studs.
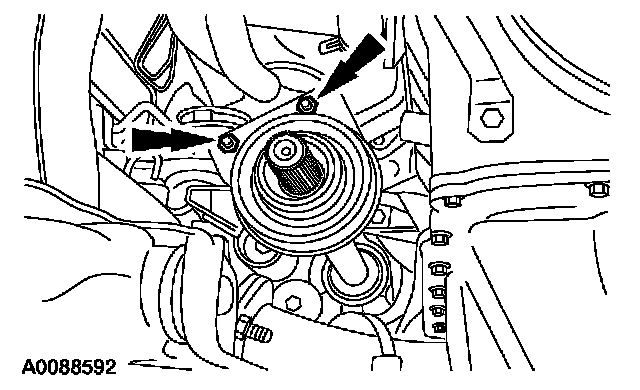
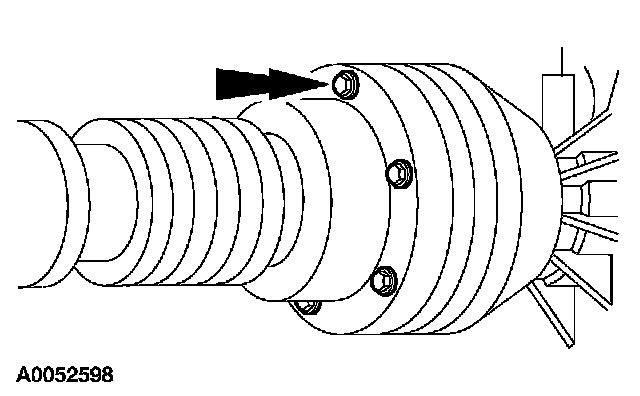
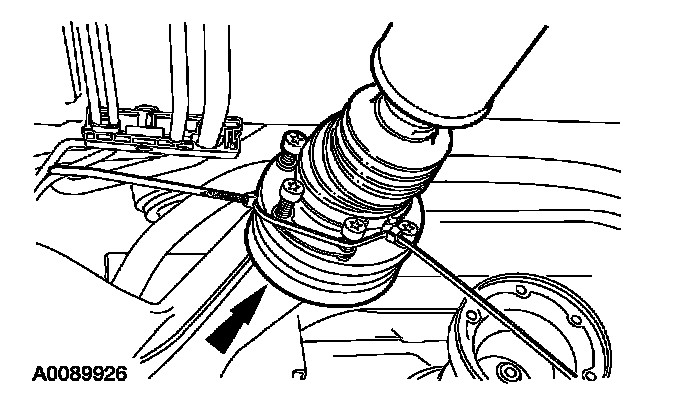
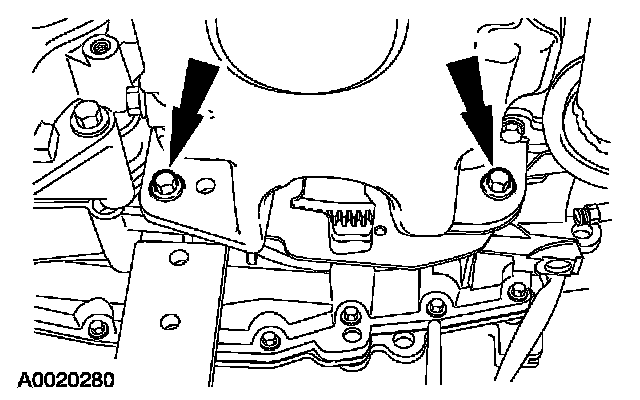
33. Remove the 2 intermediate shaft retaining nuts.
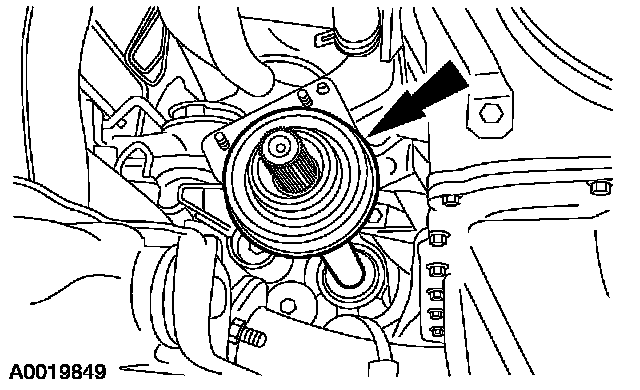
34. Remove the intermediate shaft.
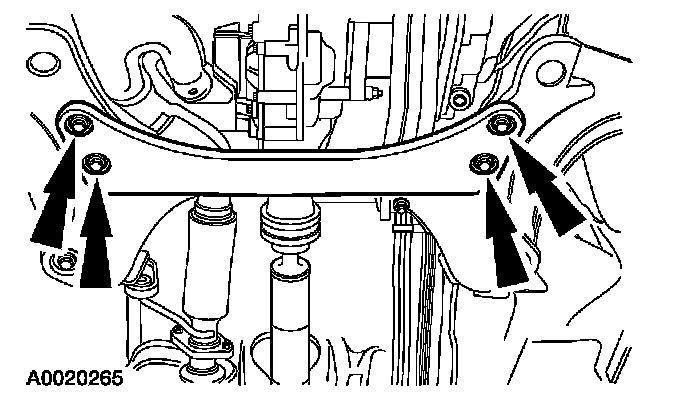
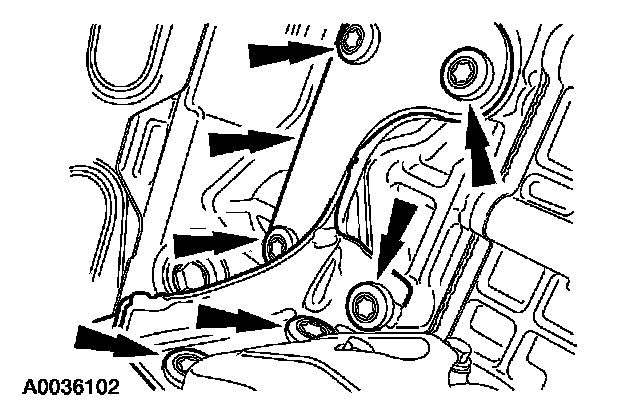
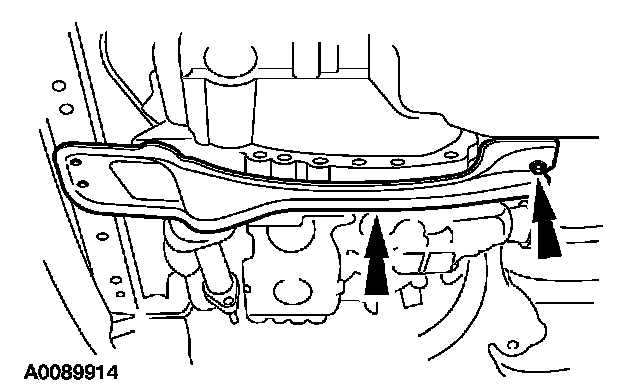
35. Remove the cross brace.
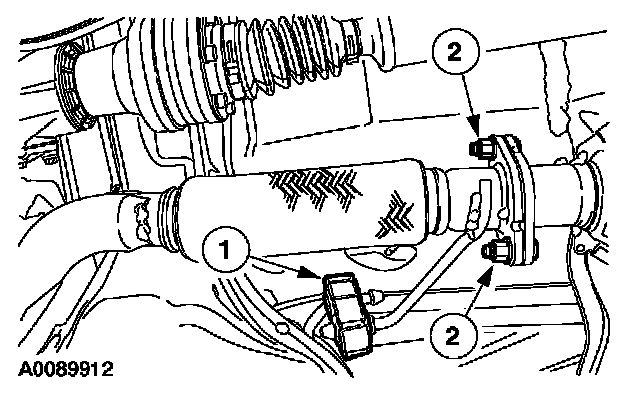
36. Disconnect the exhaust pipe.
1 Remove the rubber hanger.
2 Remove the nuts and disconnect the pipe.
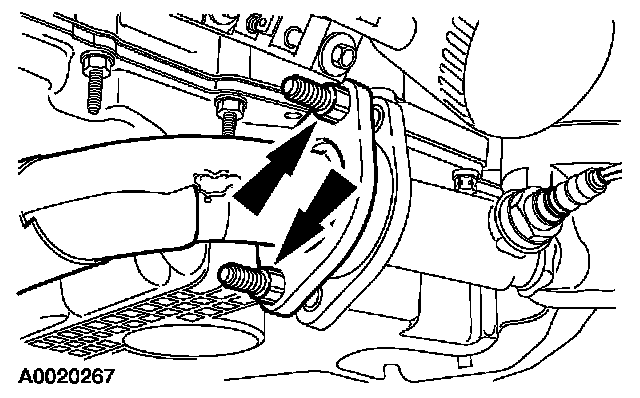
37. Disconnect the front exhaust pipe flange.
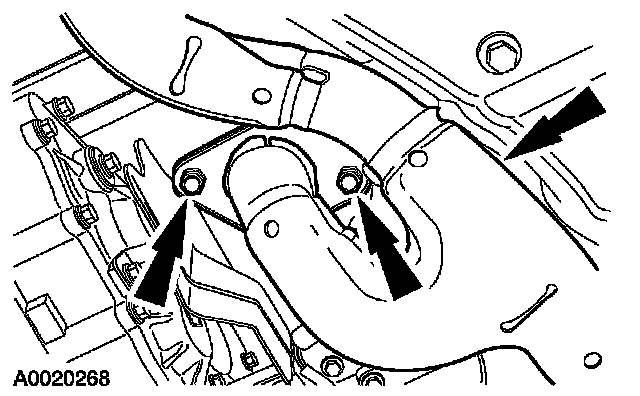
38. Disconnect the rear exhaust pipe flange and remove the exhaust pipe.
39. For vehicles equipped with a PTO, remove the rear driveshaft.
40. Position the driveshaft aside.
41. Vehicles equipped with a PTO, remove the RH exhaust manifold to gain access to the PTO bracket.
42. Remove the bolts and the bracket.
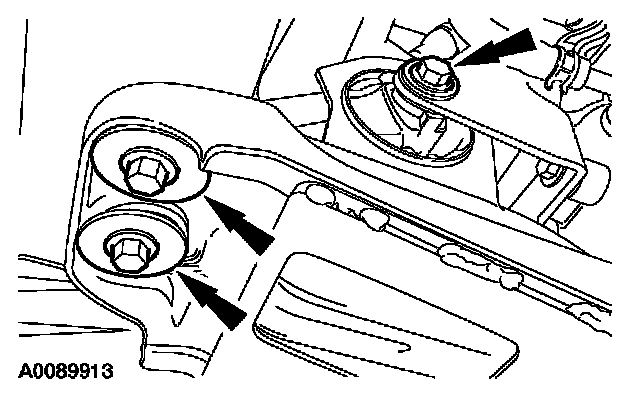
43. Remove the bolt for the mount and the 2 bolts for the cross brace.
44. Remove the rear nut and the cross brace.
45. Remove the electrical connectors from the lower mount bracket.
46. Vehicles not equipped with a PTO, remove the dampener.
47. Remove the bolts from the transfer case unit.
48. Remove the transfer case bolt and remove the transfer case unit.
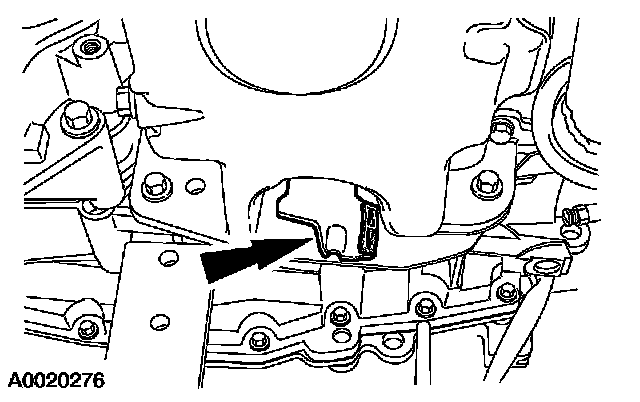
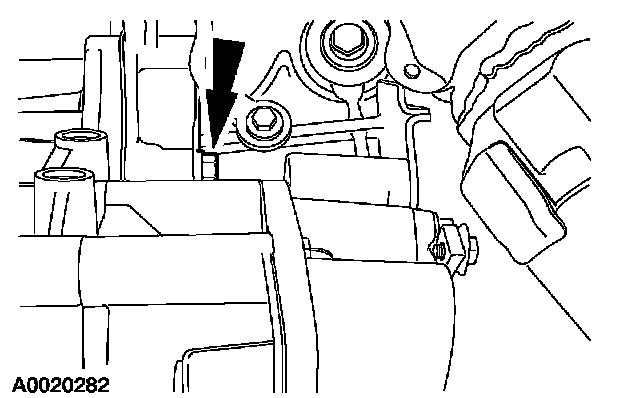
49. Remove the center bolt from the rear transaxle mount.
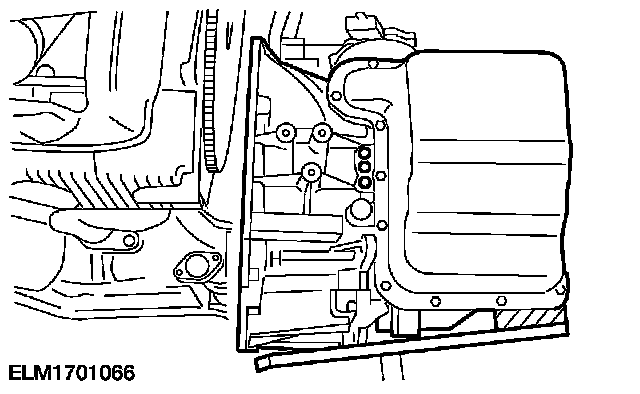
50. NOTE: It is necessary to lower the transaxle in order to clear the subframe to remove the transaxle.
Lower the transaxle enough to clear the frame.
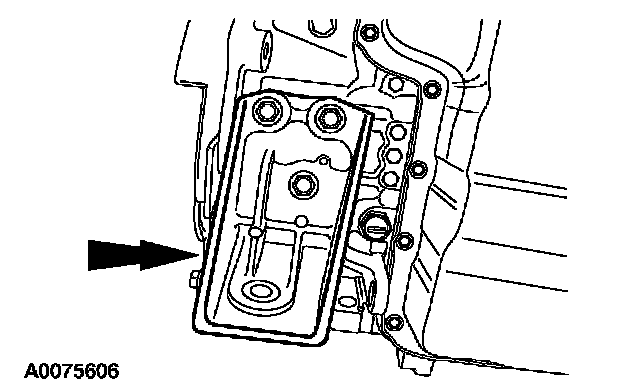
51. Remove the access cover.
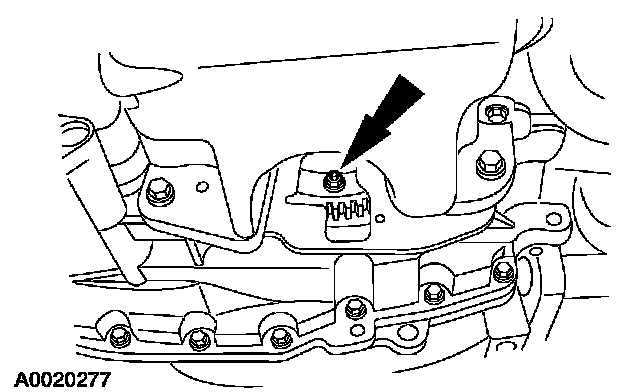
52. Remove and discard the 4 torque converter nuts.
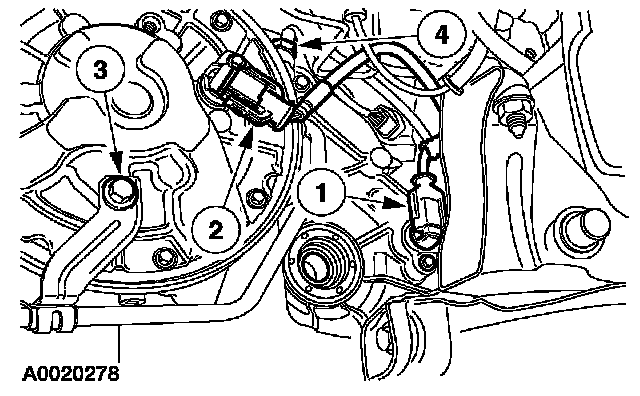
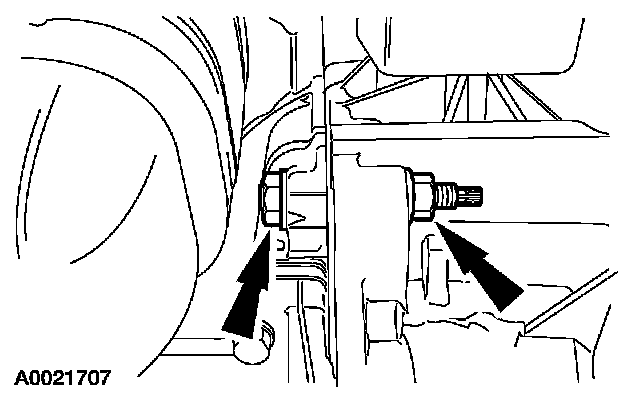
53. Remove the fluid cooler tube.
1 Disconnect the Output Shaft Speed (OSS) sensor.
2 Disconnect the Turbine Shaft Speed (TSS) sensor (white connector).
3 Remove the bolt.
4 Remove the fluid cooler tube and position it aside.
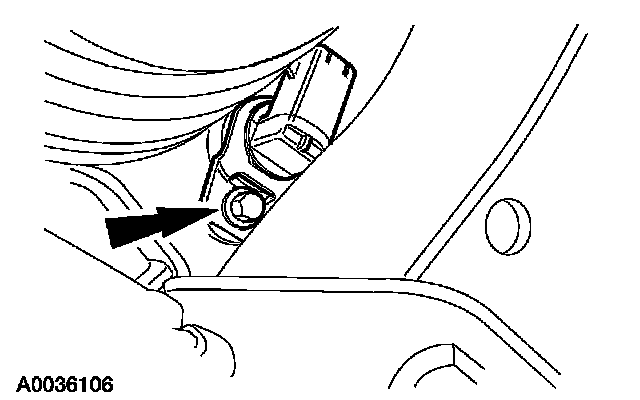
54. Remove the OSS sensor.
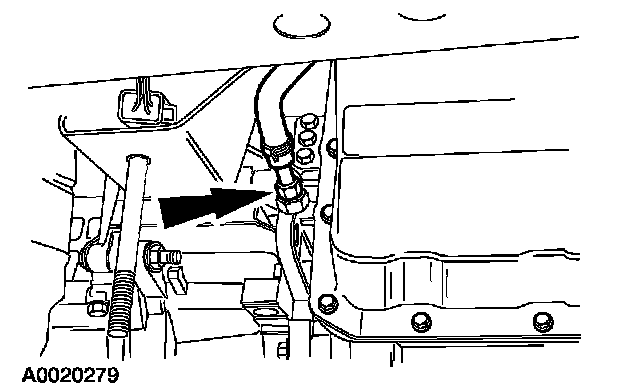
55. Remove the fluid cooler tube.
56. Support the transaxle with a high-lift jack.
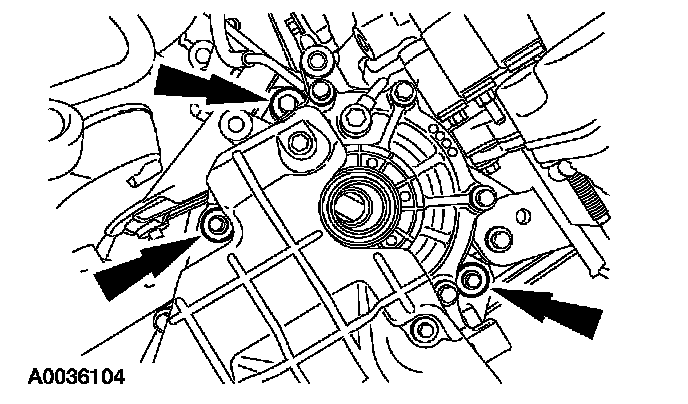
57. Remove the bolts.
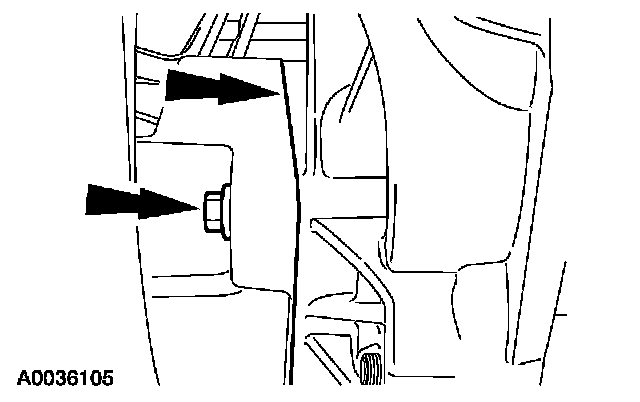
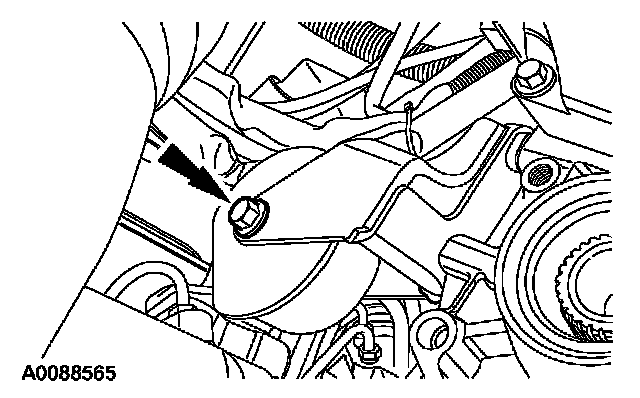
58. Remove the bolt.
59. Remove the bolt.
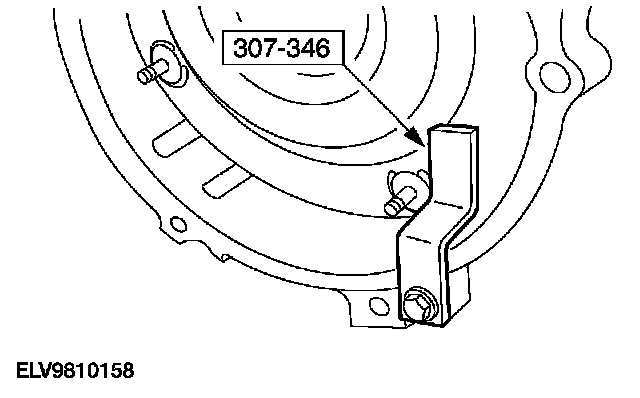
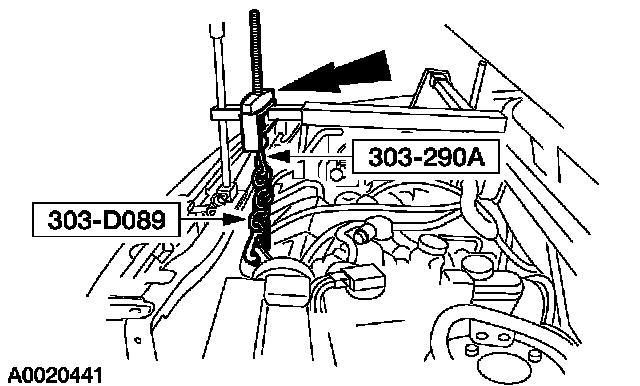
60. CAUTION: The torque converter is heavy. Install the special tool before lowering the transaxle.
Move the transaxle back far enough to install the special tool.
61. Lower the transaxle from the engine compartment.
62. If installing a new or remanufactured transaxle, remove the transaxle mount bracket.