Valve Cover LH
Valve Cover-LH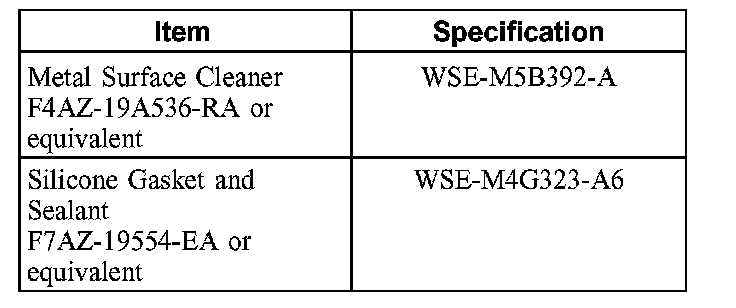
Material
Removal
CAUTION: During engine repair procedures, cleanliness is extremely important. Any foreign material, including any material created while cleaning gasket surfaces that enters the oil passages, coolant passages or the oil pan, can cause engine failure.
1. Remove the LH ignition coil-on-plugs.
2. CAUTION: Do not disconnect the crankcase ventilation tube from the valve cover or damage to the ventilation tube may occur.
Disconnect the crankcase ventilation tube from the air cleaner outlet pipe.
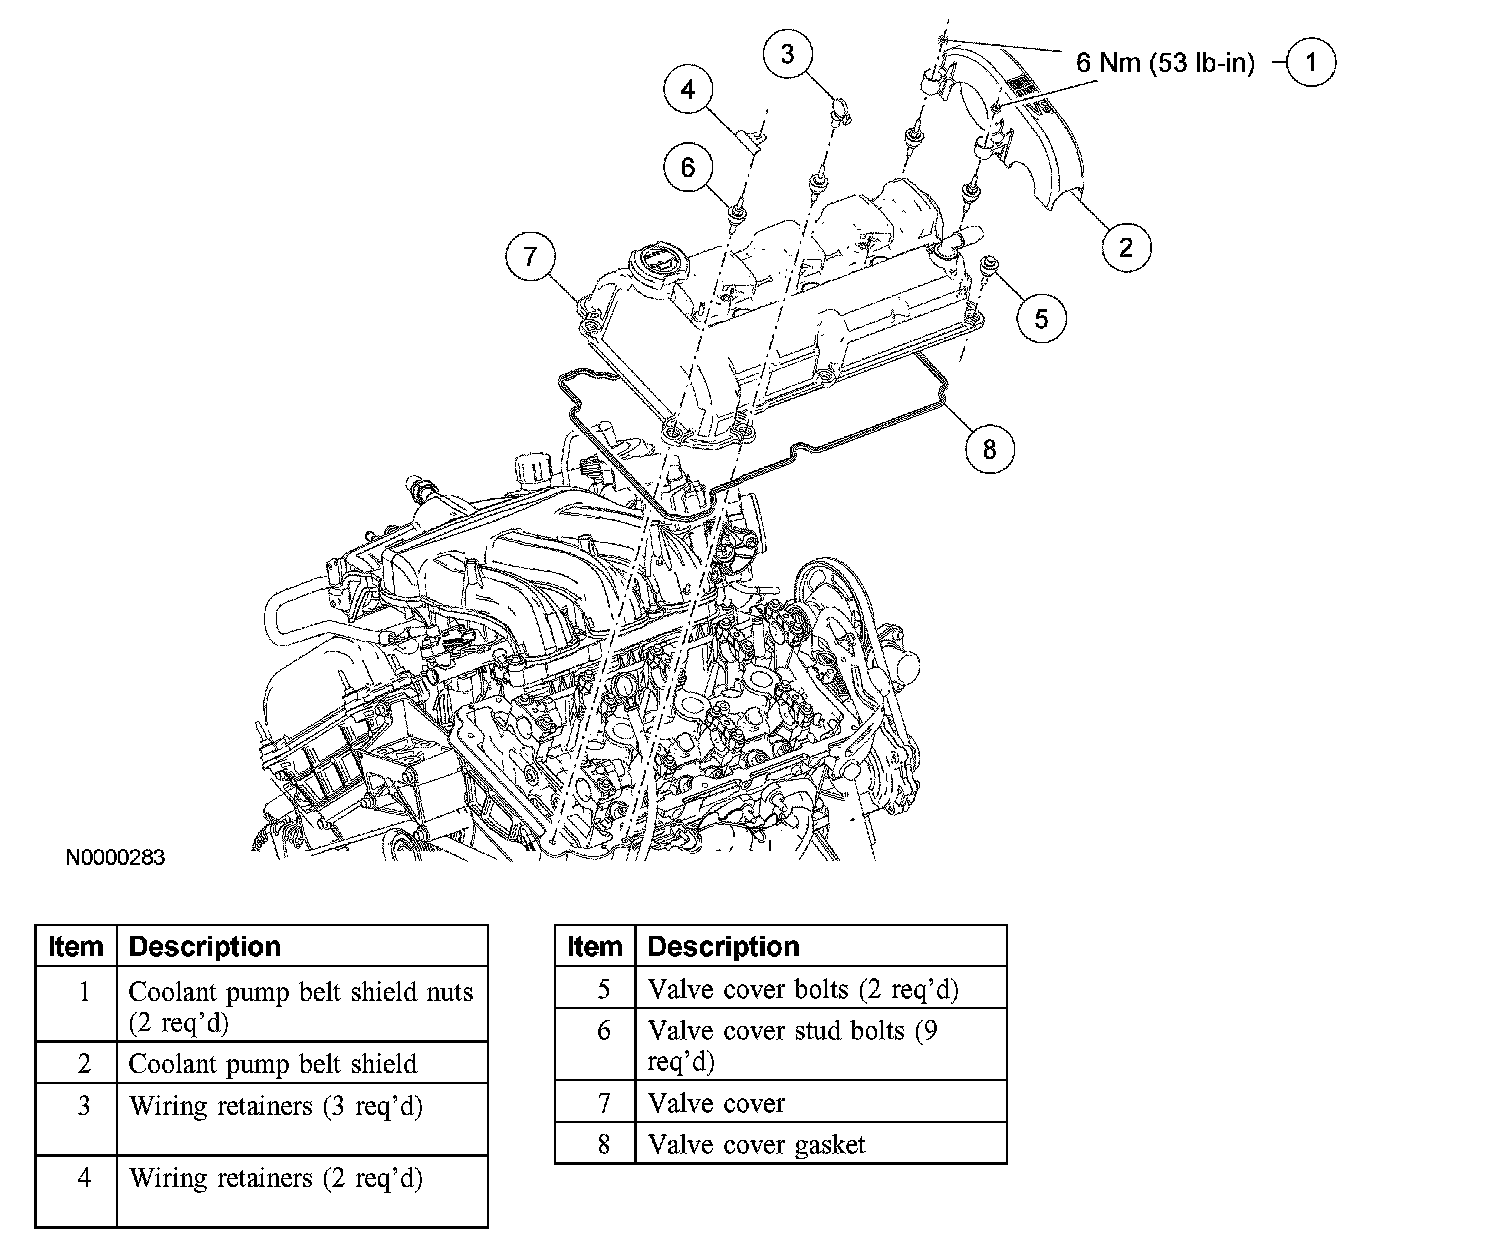
3. Remove the 2 nuts and the coolant pump belt shield.
4. Detach the 5 wiring retainers from the valve cover stud bolts.
5. NOTE: Inspect the crankcase ventilation tube and valve cover sealing area. If either a new valve cover or crankcase ventilation tube is required, both components must be installed new.
Remove the 2 bolts, 9 stud bolts and the valve cover.
Installation
1. Clean the valve cover, cylinder head and front cover sealing surfaces with metal surface cleaner.
2. NOTE: The valve cover must be installed and the bolts and stud bolts tightened within four minutes of sealant application.
Apply a 5-mm (0.19-inch) dot of silicone gasket sealant to the front cover-to-cylinder head joints.

3. Position the valve cover and install the bolts and stud bolts.
^ Tighten in the sequence shown to 10 Nm (89 inch lbs.).
4. Attach the wiring retainers to the valve cover stud bolts.
5. Attach the crankcase ventilation tube to the air cleaner outlet pipe.
6. Install the coolant pump belt shield the nuts.
^ Tighten to 6 Nm (53 inch lbs.).
7. Install the LH ignition coil-on-plugs.