2025.04.27 Harold remote repair 2
2025.04.27 Harold remote repair 2:
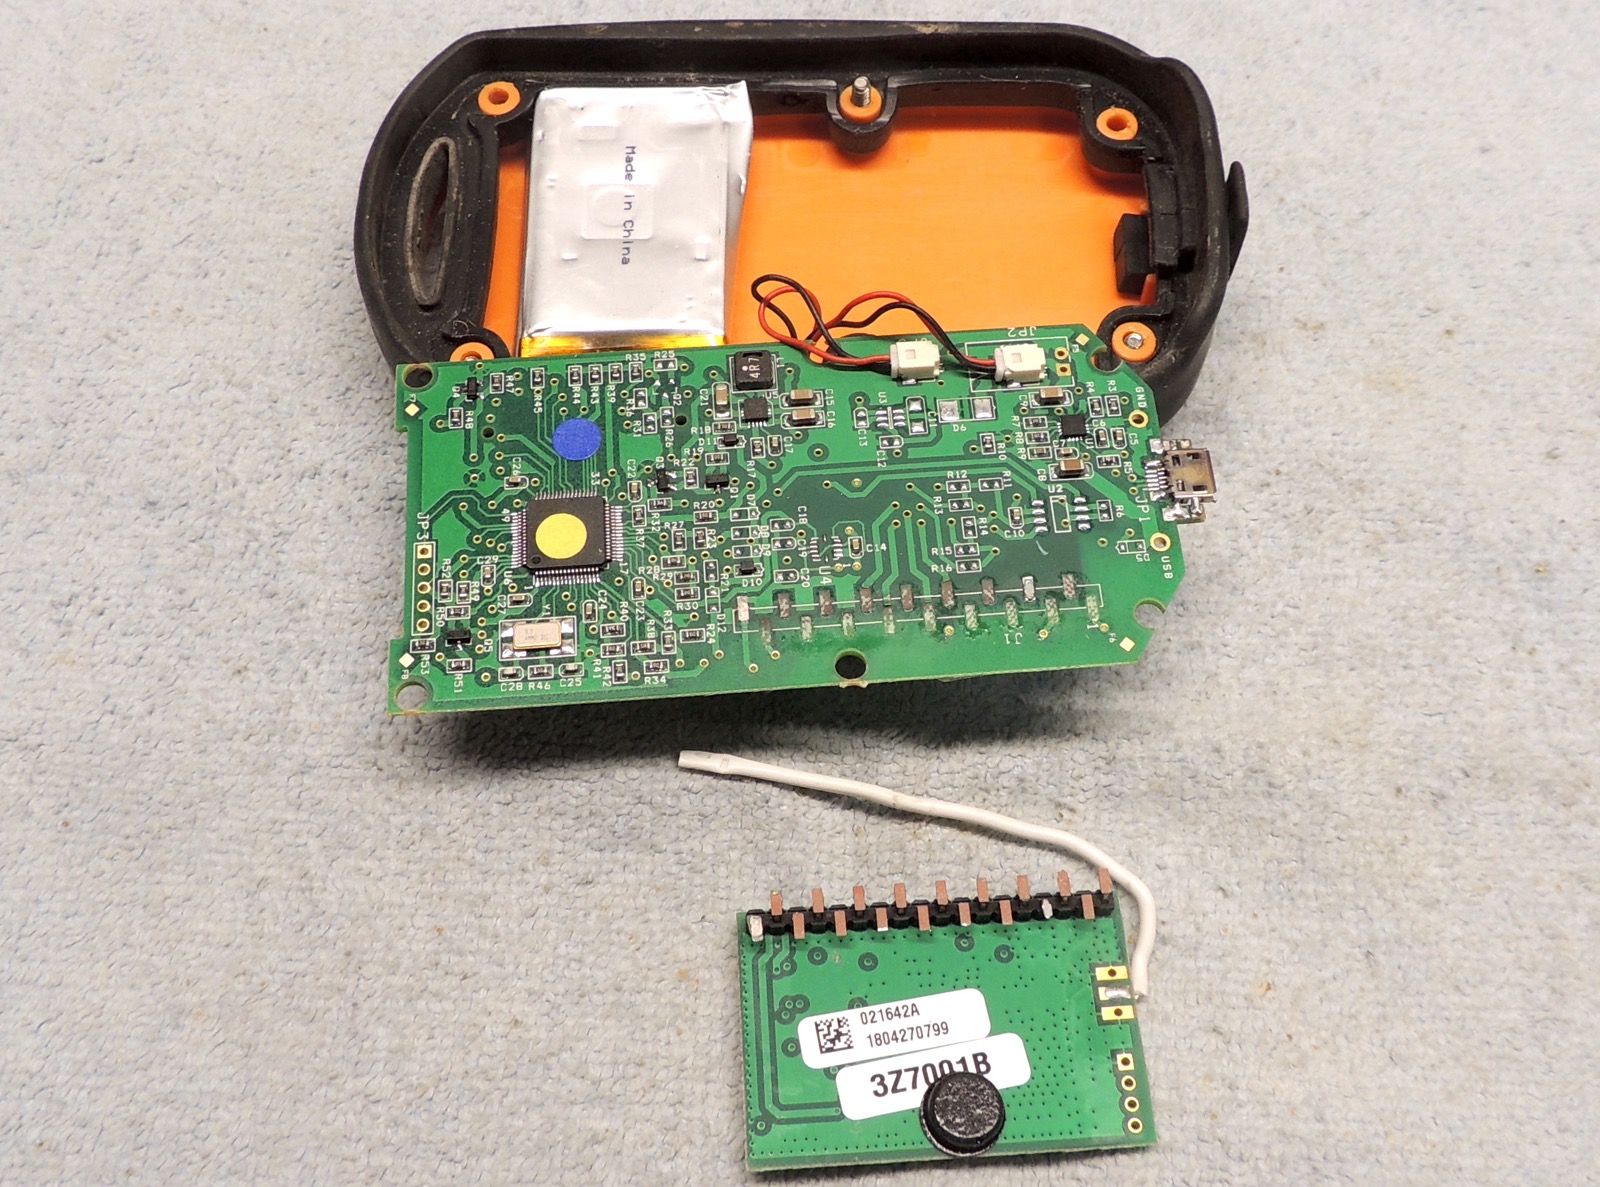
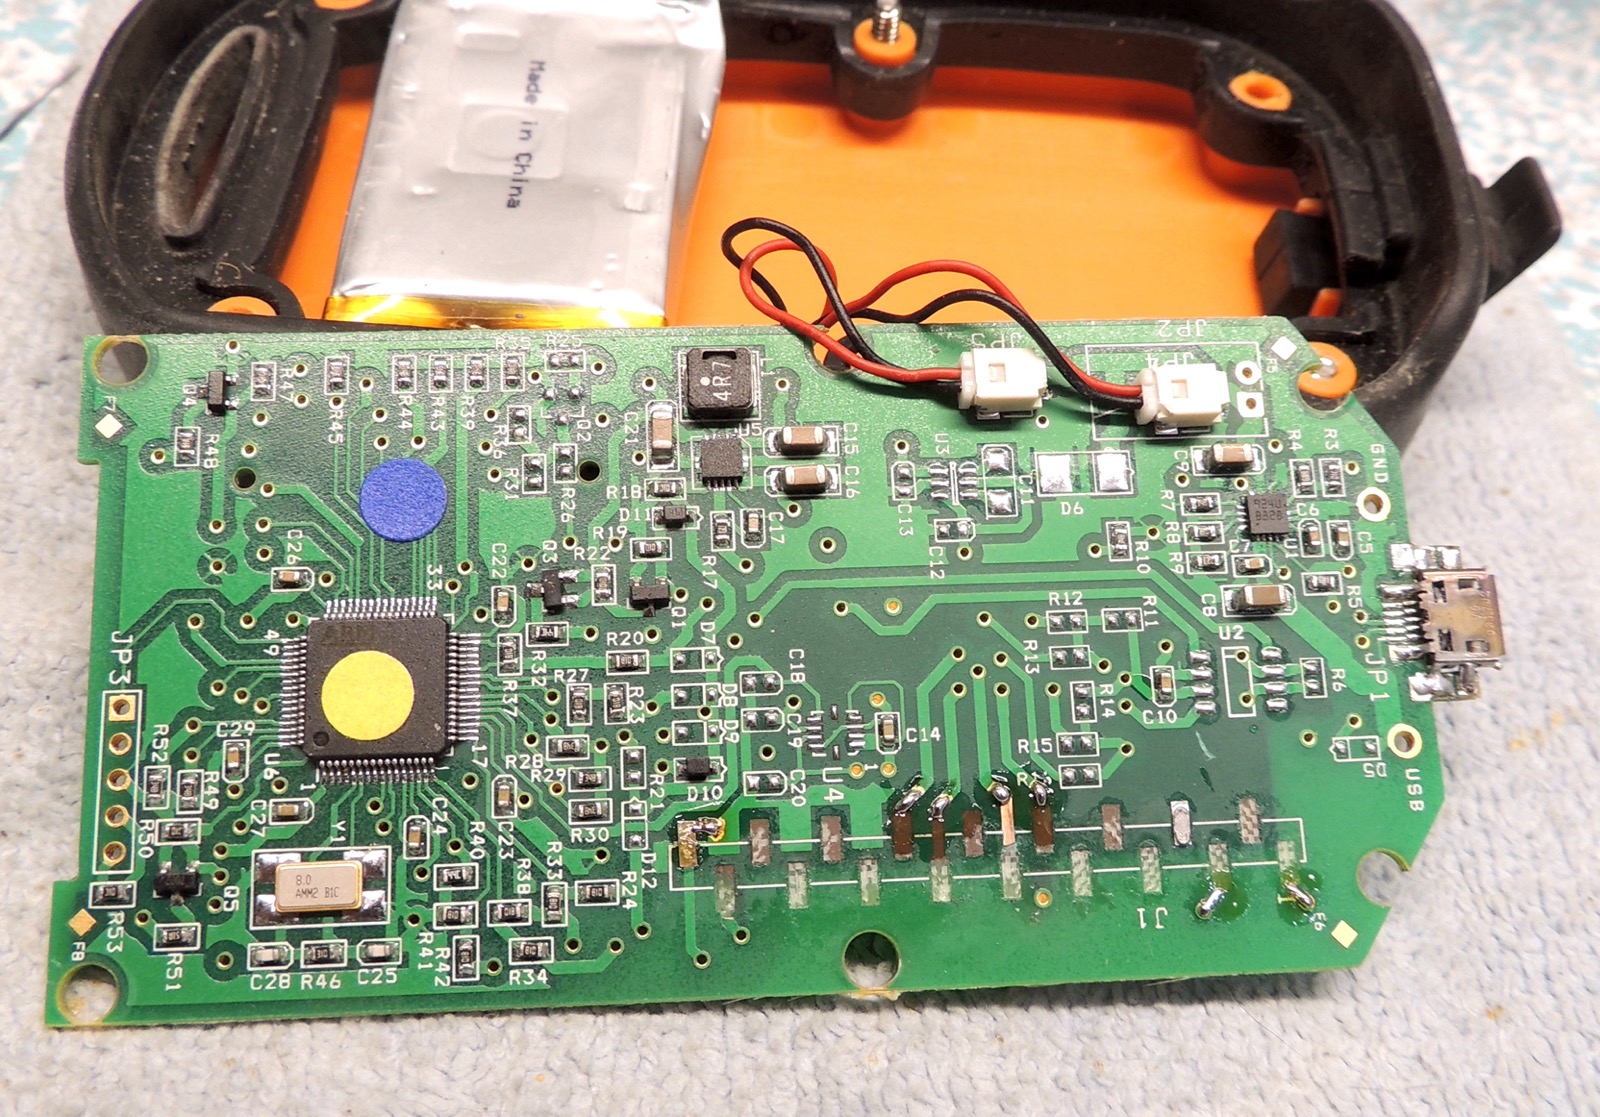
Harold brought another one of those remotes (tow truck?) in for repair. It was disassembled and the RF board
had been ripped off the main board similar to the last repair. This time almost all the pads had been ripped
from the main board, and there wasn't going to be a lot holding the RF board onto the main board if all I did
was solder down the 8 (of 18) pins needed.
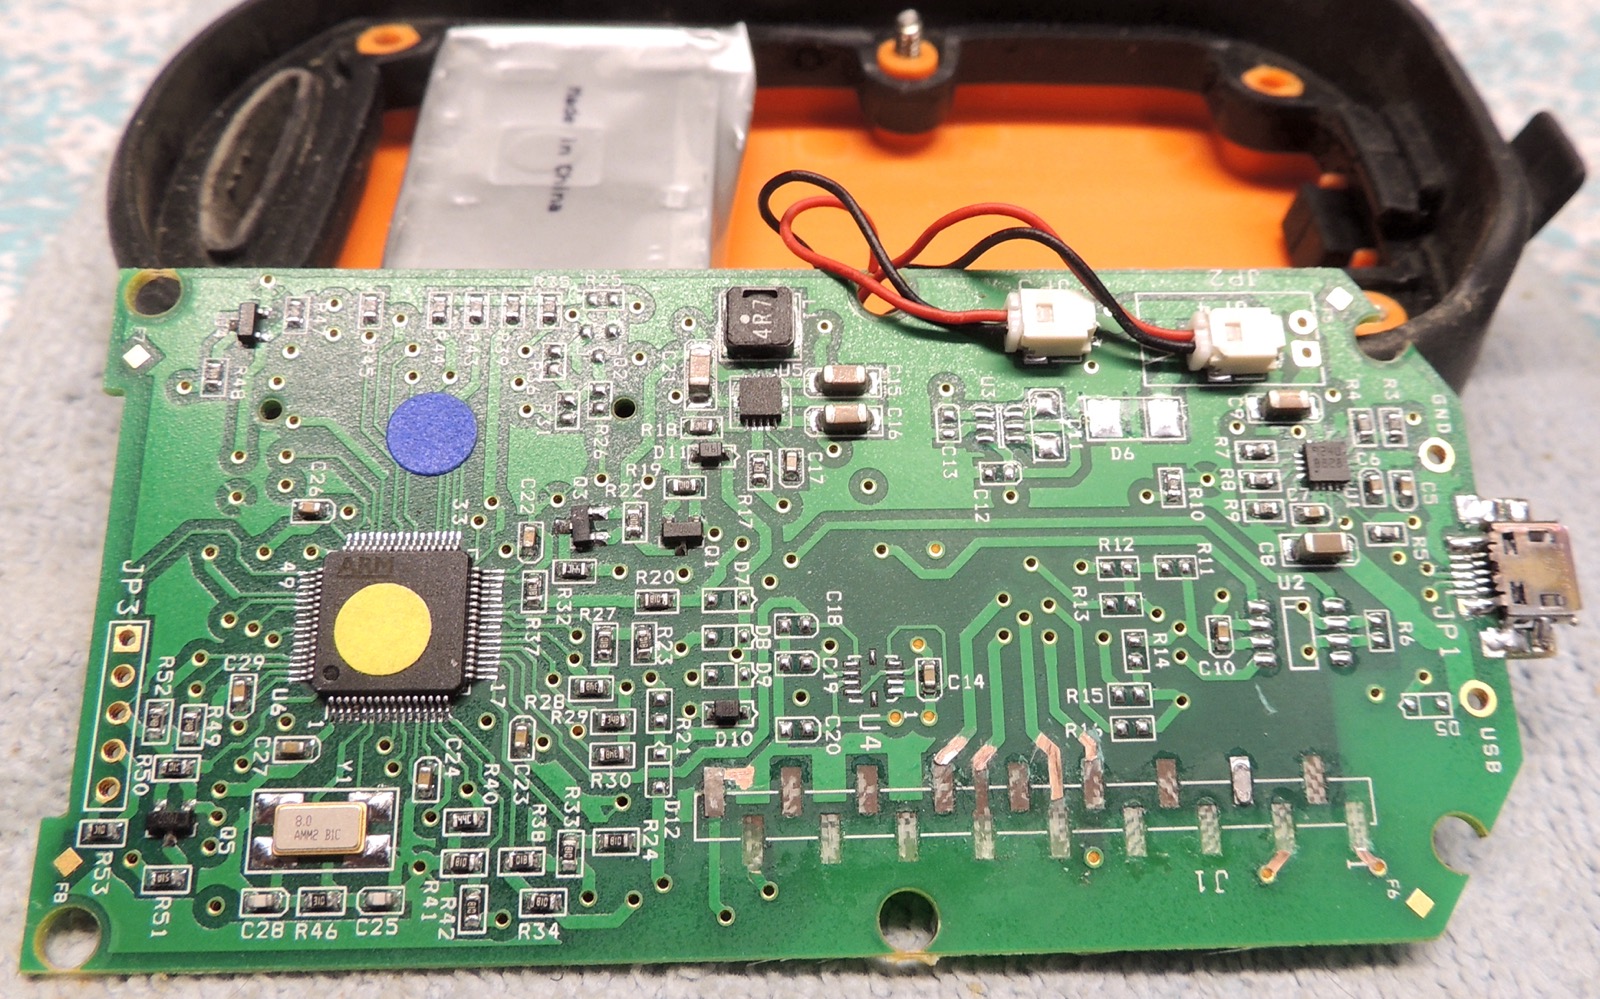
- scraped and tinned contacts on the main board
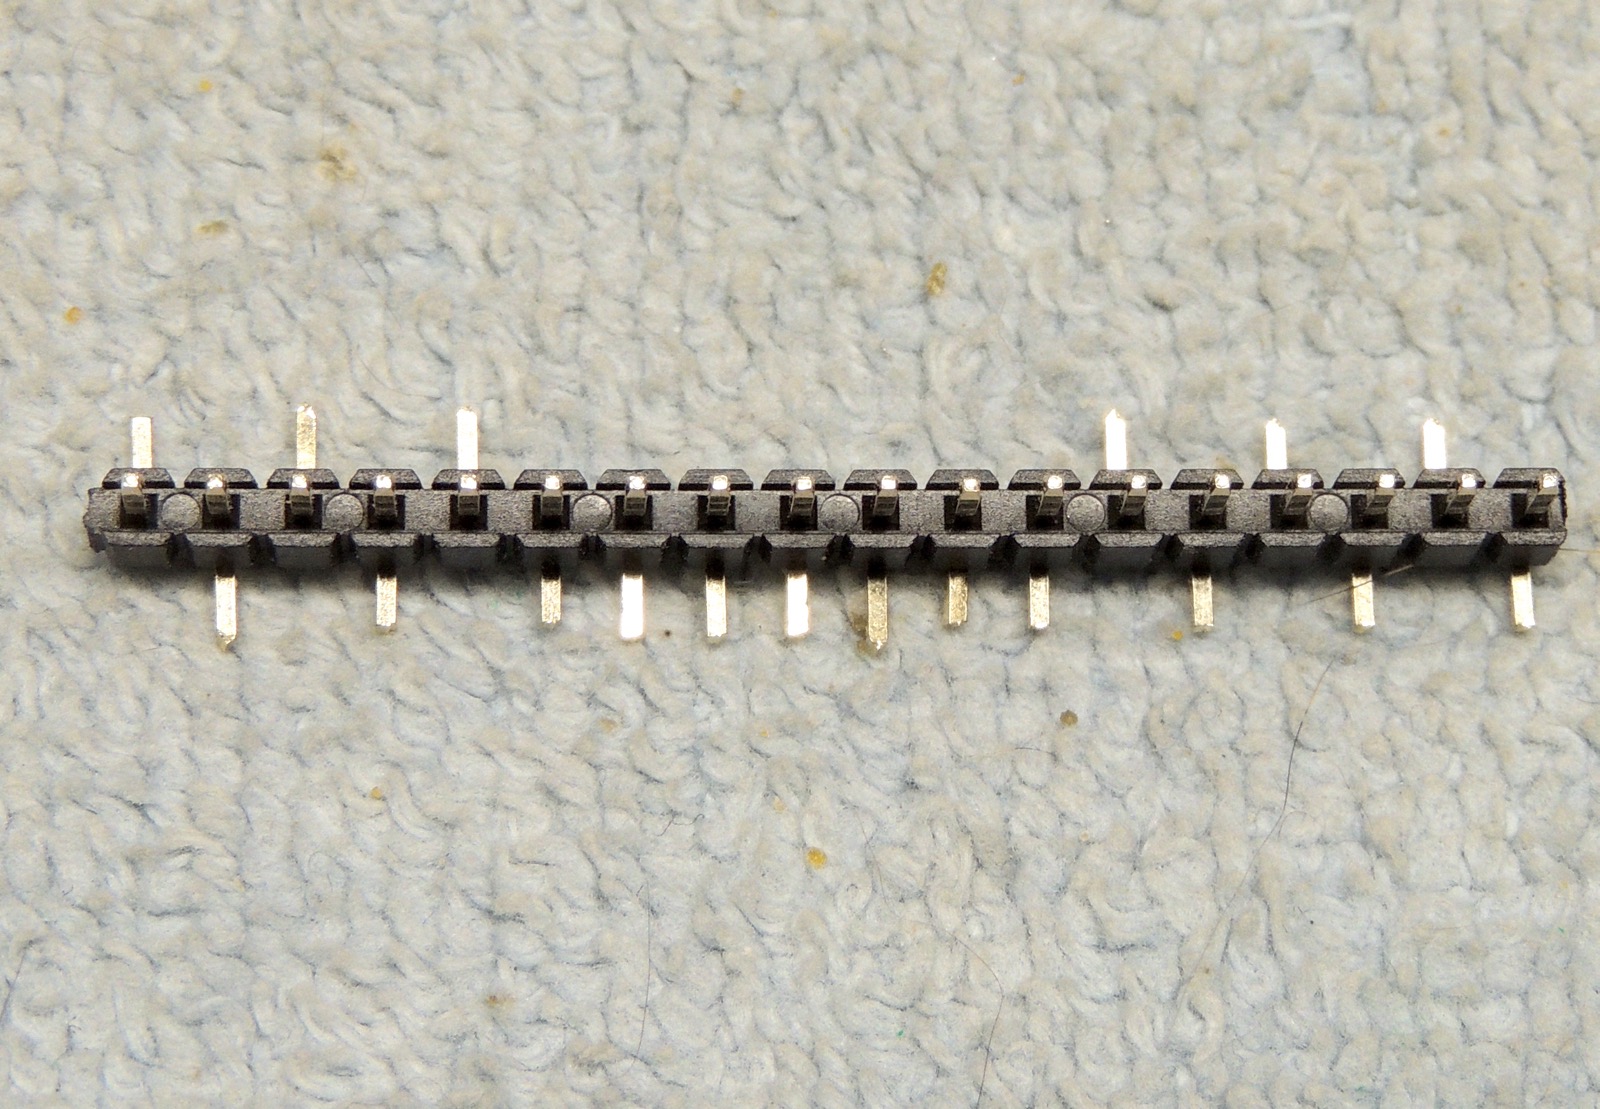
- broke up and removed the pin strip from the RF board
- fabricated and tinned a new pin strip
- soldered pin strip onto main board
- added a little hot-melt glue to improve mechanical connection between pin strip and main board
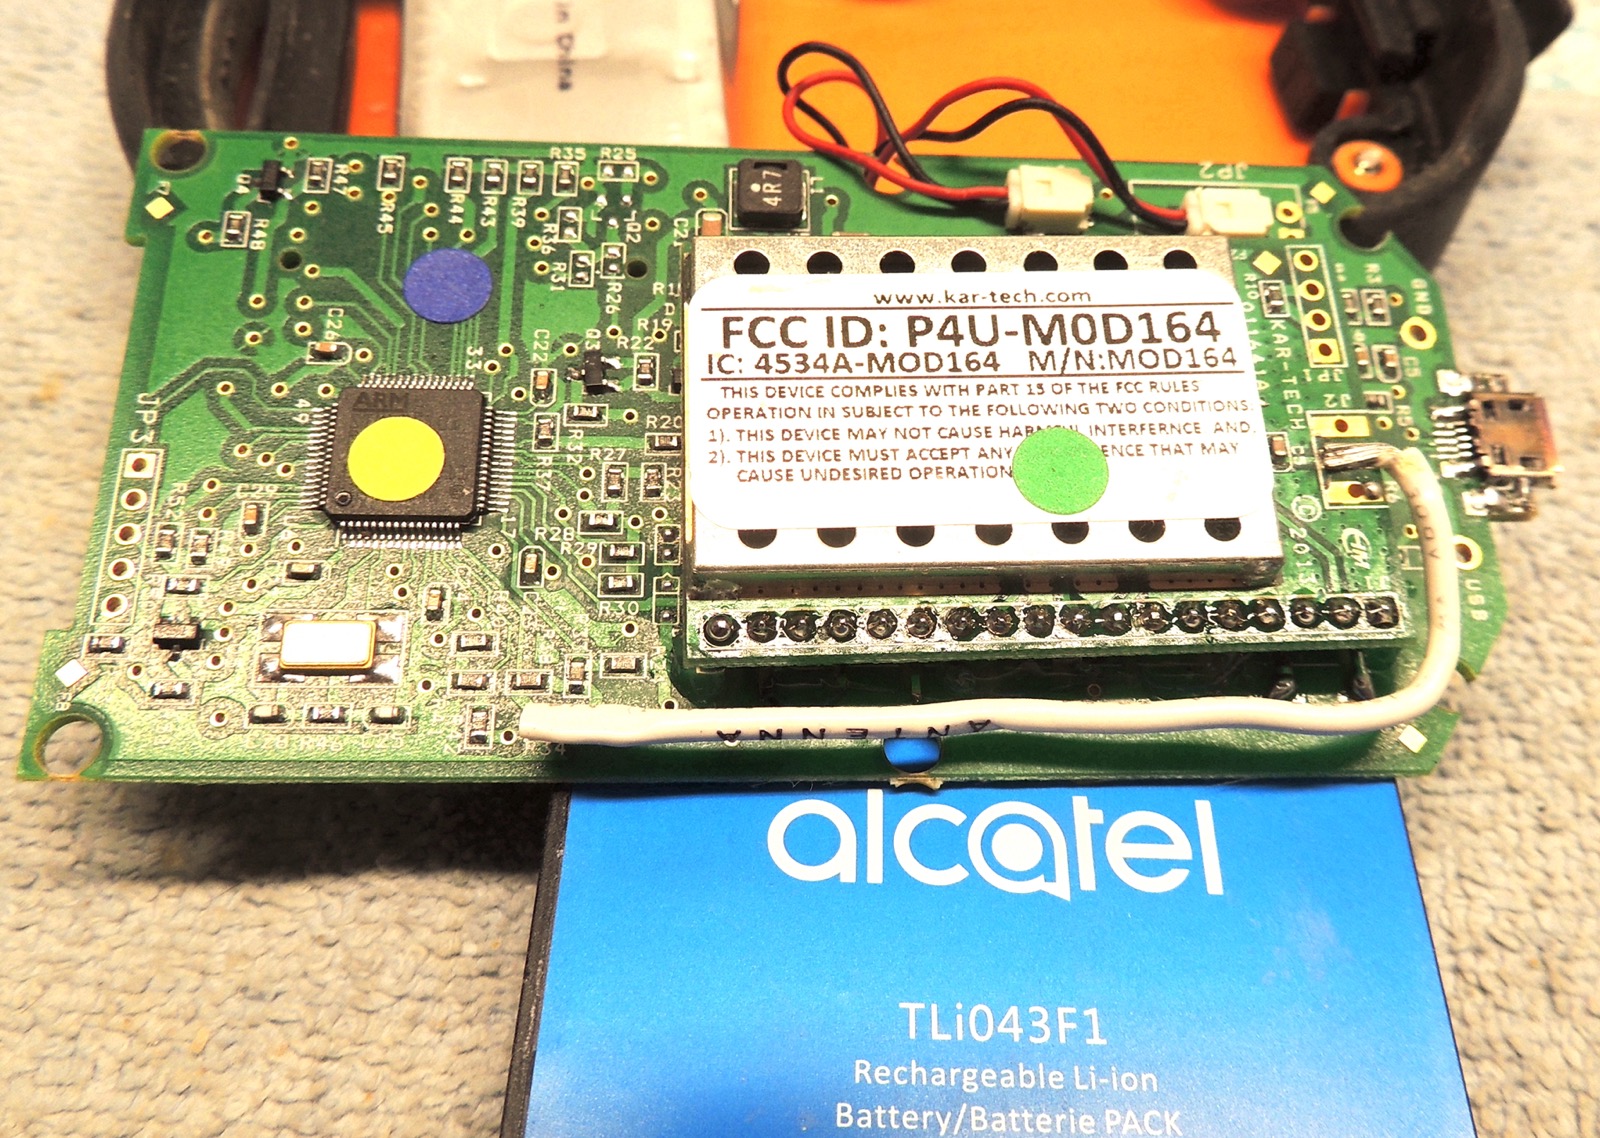
- soldered RF board down onto pin strip
- soldered down pin strip pin #17 to motherboard (missed on first pass, not pictured)
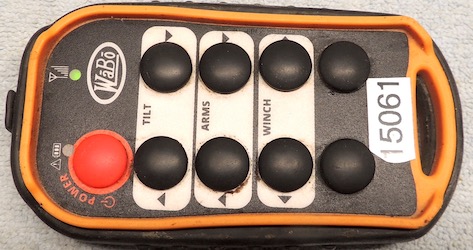
- assemble and test (it powers on and responds to buttons)
Clearly the designers of this remote went to some trouble to make it rugged. The case is strong, it's got a
rubber bumper around it, and the buttons are sold and sealed. But the only thing holding the RF board onto
the main board are 18 contacts, soldered to circuit board pads. Give this remote a good drop (or spike it on
the ground) and the inertia of the RF board is pretty well guaranteed to rip it off the main board, as we've
seen twice now. It really needs to be bolted down, or secured some other way. (like with a plastic frame)
Say it with me like all the good electrical engineers, "Solder is not a mechanical connection!"
Unfortunately, this is how I had to repair it. It's going to be even more fragile now, so you better be careful
with it. If it breaks again, there will probably be more damage, and require more time to fix. As before,
I have no way to test it other than see that it lights up, and I can't troubleshoot it further if it's not working
after getting the RF board reattached.
1 RF board separated
2 main board prepped
3 constructed new pin strip
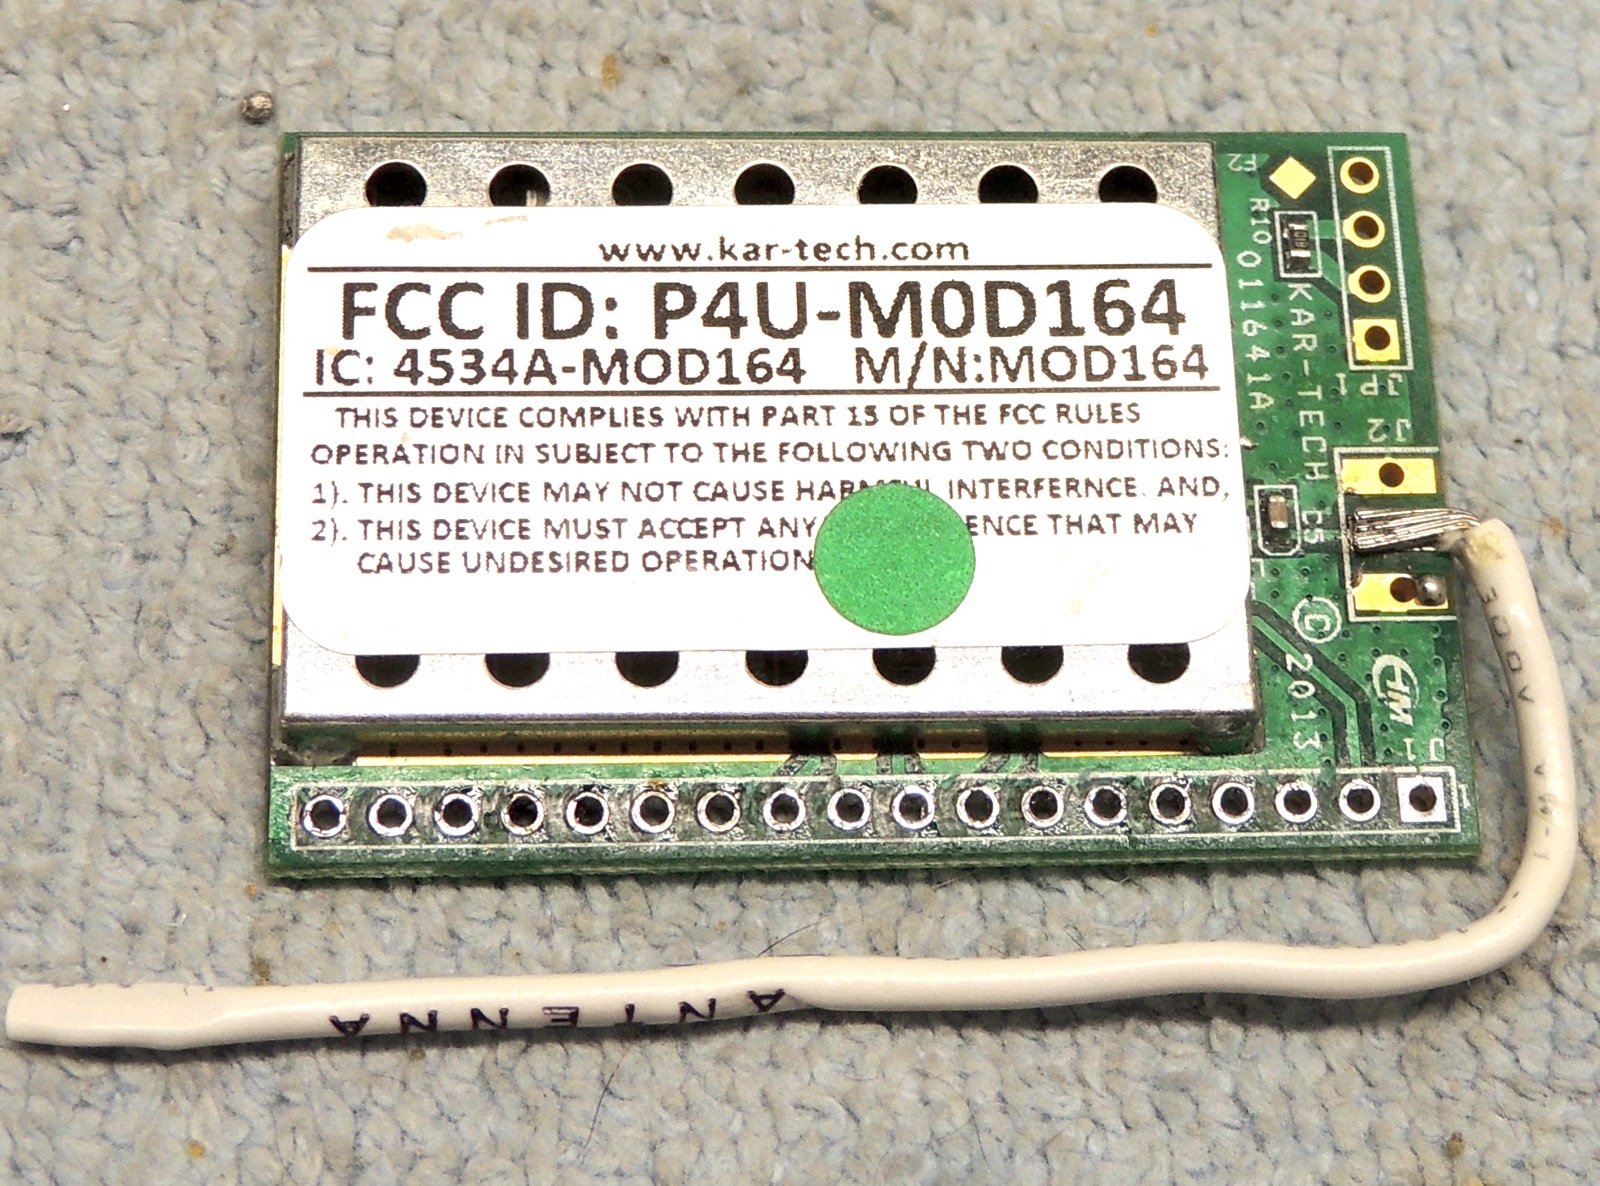
4 RF board prepped
5 main board tinned
6 pin strip soldered down
7 RF board soldered down
8 assembled, lights up
highest resolution images
last updated 04/29/2025 at 23:10:57 by make_www_index.command version 2025.04.21.A