1 front panel disassembly
1 front panel disassembly:
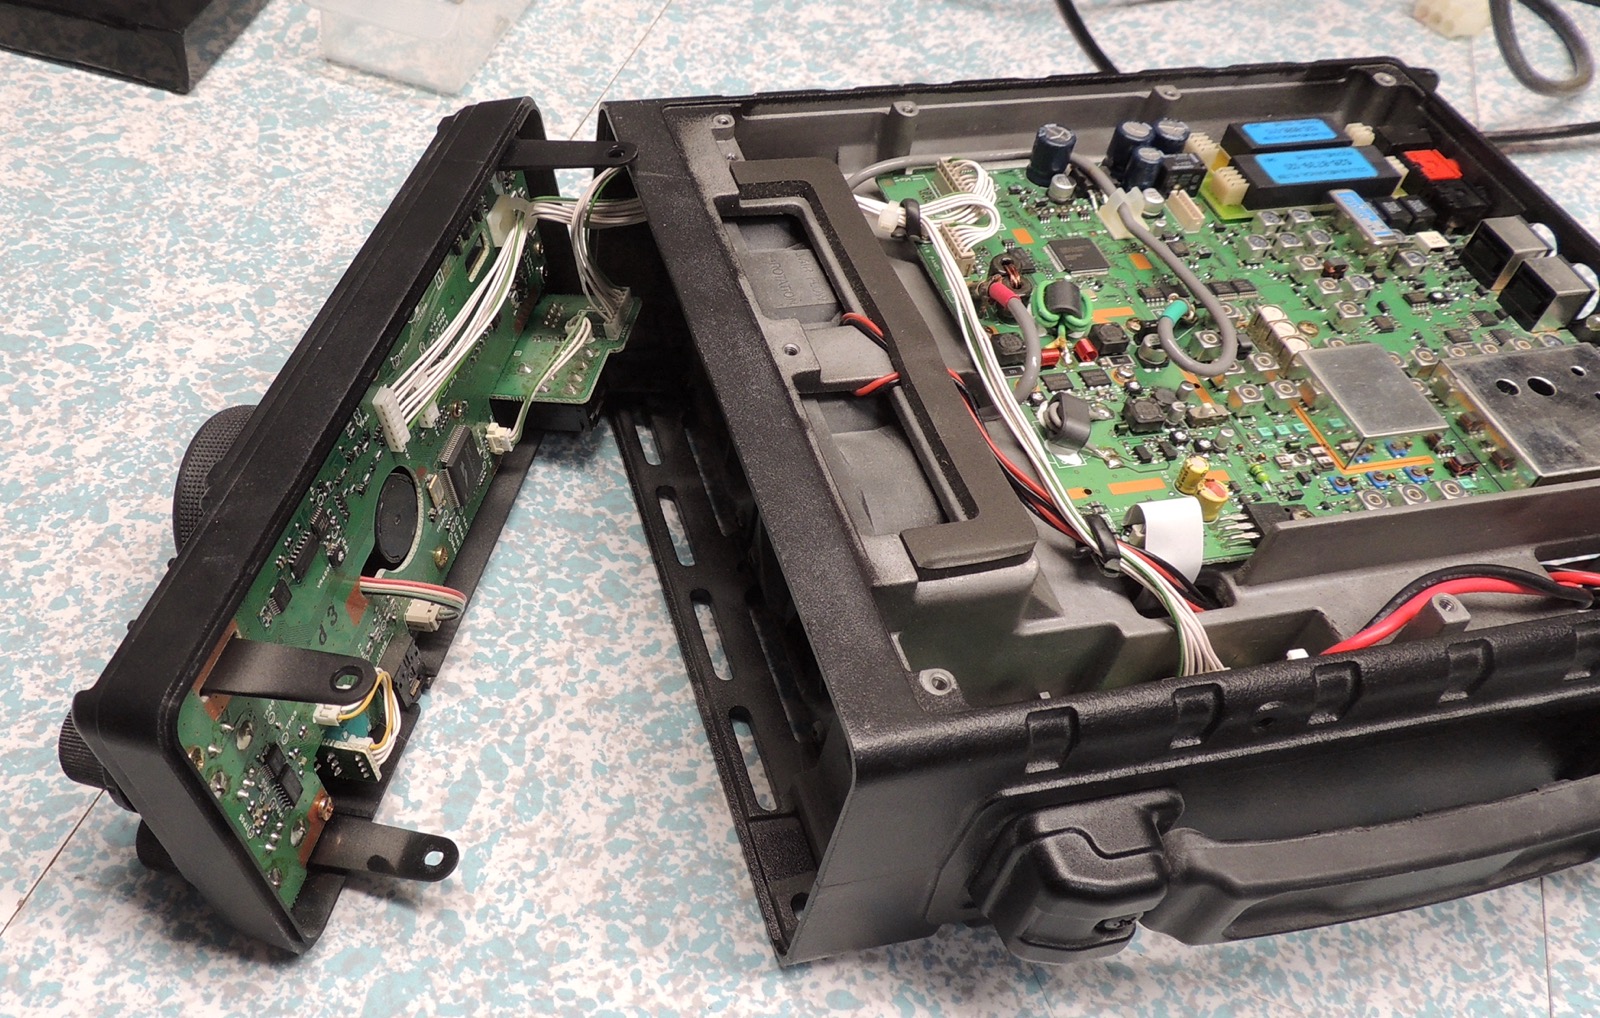
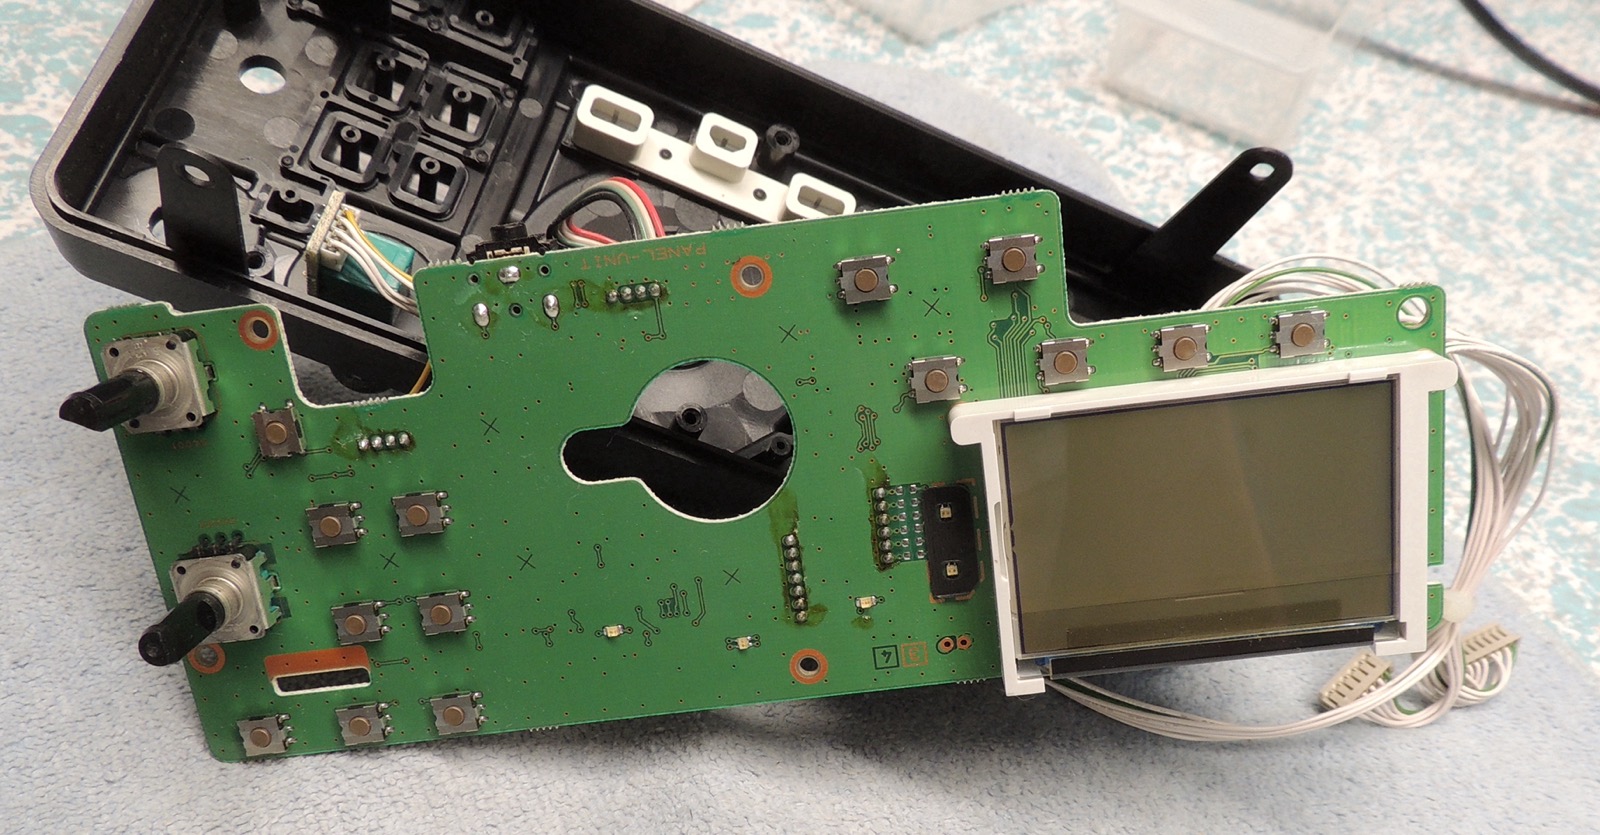
Here's the walk-through on taking off and disassembling the front panel. It's held onto the radio body by
two tabs on the top and two more on the bottom. You'll need to remove the RF board cover to access the screws
below it. When reassembling, be careful to just SNUG those screws. Over-tightening will crach the plastic
tabs.
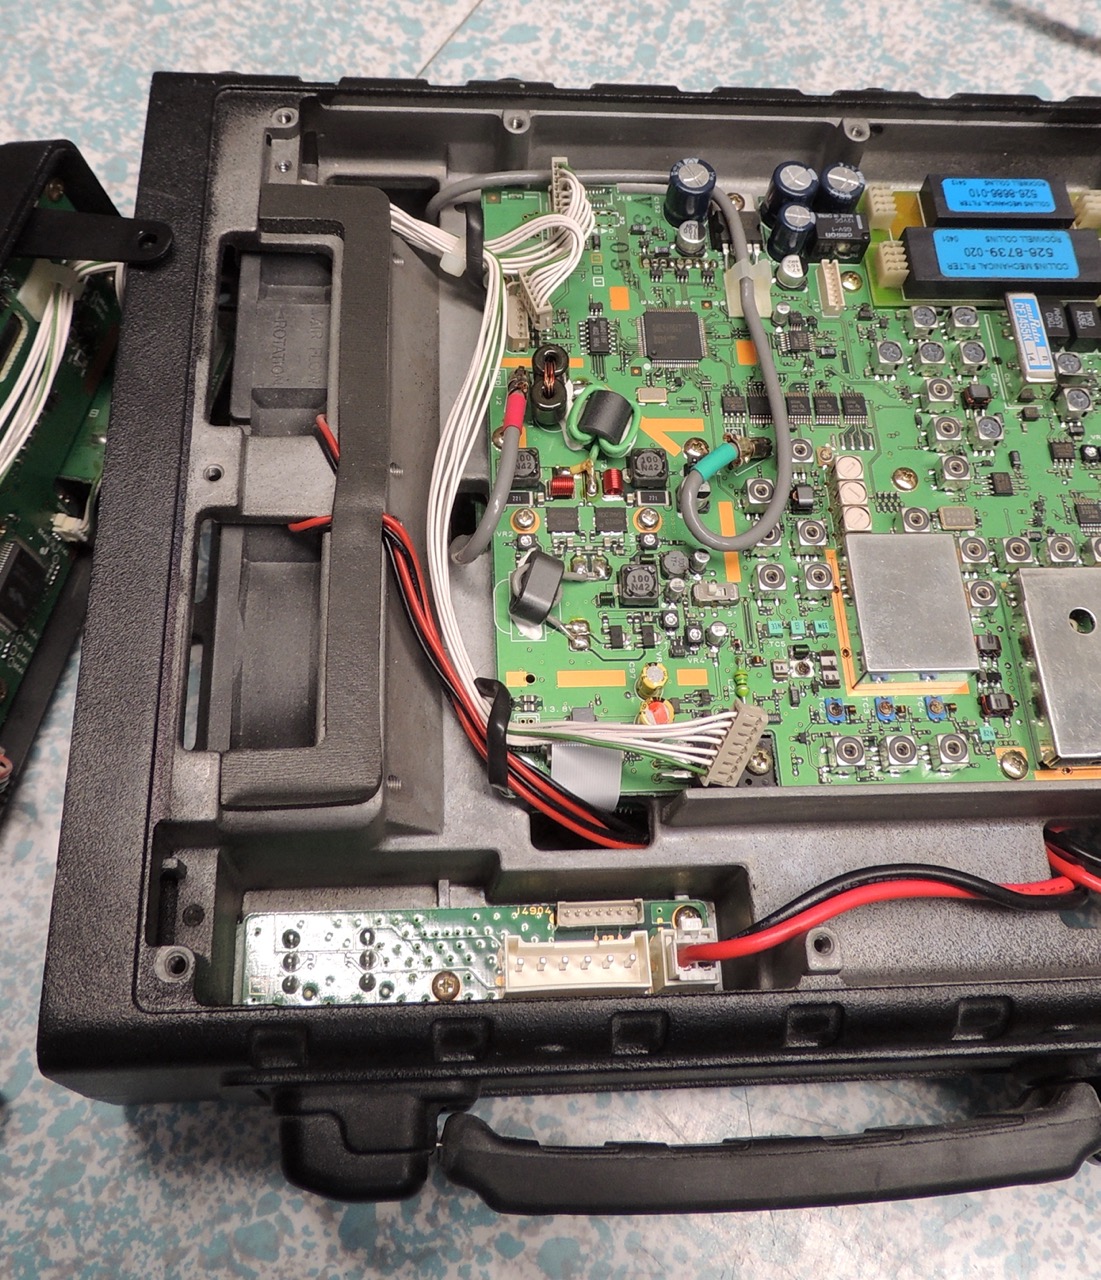
Loosen the cable keepers a bit and unplug the three connectors (just pull on the wire bundles)
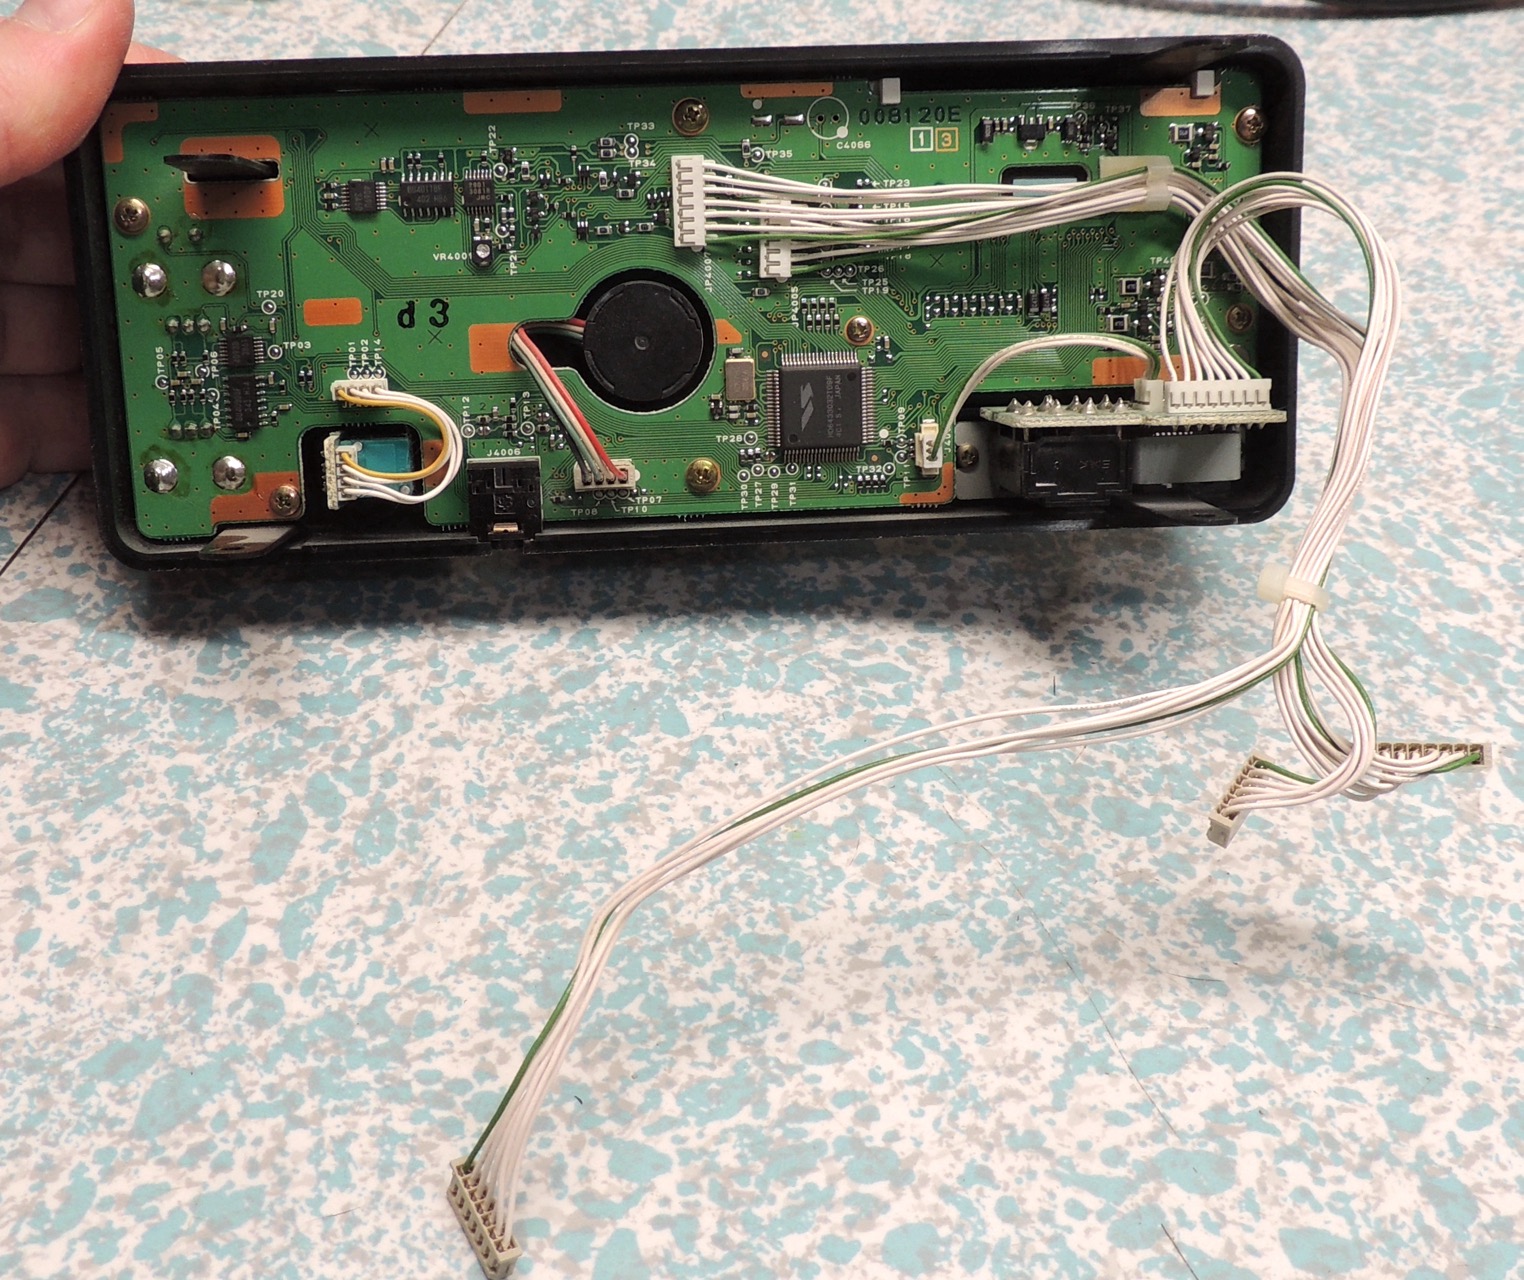
After the front panel has been separated, gently pull the two small knobs off the front. Then remove one
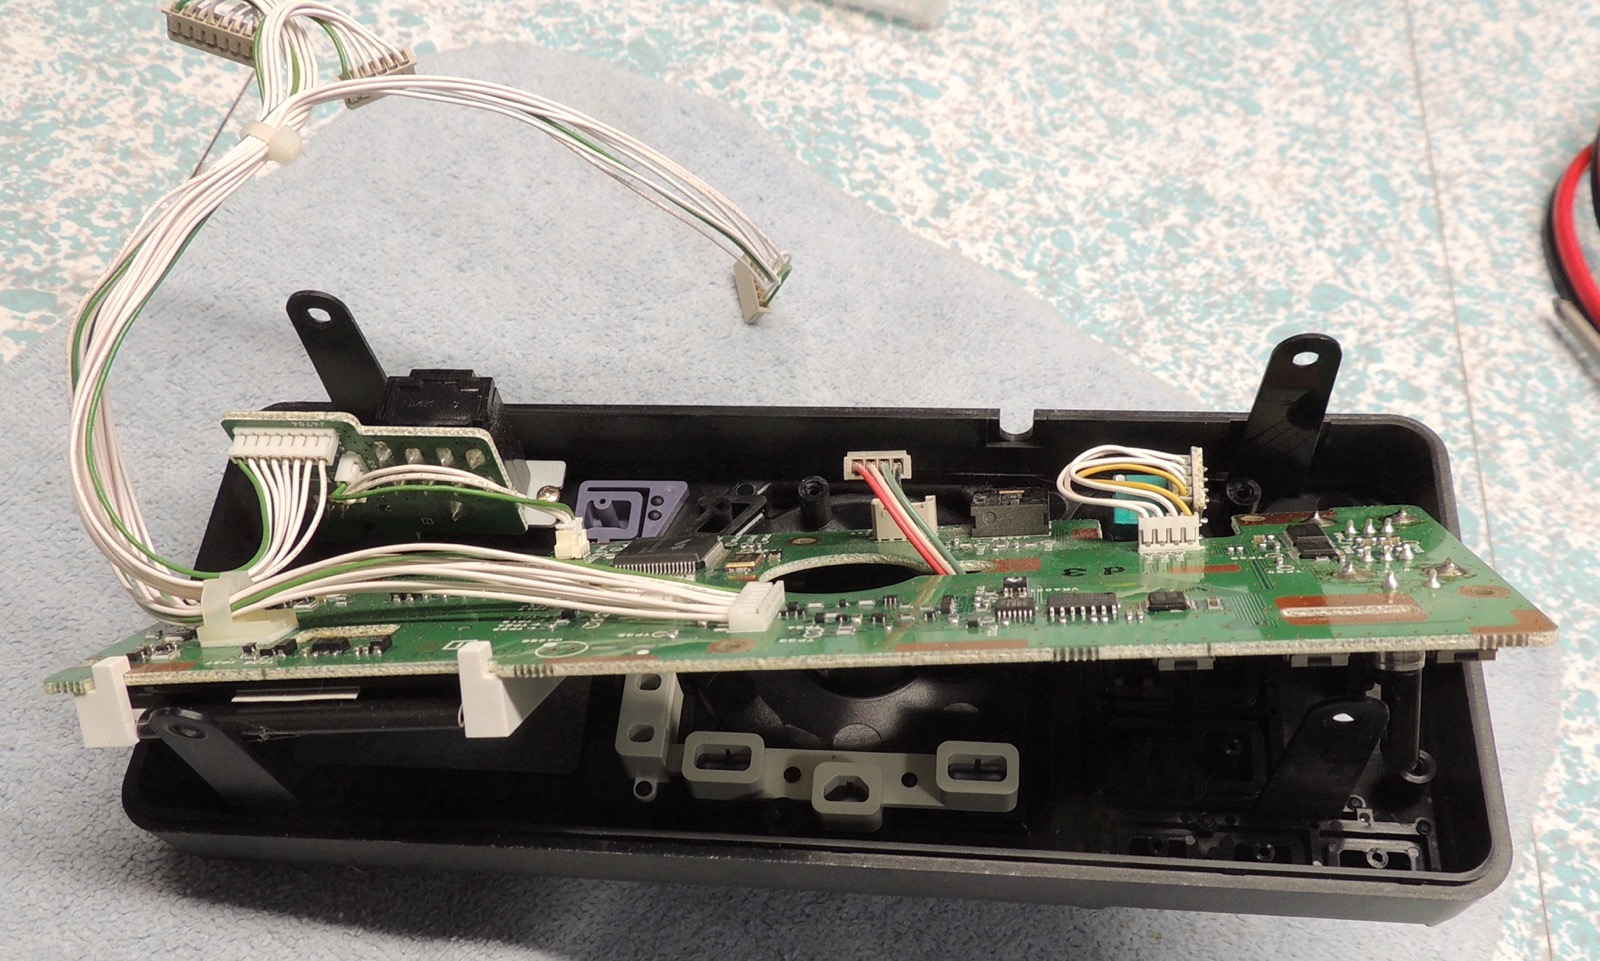
machine and five self-tapping screws to liberate the front panel board. Leave the two slightly smaller screws
in place for now, they hold the LCD frame to the board.
You only need to unplug the main knob cable, the dual pot cable cannot be removed and it's a waste of time to
remove the pot from the panel. Its removal isn't necessary for LCD access.
13 front panel detached
14 front panel unplugged
15 front panel separated
16 control board detached
17 cotrol board lifted
18 control board separated
highest resolution images
last updated 03/17/2025 at 07:05:25 by make_www_index.command version 2025.03.04.A