Pretty much ALL of the TDOA kits have terrible antennas, so it's high-time that I build a new one, since
the ones I have for the DF-1's here look absolutely terrible and are poorly designed.
For this build I will be adapting the "tape measure beam" design principle, which is to use lengths of 1-inch
tape measure tape for the elements, attached with hose clamps on a frame of 1/2" PVC pipe. This should create
an antenna that's physically sturdy, as well as being mostly immune to damage while in use. Since this will
also be getting used by guests and kids, it also needs to be safe for them and bystanders, so no hard-to-see,
sharp or stiff pointy bits allowed. Blunted hi-vis tape measure elements are perfect for this.
The same rules apply for pretty much any TDOA. You're building a pair of untuned 1/4 wave dipoles, spaced
about 1/4 wavelength apart. There will be a separate coax feed from each antenna to the control box, which
usually uses RG-174 for convenience and flexibility. Due to the irrelevance of the signal strength, coax
losses aren't that important, nor is shielding. You can use whatever length of coax is convenient, but as
with dopplers, it's CRITICAL that all antenna coaxes are the same length. Try to keep them within 1/4-inch.
Construction tips:
- use 1/2" schedule 40 315-PSI PVC pipe, buy two 10ft sticks. (600-PSI works but weighs more)
- while you're there, get a bag of "T" adapters and a little can of PVC cement
- a cheap pipe cutter will save a lot of headache if you're going to make more than one of these,
otherwise you'll need a hack saw or fine toothed wood saw to cut the pipe to length
- I cut a 2ft mast and two 10.5 inch boom sections
- use 1-inch tape. don't use 3/4 or thinner, it'll be floppy and wind will be a nuisance
(Harbor Freight sells 33ft 1-inch tapes for $4)
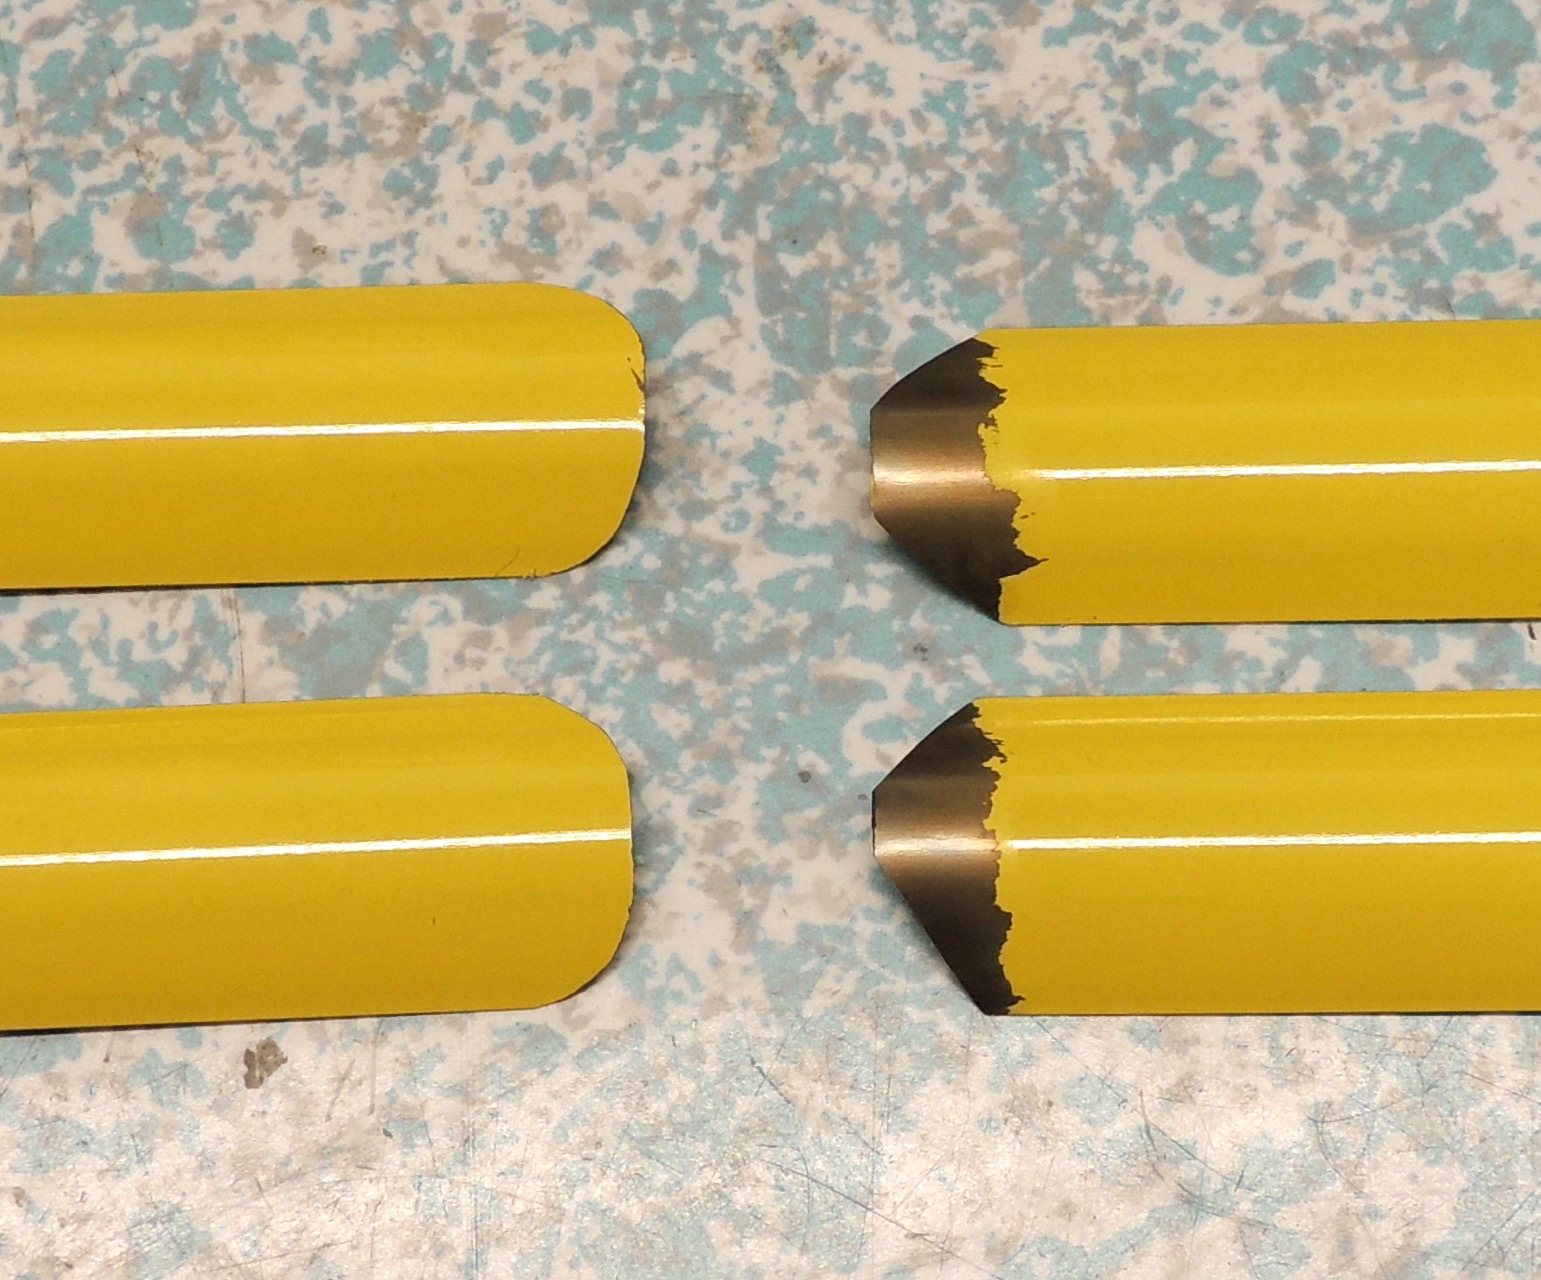
- after cutting the tapes, give the tip end a rounded edge and file smooth to make it safer to handle
- give the feed end a "V" shaped profile, to make fitting and soldering easier
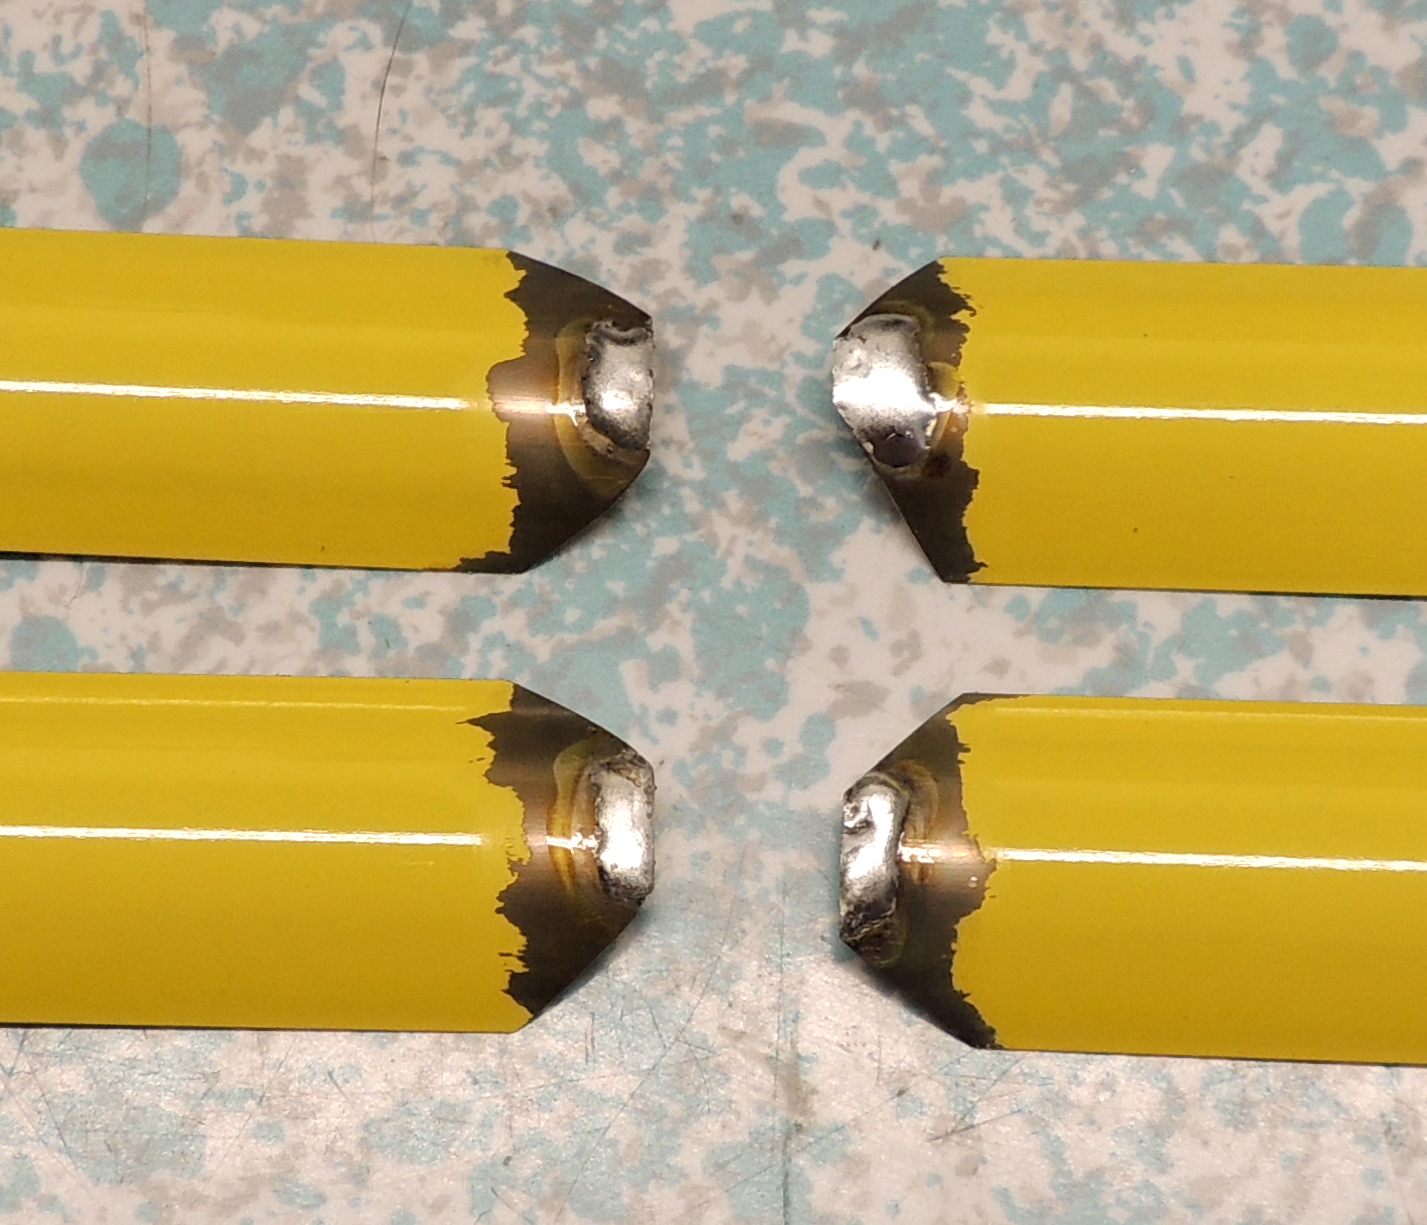
- use a dremel with a wire wheel (or sandpaper) to remove paint from feed before tinning
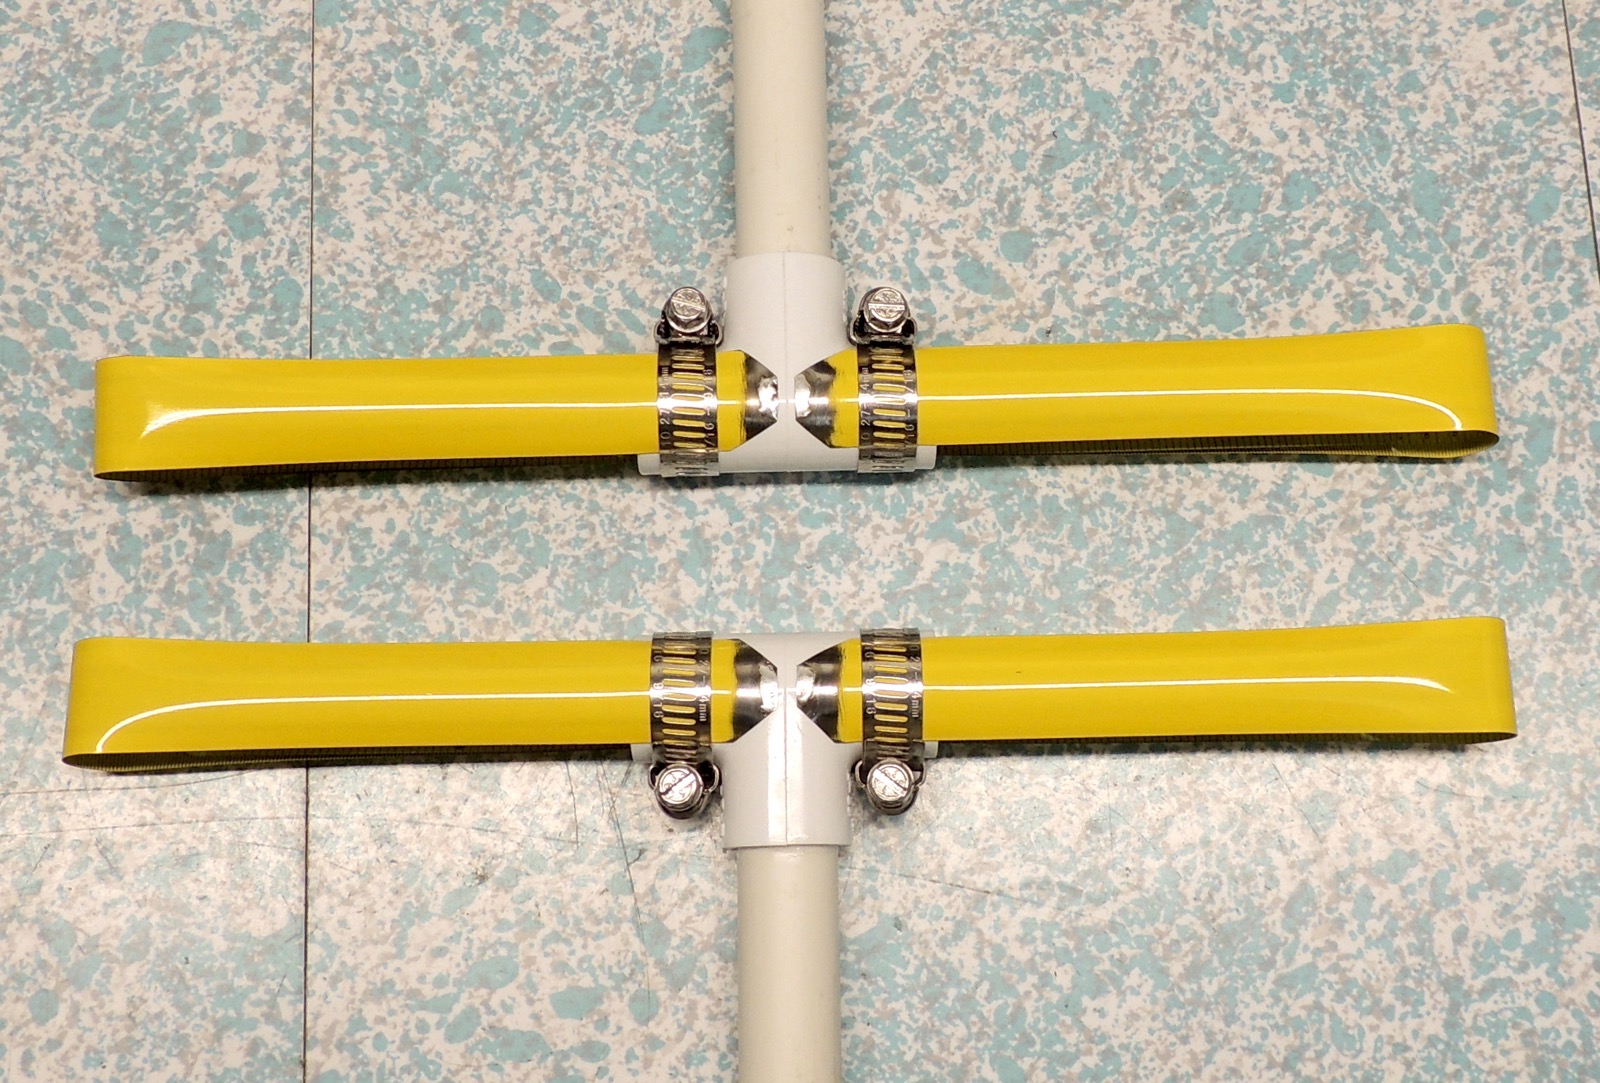
- after you have the tapes in place and straight, crank the hose clamps down as hard as you can
- use PVC cement to bond the feed T to its boom, to protect the coax choke and feed soldering
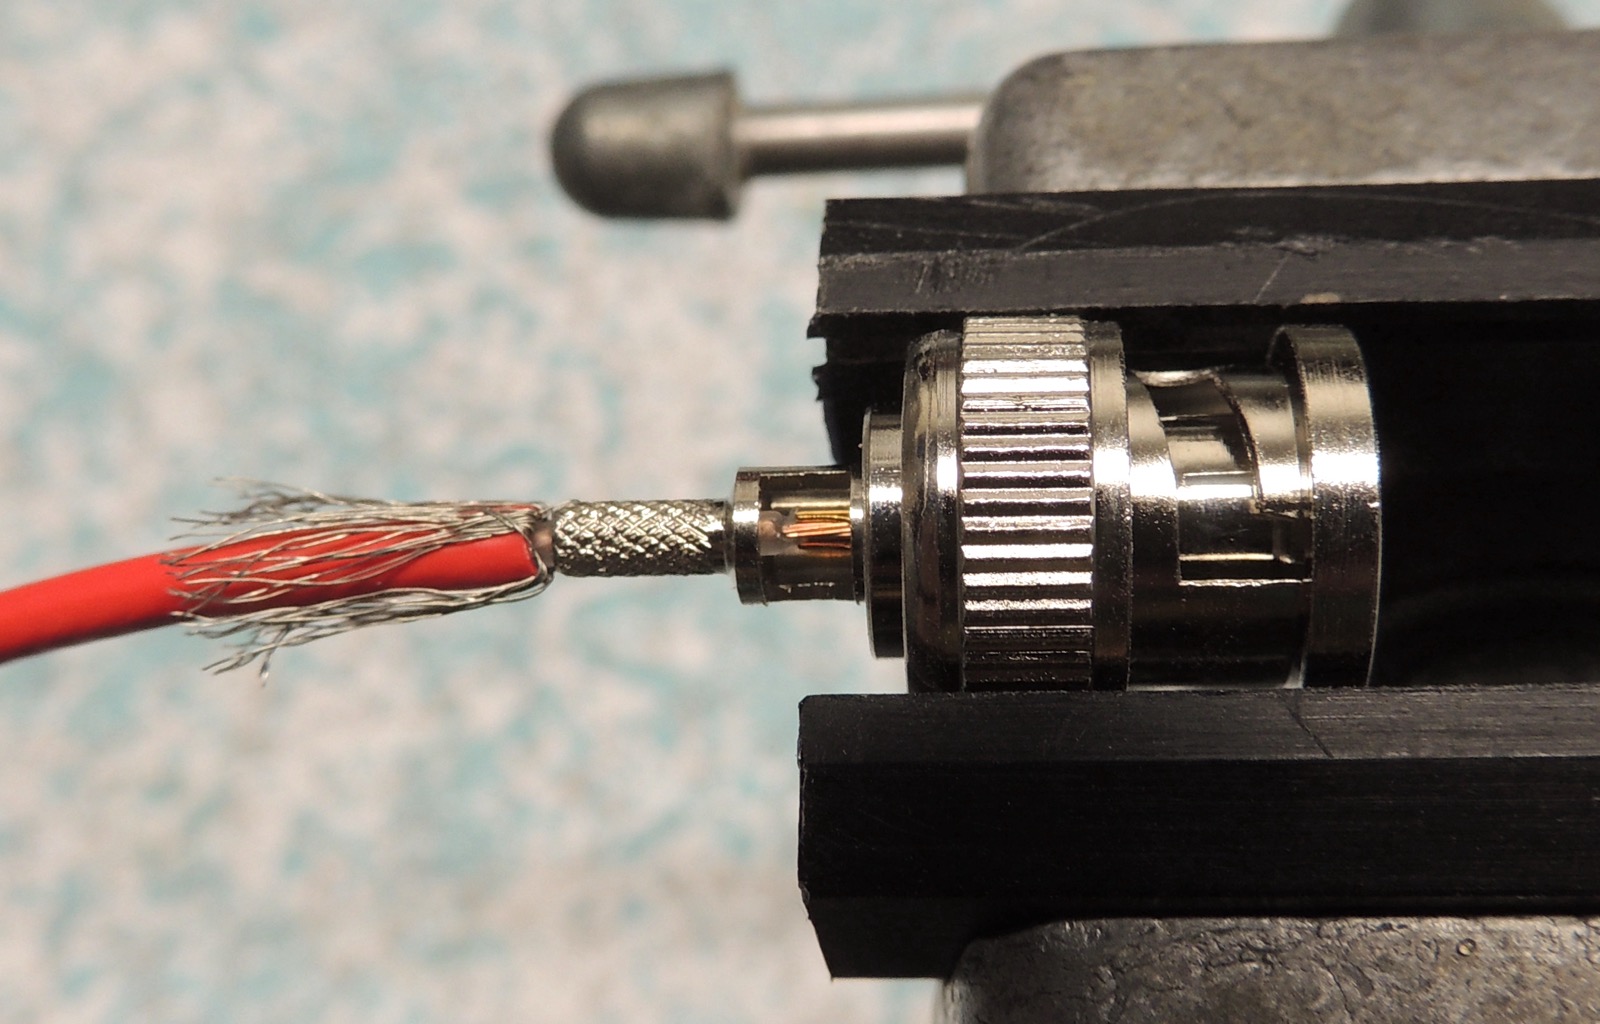
- if you can't crimp BNCs/SMAs on the 174, buy a pre-fabricated jumper and cut it in half
- apply hot-melt glue to the coax entry on the connector, as a strain relief and to protect the coax
from getting accidentally pulled out of the BNC connector
1 elements cut, de-burred and sanded
2 elements tinned
3 masts fabricated, elements attached
4 preparing coaxes
5 coax on masts
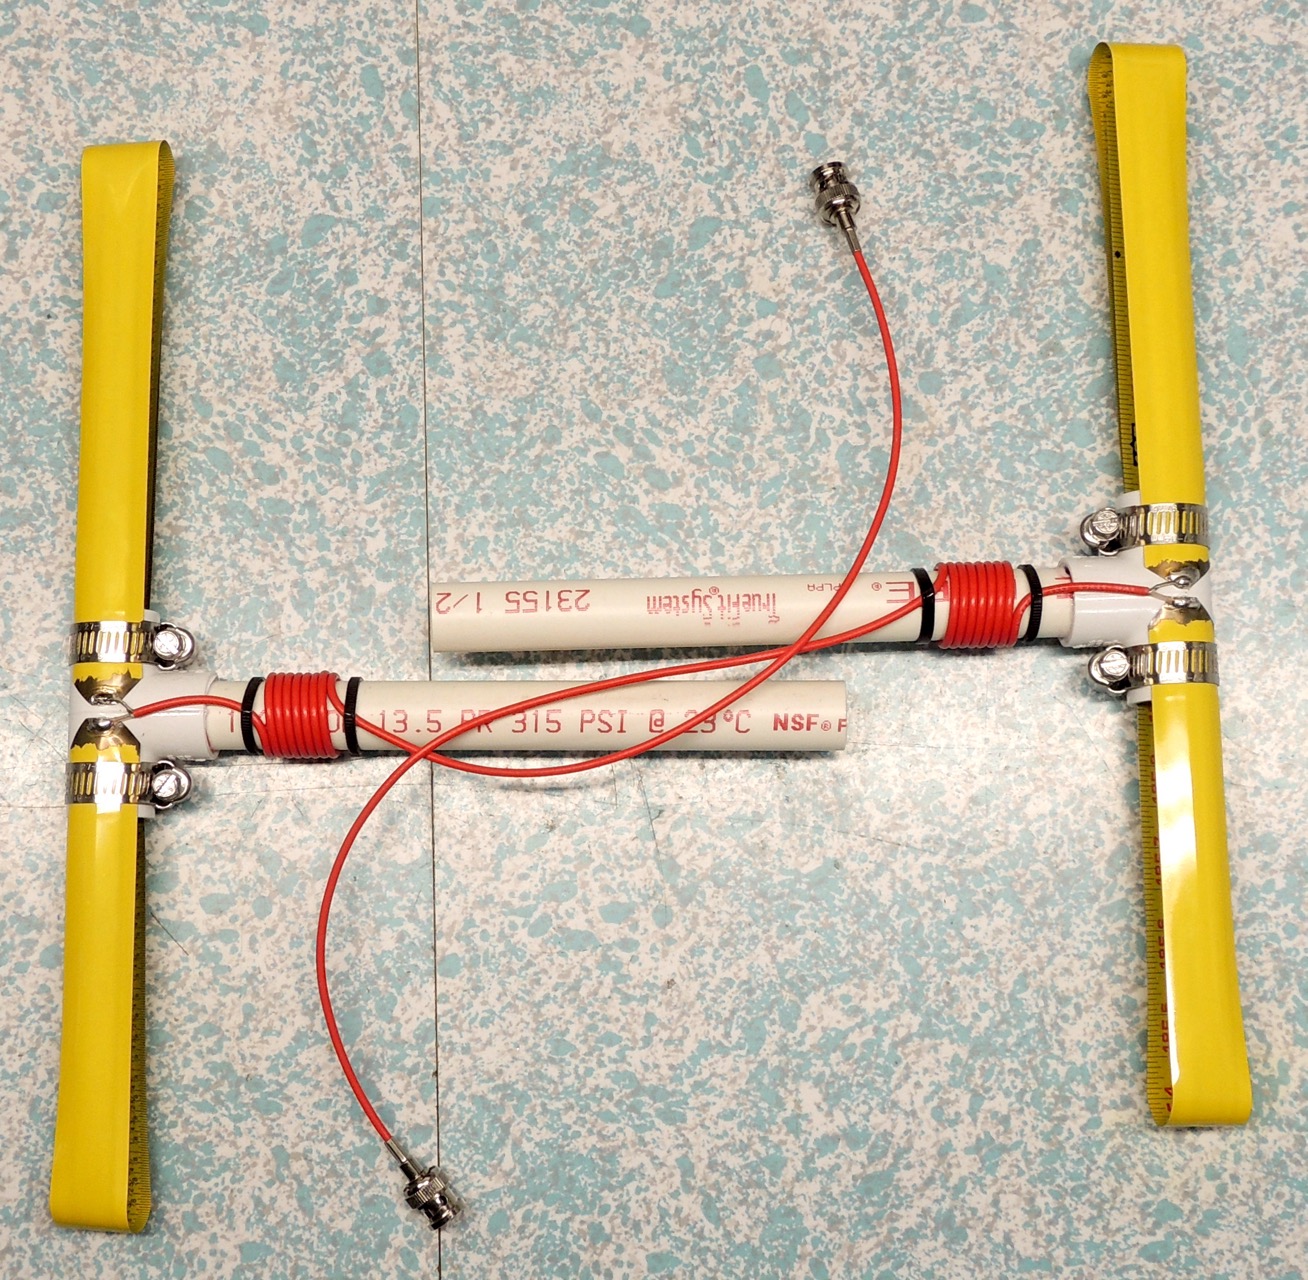
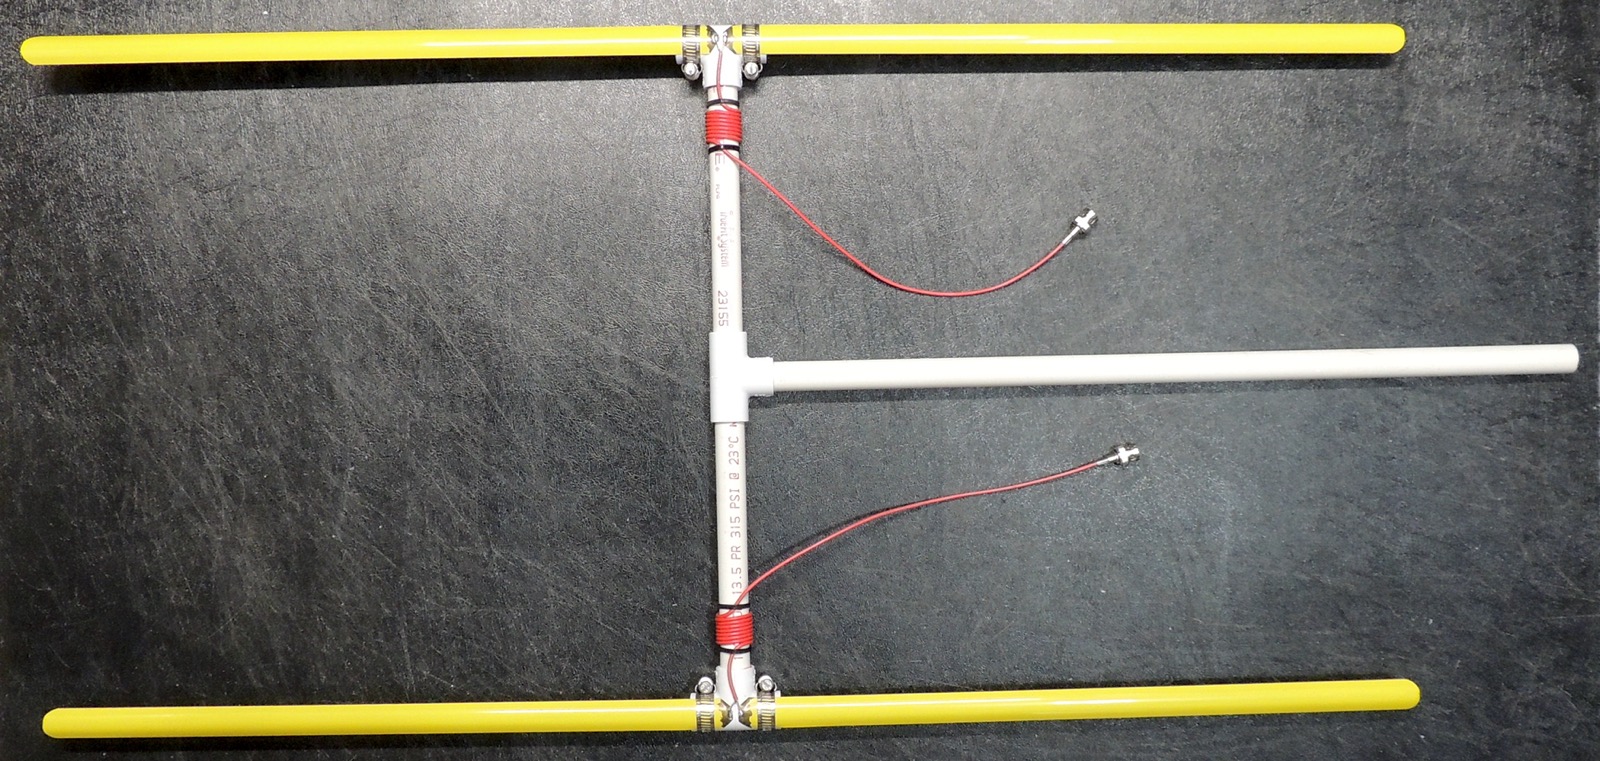
6 assembled stowed
7 deployed front
8 deployed back
highest resolution images
last updated 05/10/2025 at 21:43:06 by make_www_index.command version 2025.05.08.A