%20prepped.JPG)
|
|
|
|
|
|
|
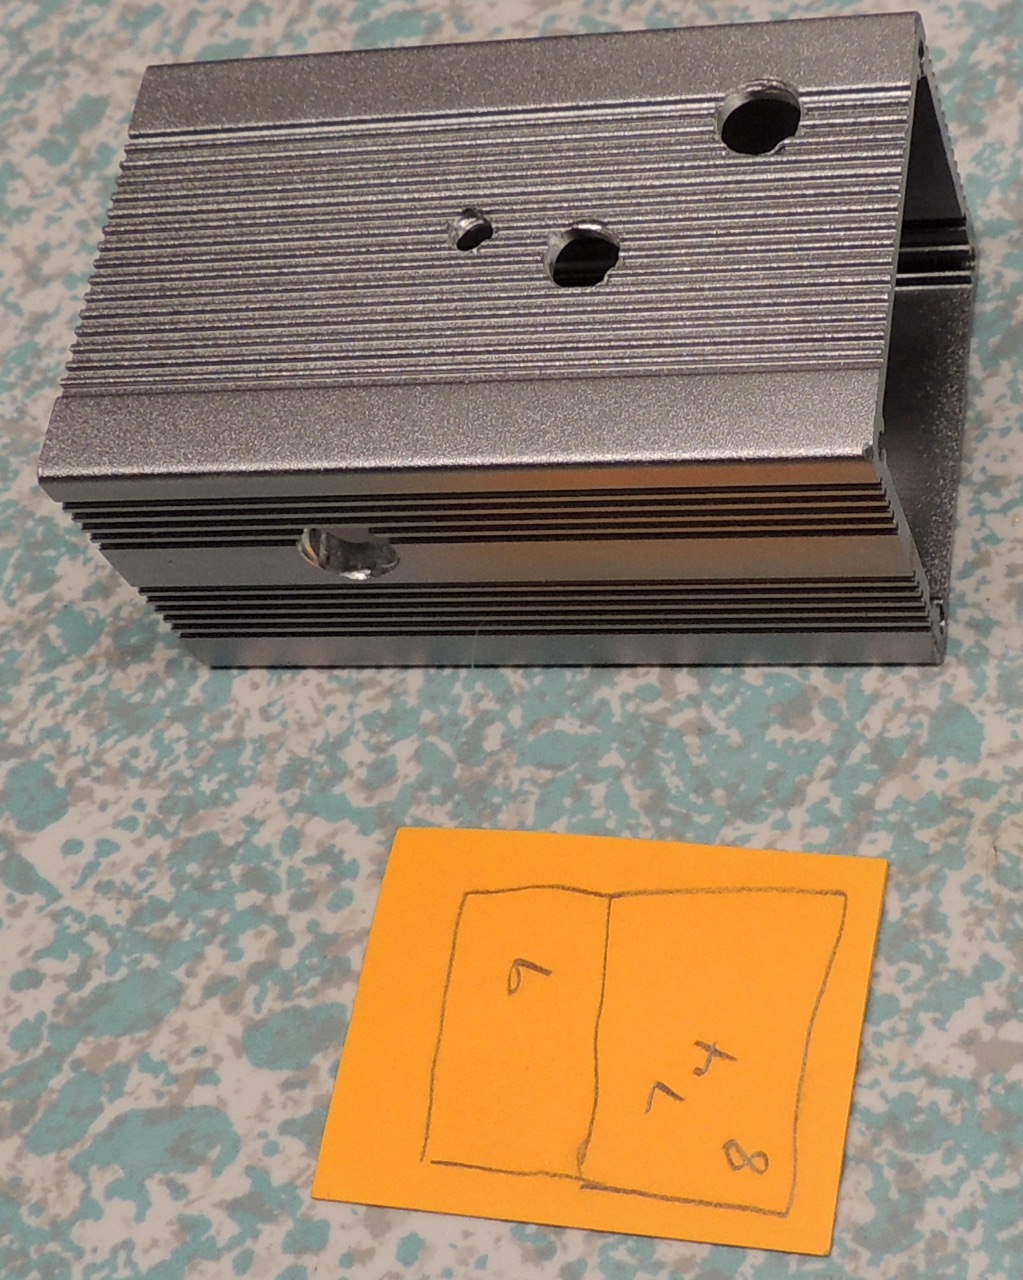
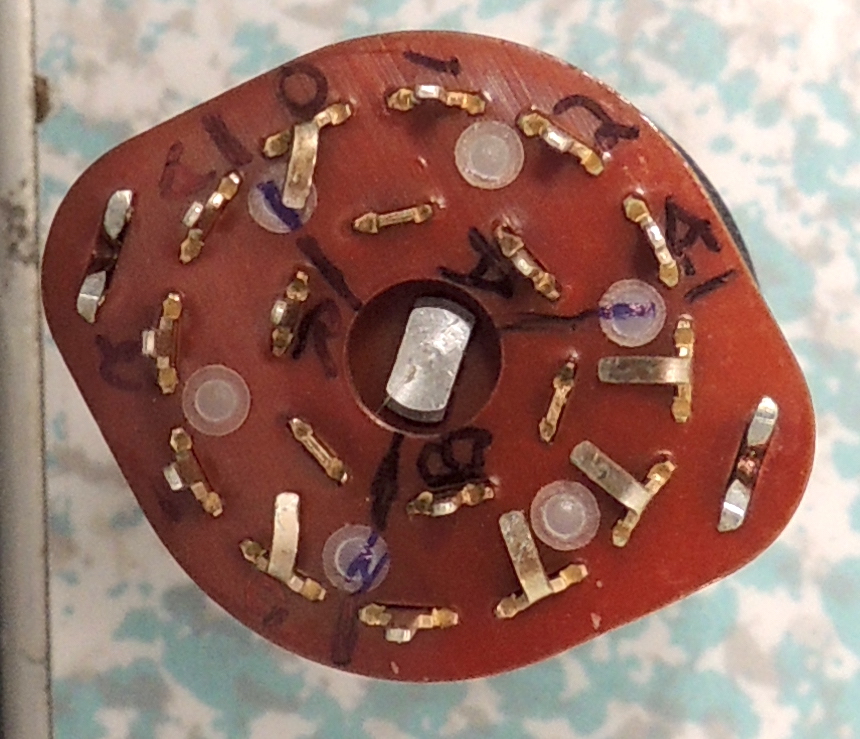
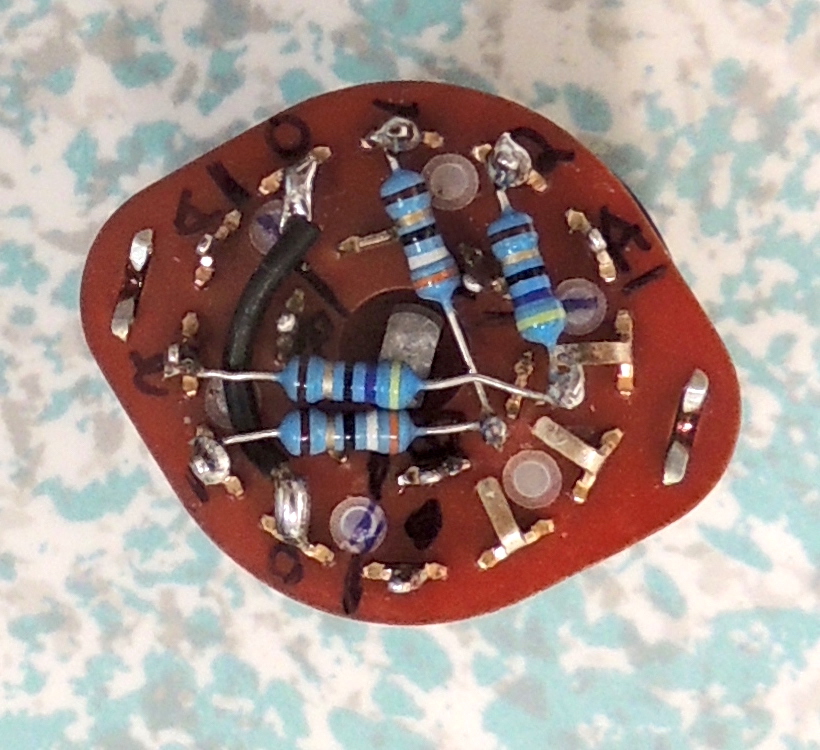
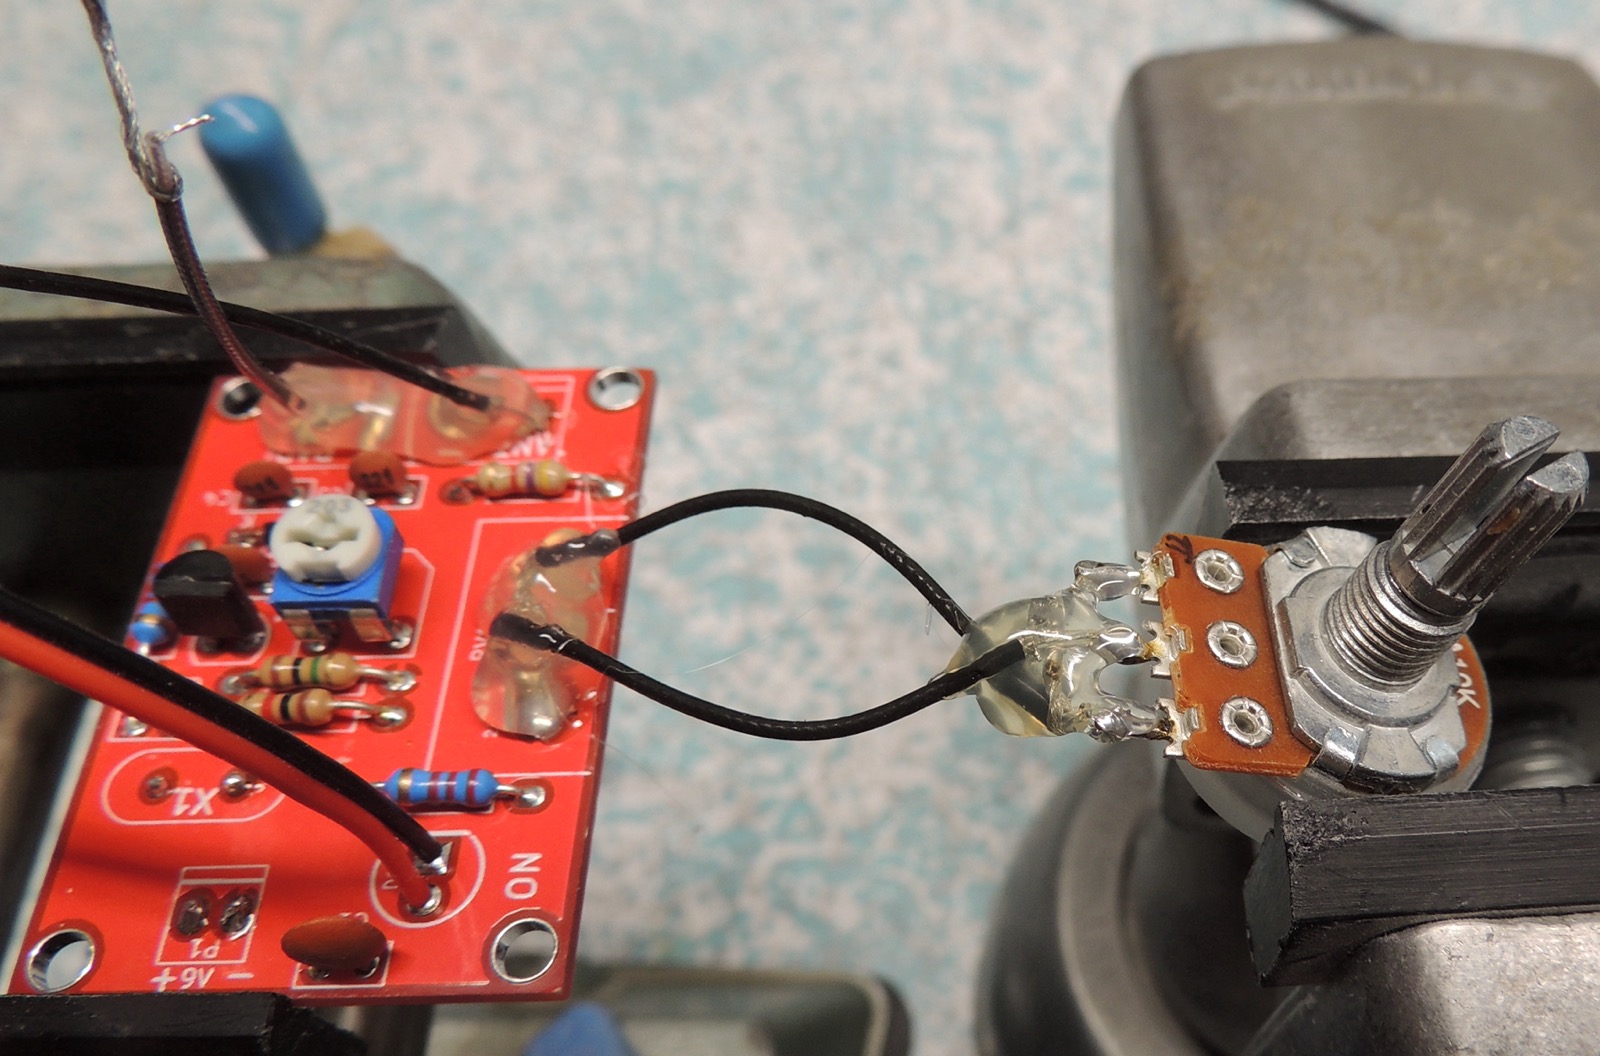
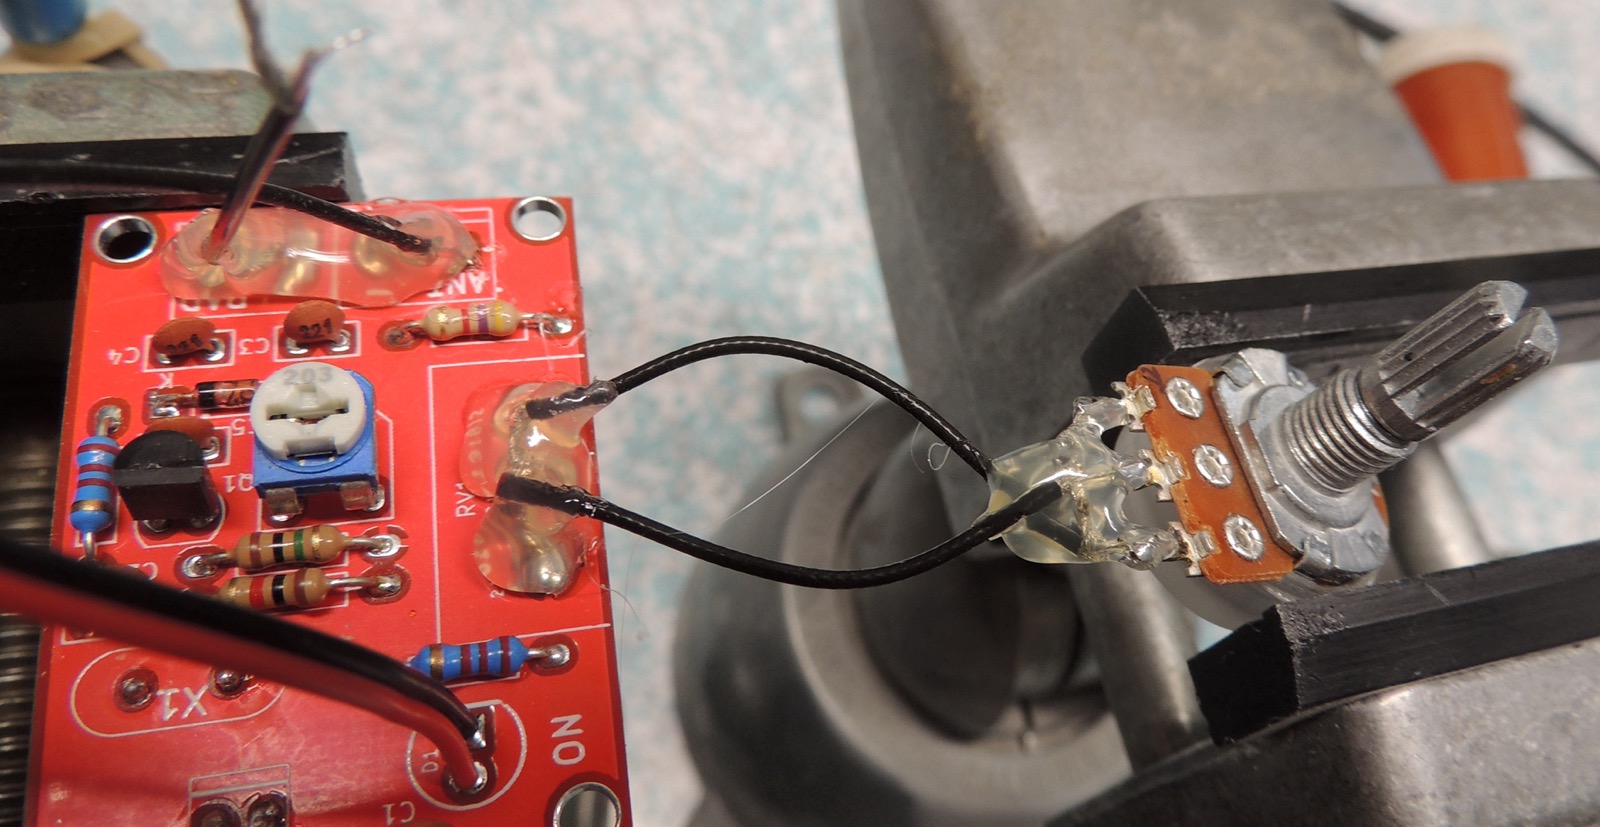
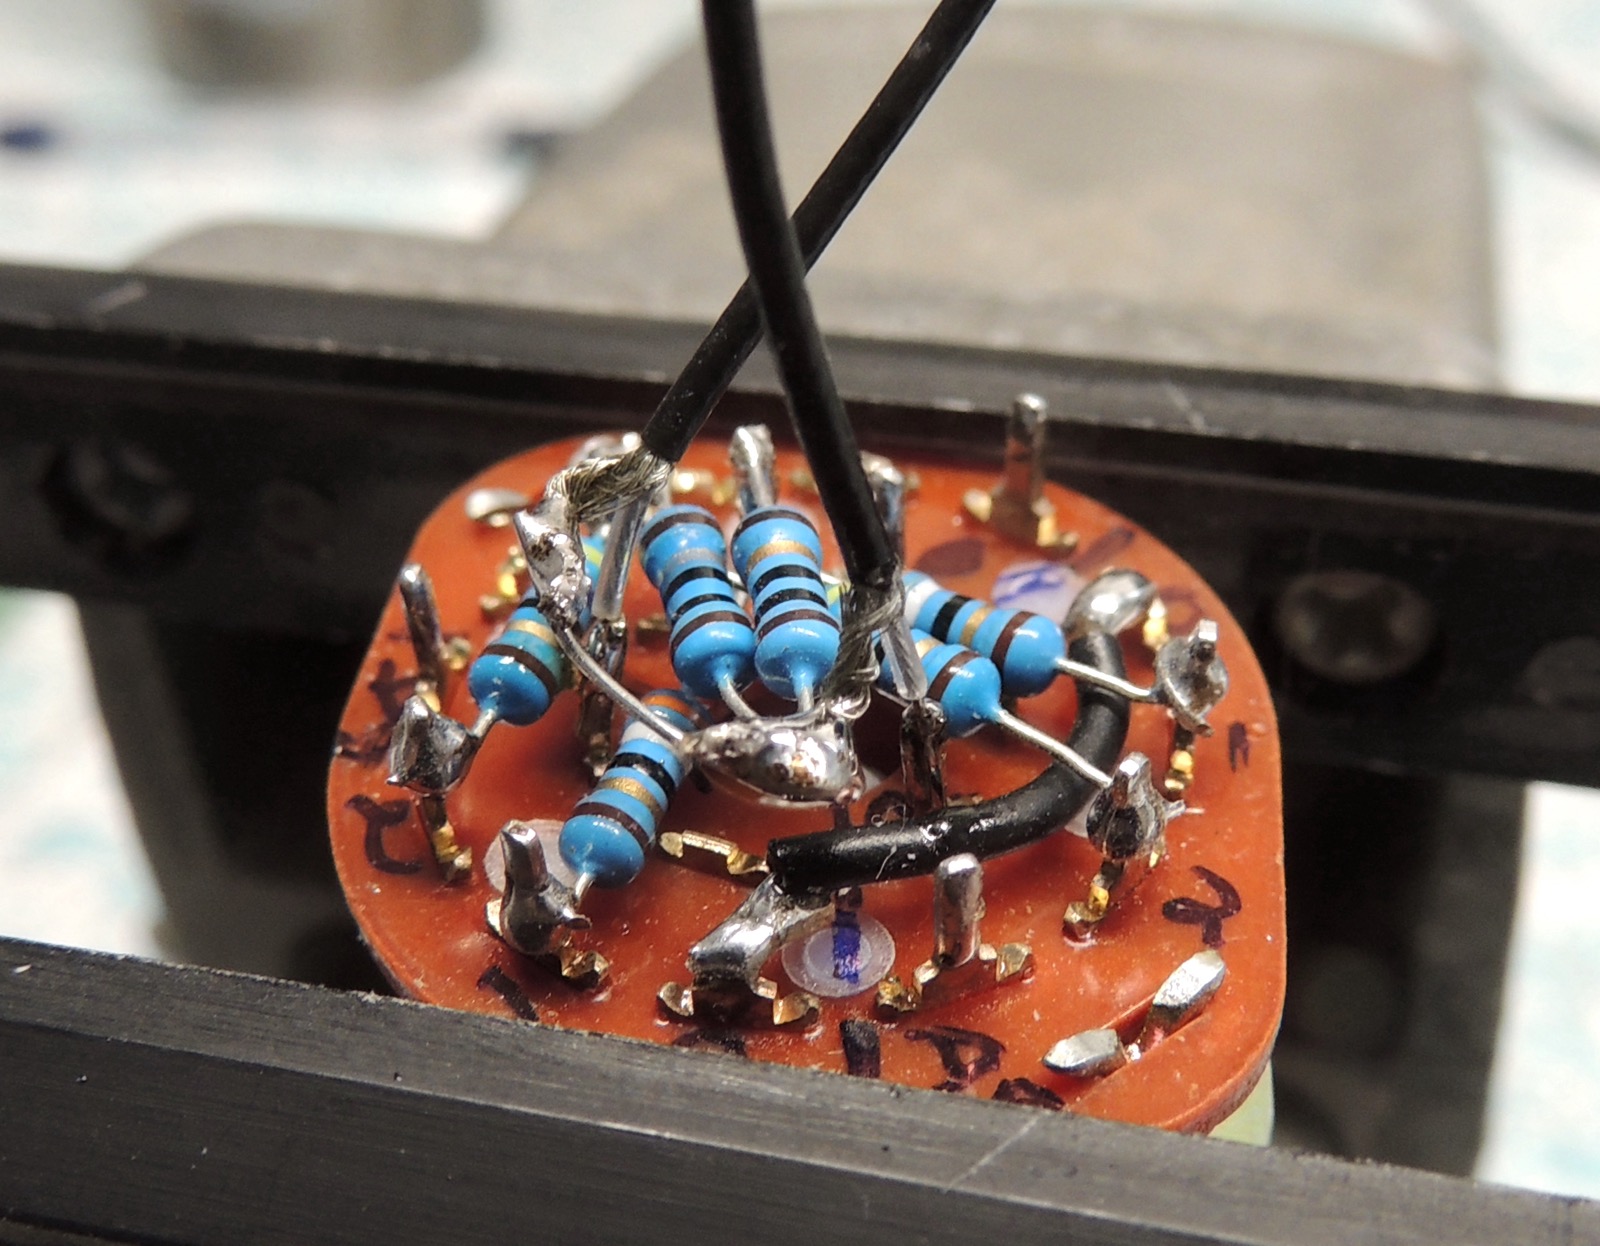
| 01 preparing the enclosure | 02 rotary switch marked | 03 bypass and part of 20+40 resistors in | 04 20 and 40 attenuators done | 05 some micro coax (1.13mm) prepped | 06 offset attenuator board soldered |
|
|
|
|
|
|
|
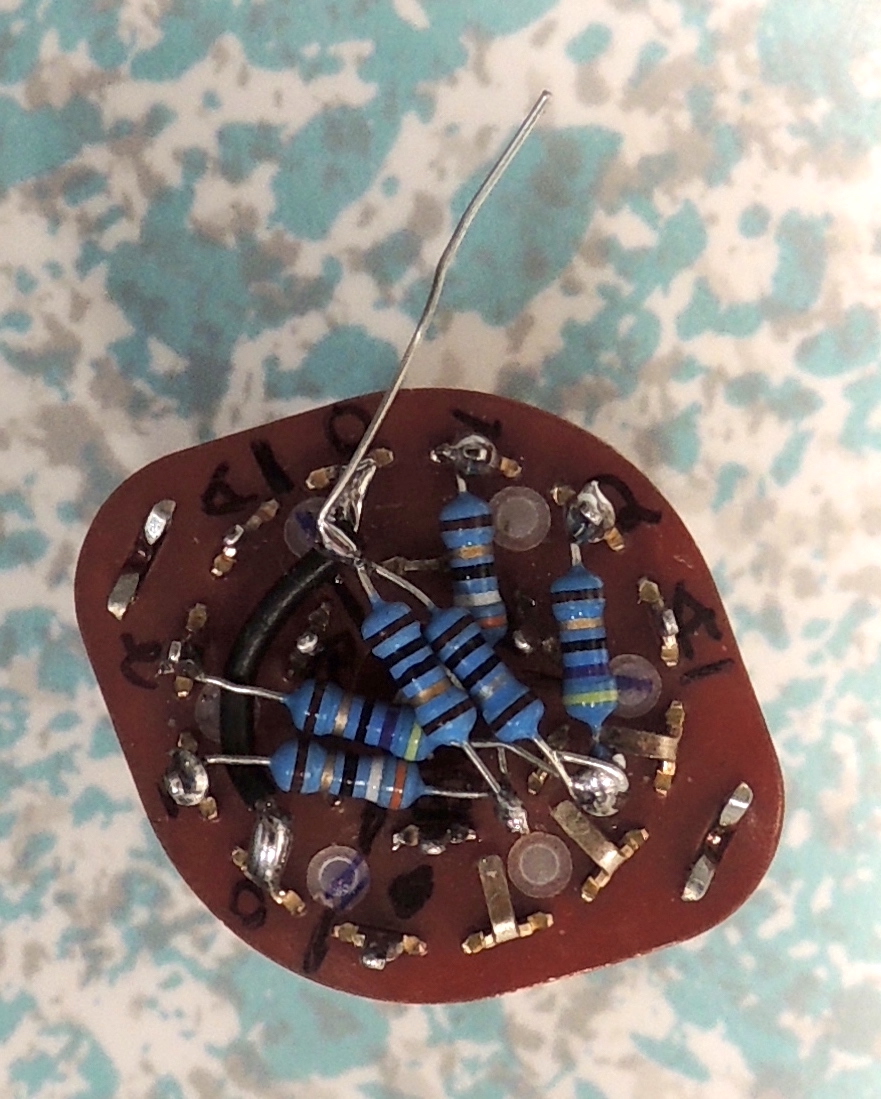
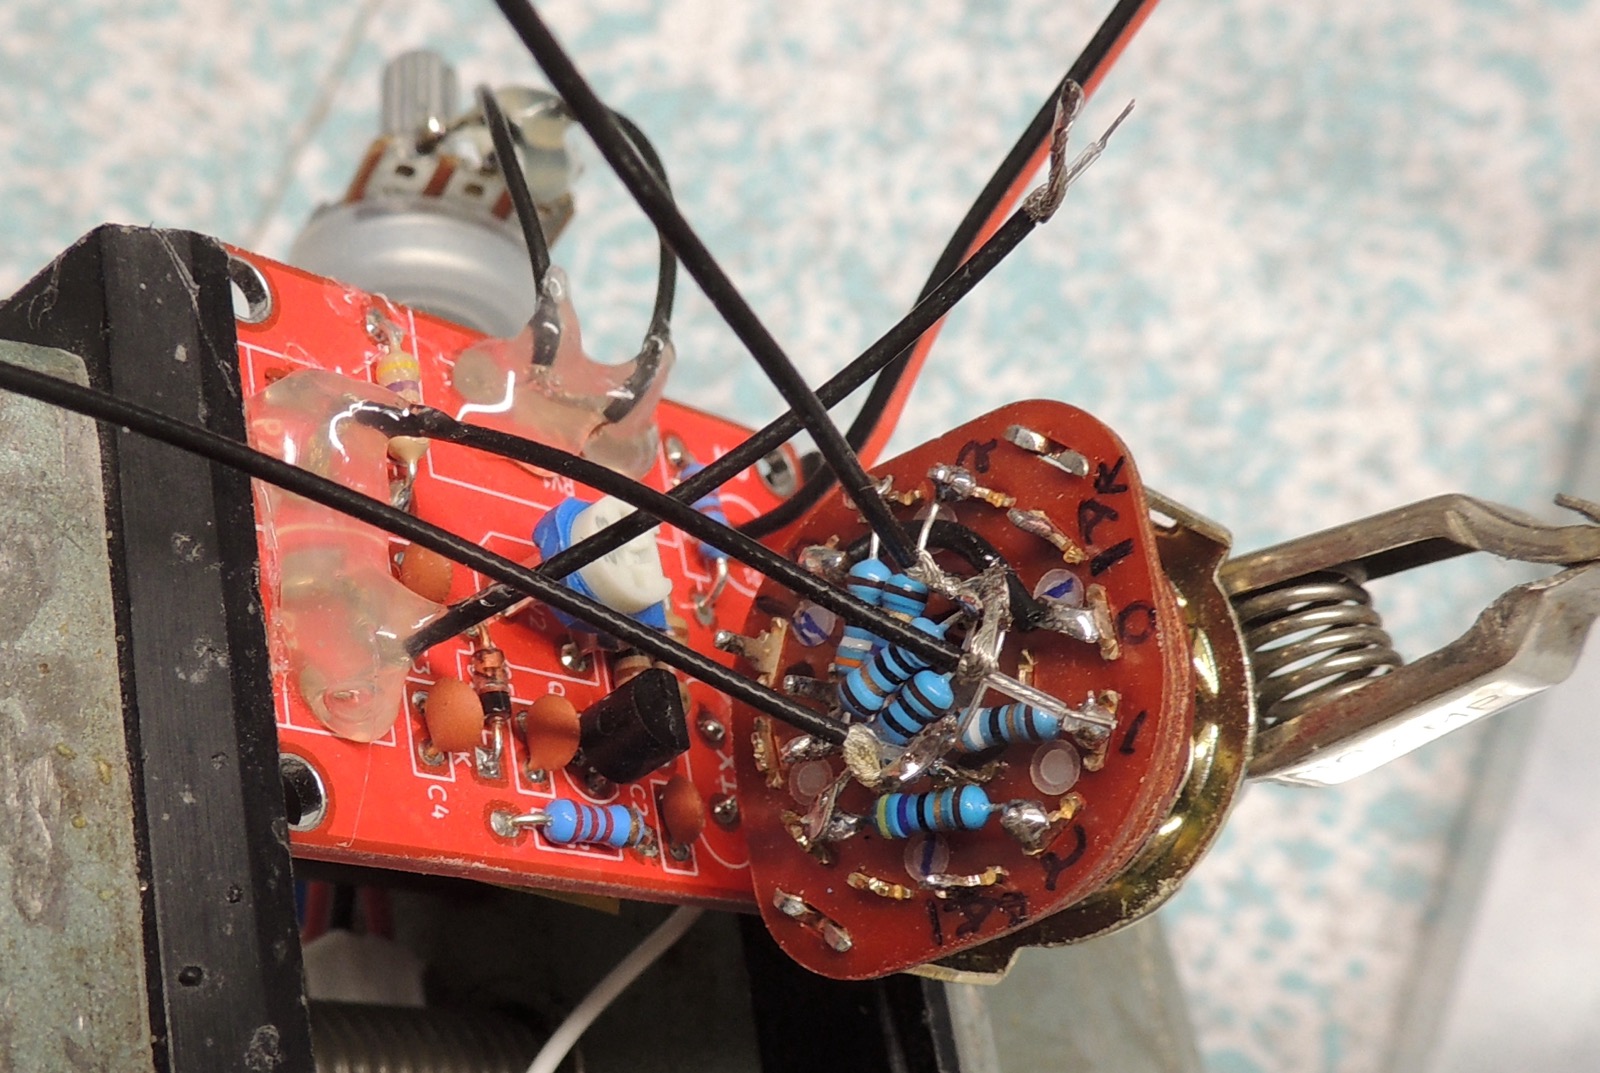
| 07 ready for fit-test and hot glue | 08 attaching the control knob | 09 attaching the control knob | 10 resistor network on attenuator | 11 adding coax |