back to soldering examples
SB50 assembly problems
SB50 assembly problems:
Soldering the larger SB50-style connectors is already a hassle, often requiring either a torch or a crimping
tool, but if you go the soldering route, there are some problems to look out for, that will create problems
with the connectors not fitting together well. Here are some examples of some common problems I run into.
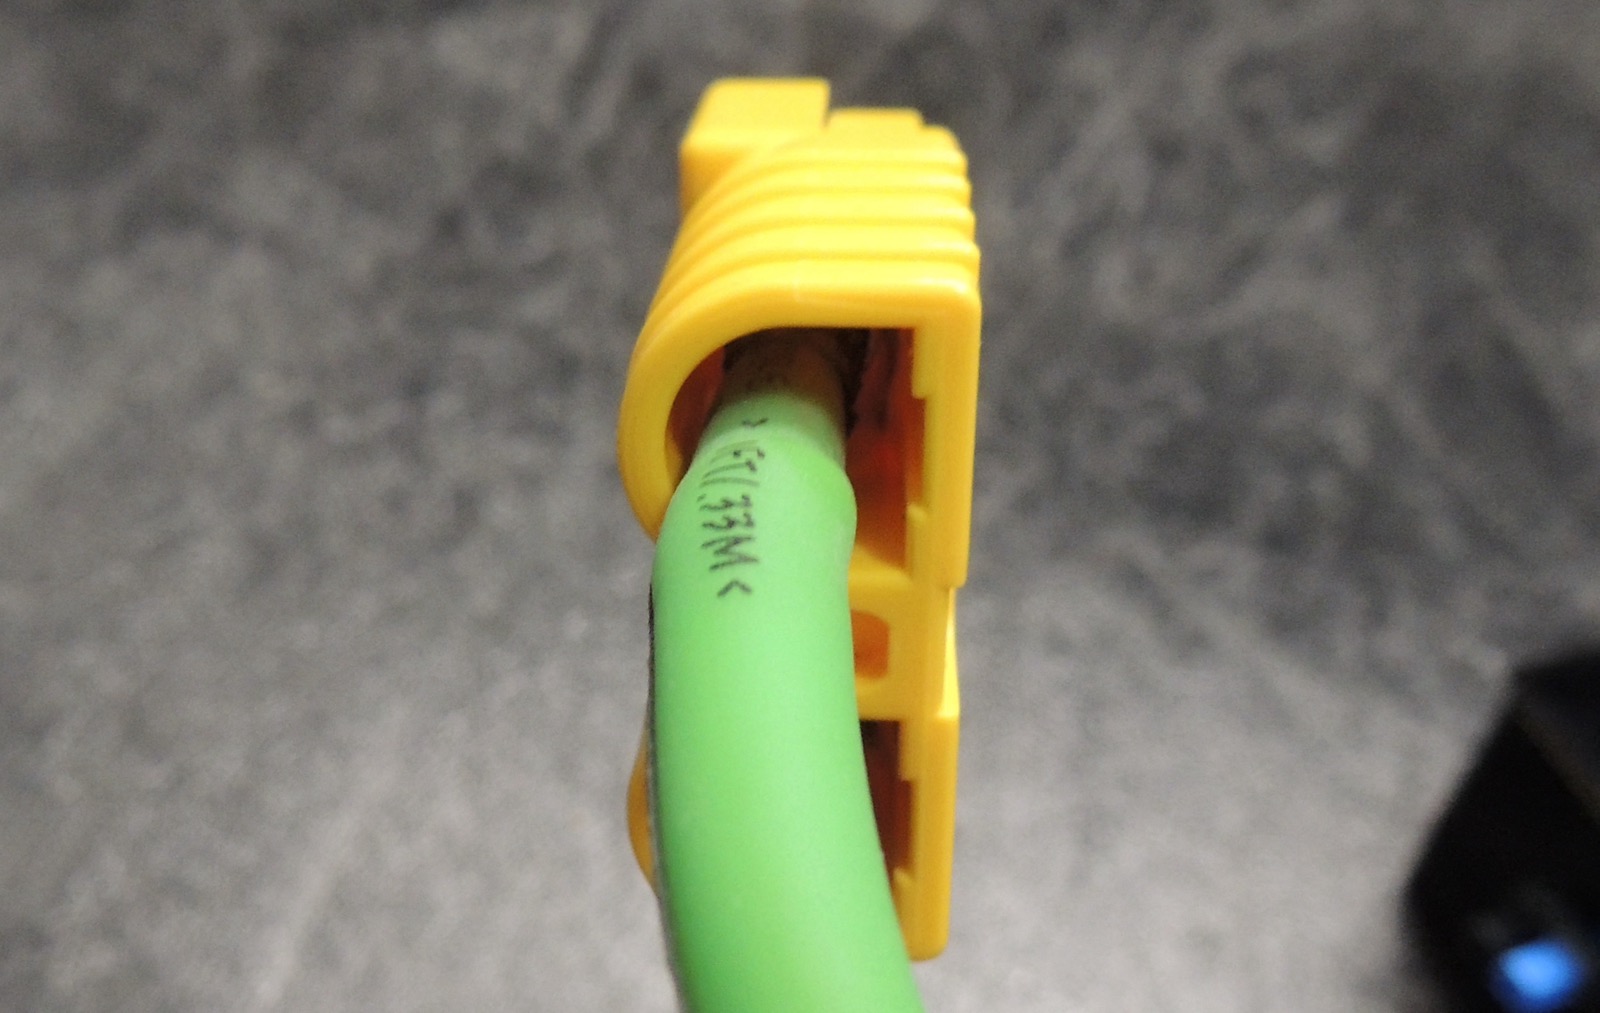
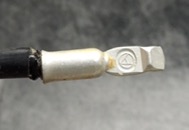
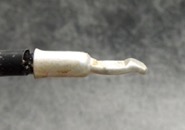
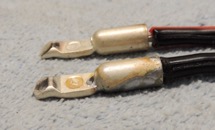
Exit wire bent: it's very tricky to precisely judge the angle the wire exits out the back of the connector.
If the angle is wrong, specifically bending toward the rounded side of the housing, it can prevent the
contact from being able to fully retract, leading to difficulty connecting or disconnecting housings. This
problem is made worse with thicker wires, that will have a more dramatic hinderance to contact movement.
The example pictures show a wire that's exiting toward the shell, and after it's been bent back to center.
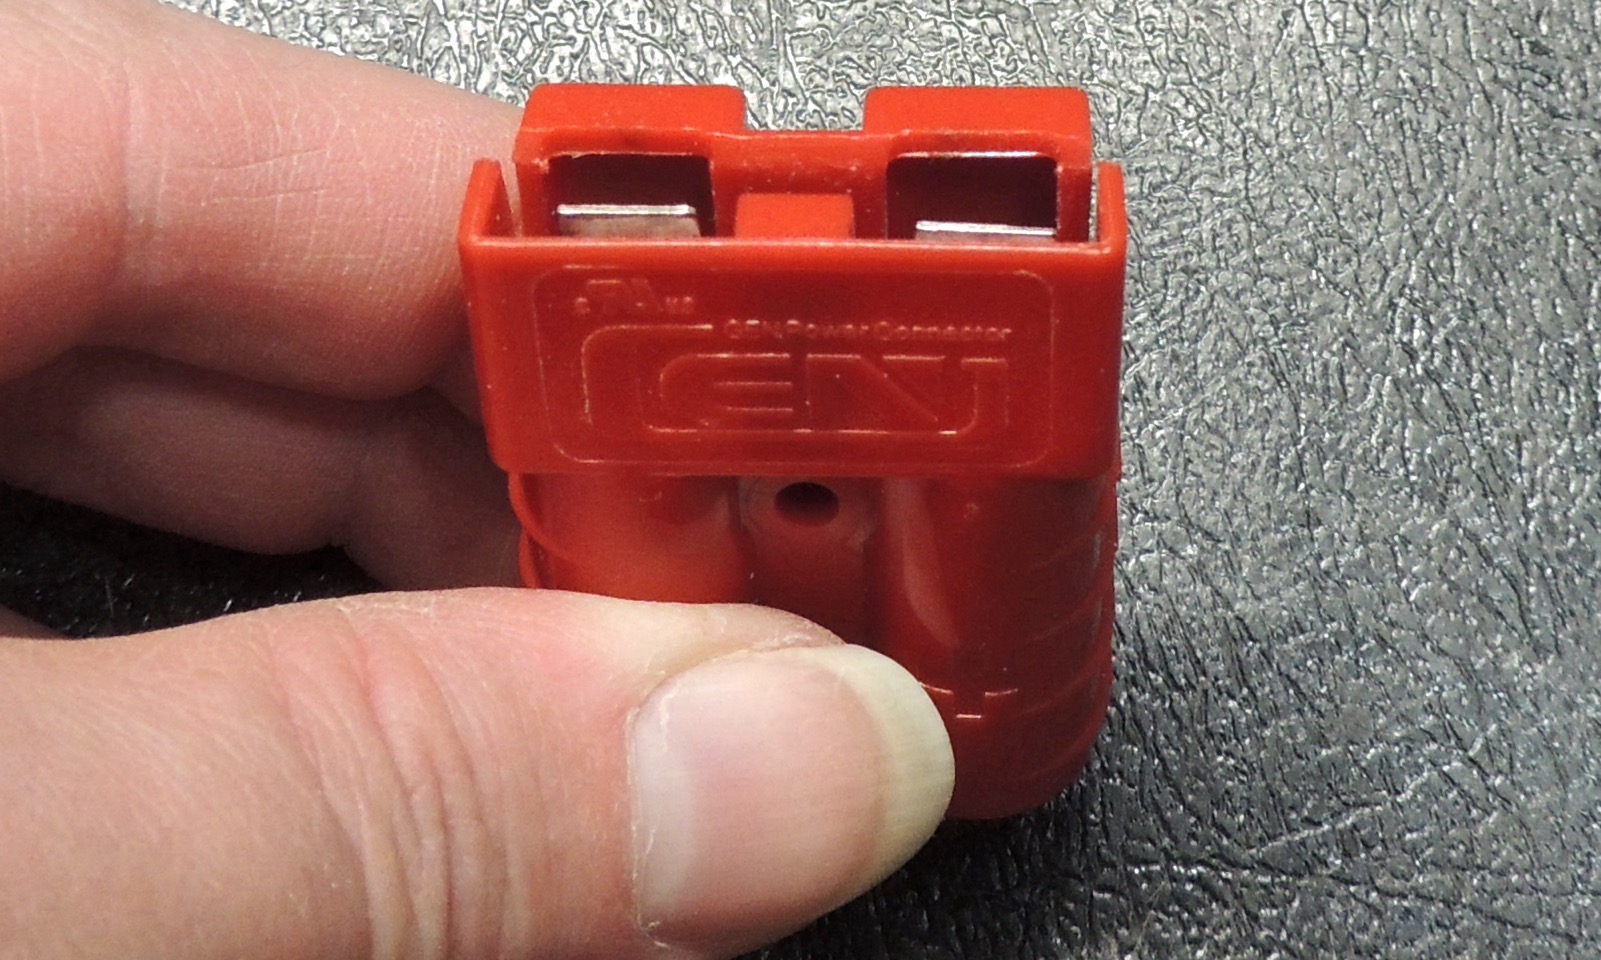
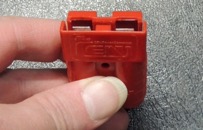
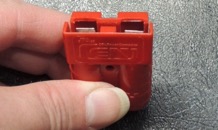
Housing spring loose: this is a housing defect either fron a low quality or defective connector, or from damage
trying to force a badly soldered contact in or removing it wrong. If the spring isn't staying centered (as
pictured) or is back from where it belongs, the contact won't fully engage and will lead to a loose connection.
You'll notice this as the contact not giving a satisfying snap/click as it fully engages, and requiring less
effort that normal to start the separation. All you can do is throw the housing away and replace it with a
good one. This bad generic housing was both loose AND retracted a bit, and went straight in the bin.
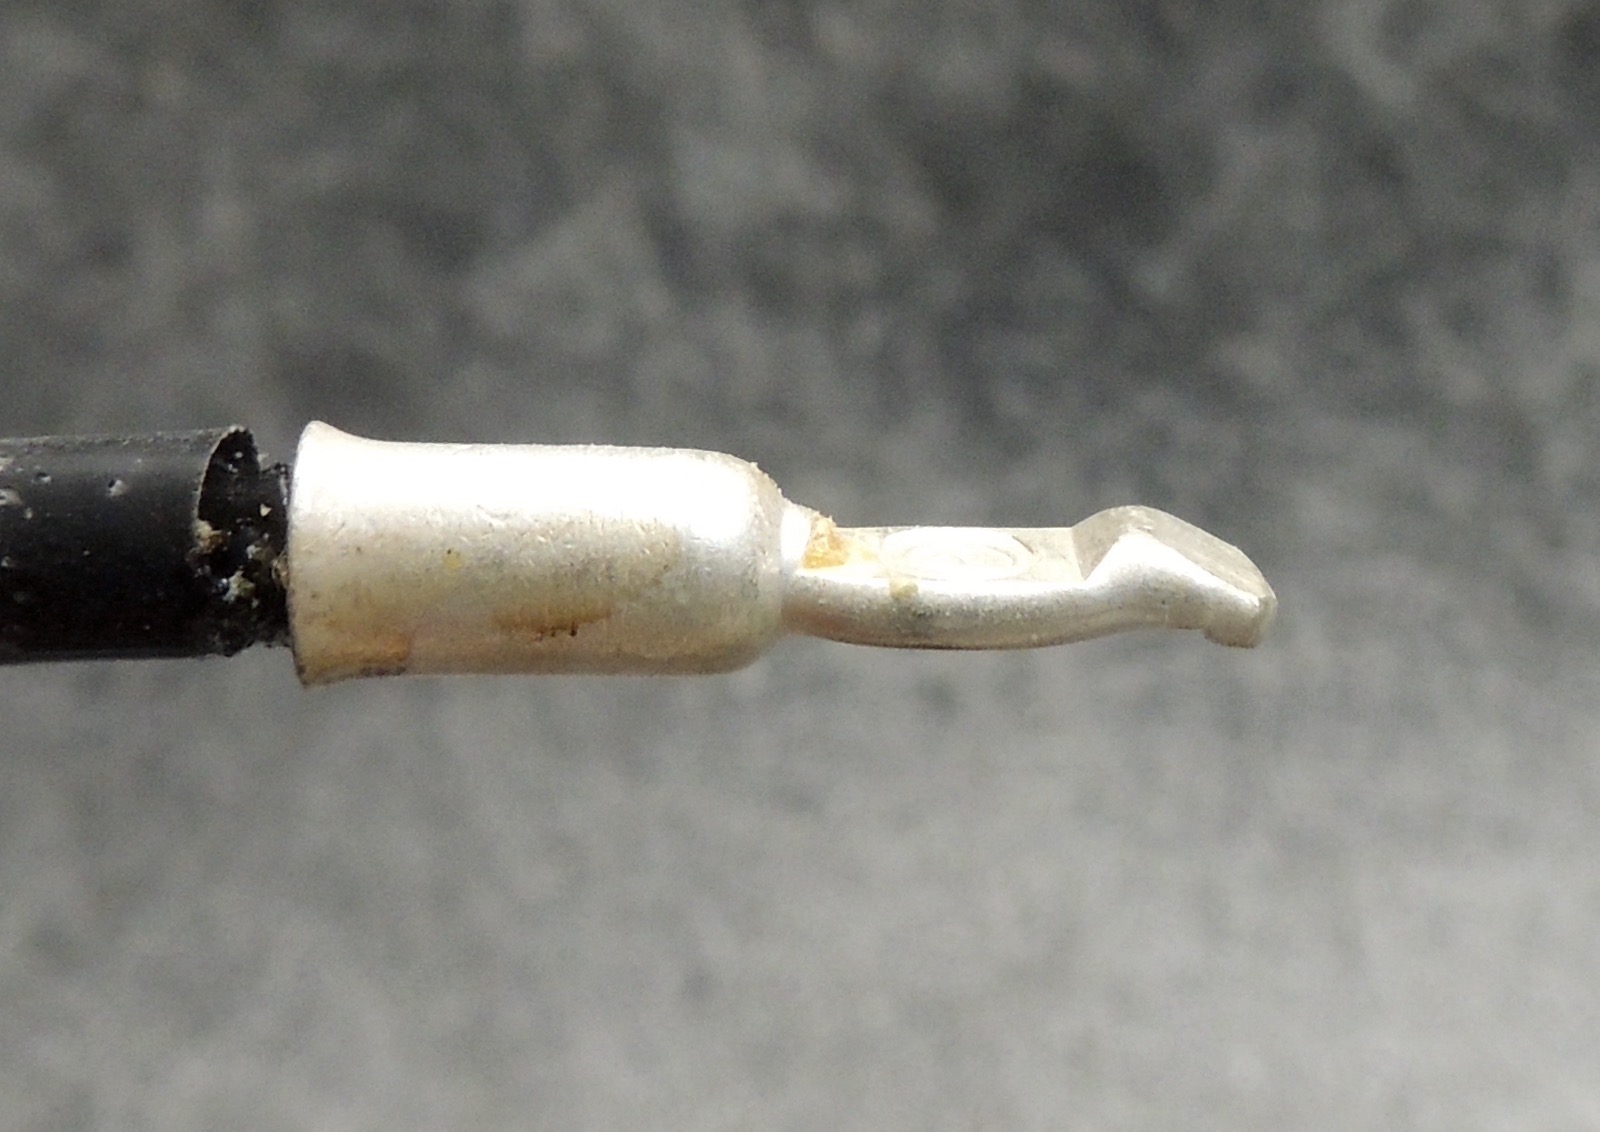
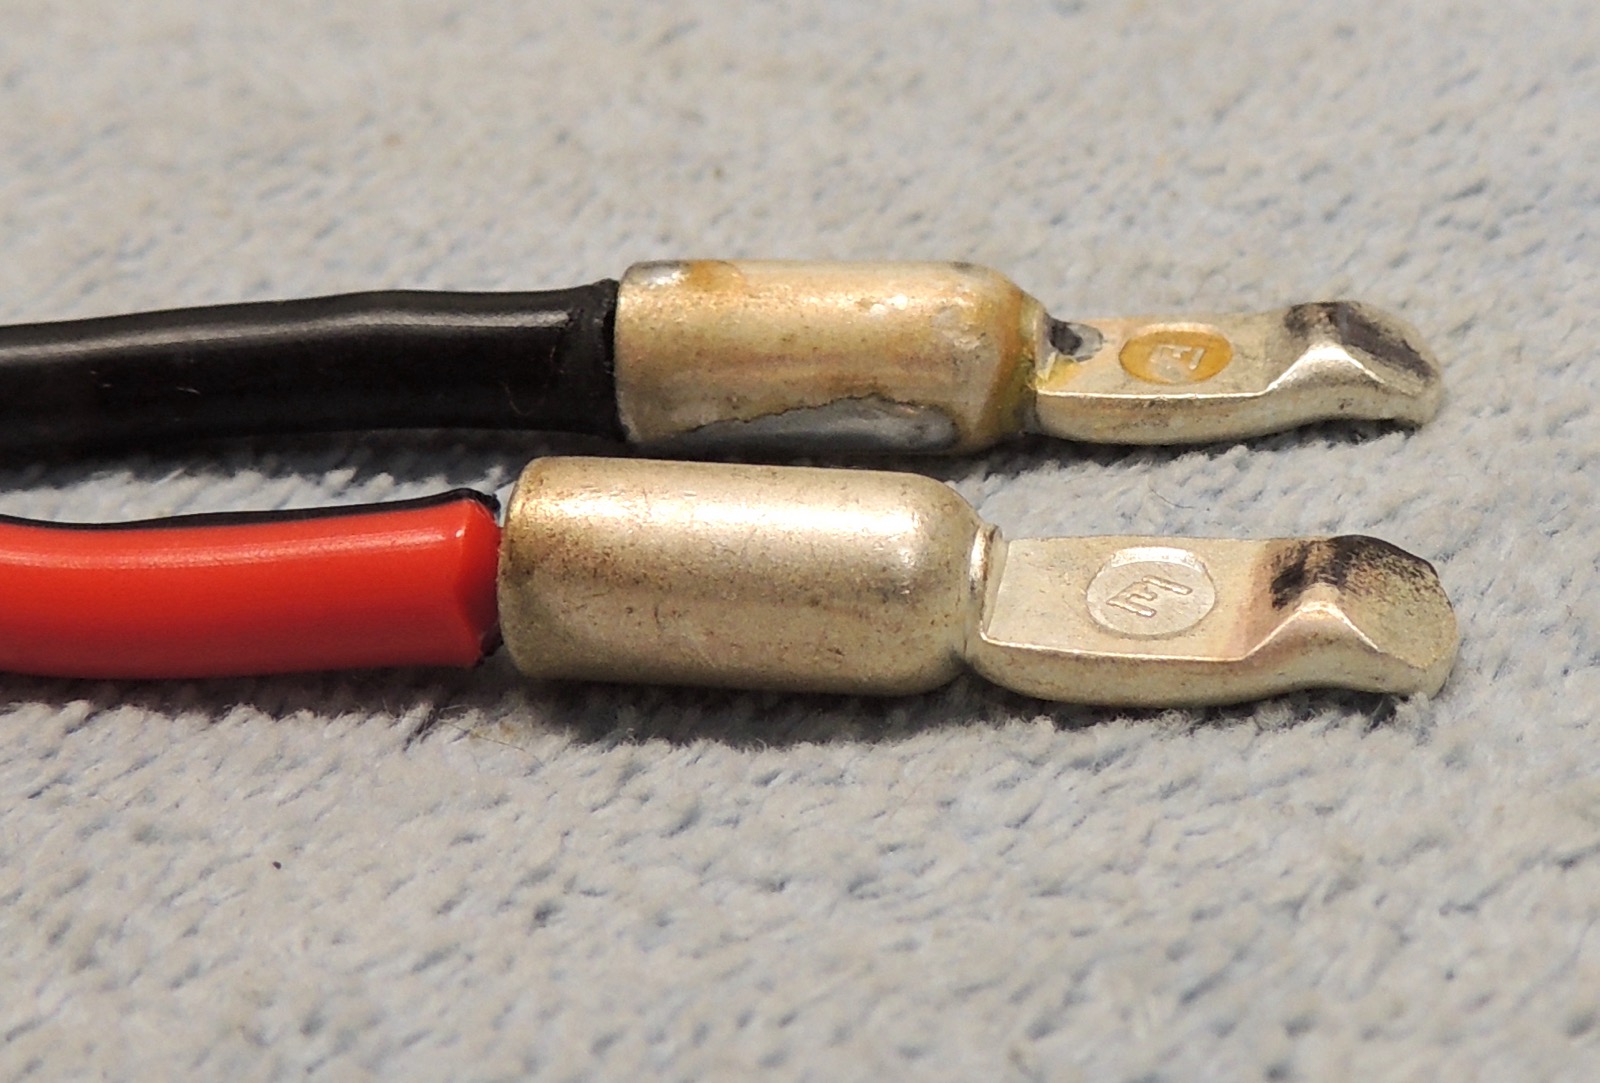
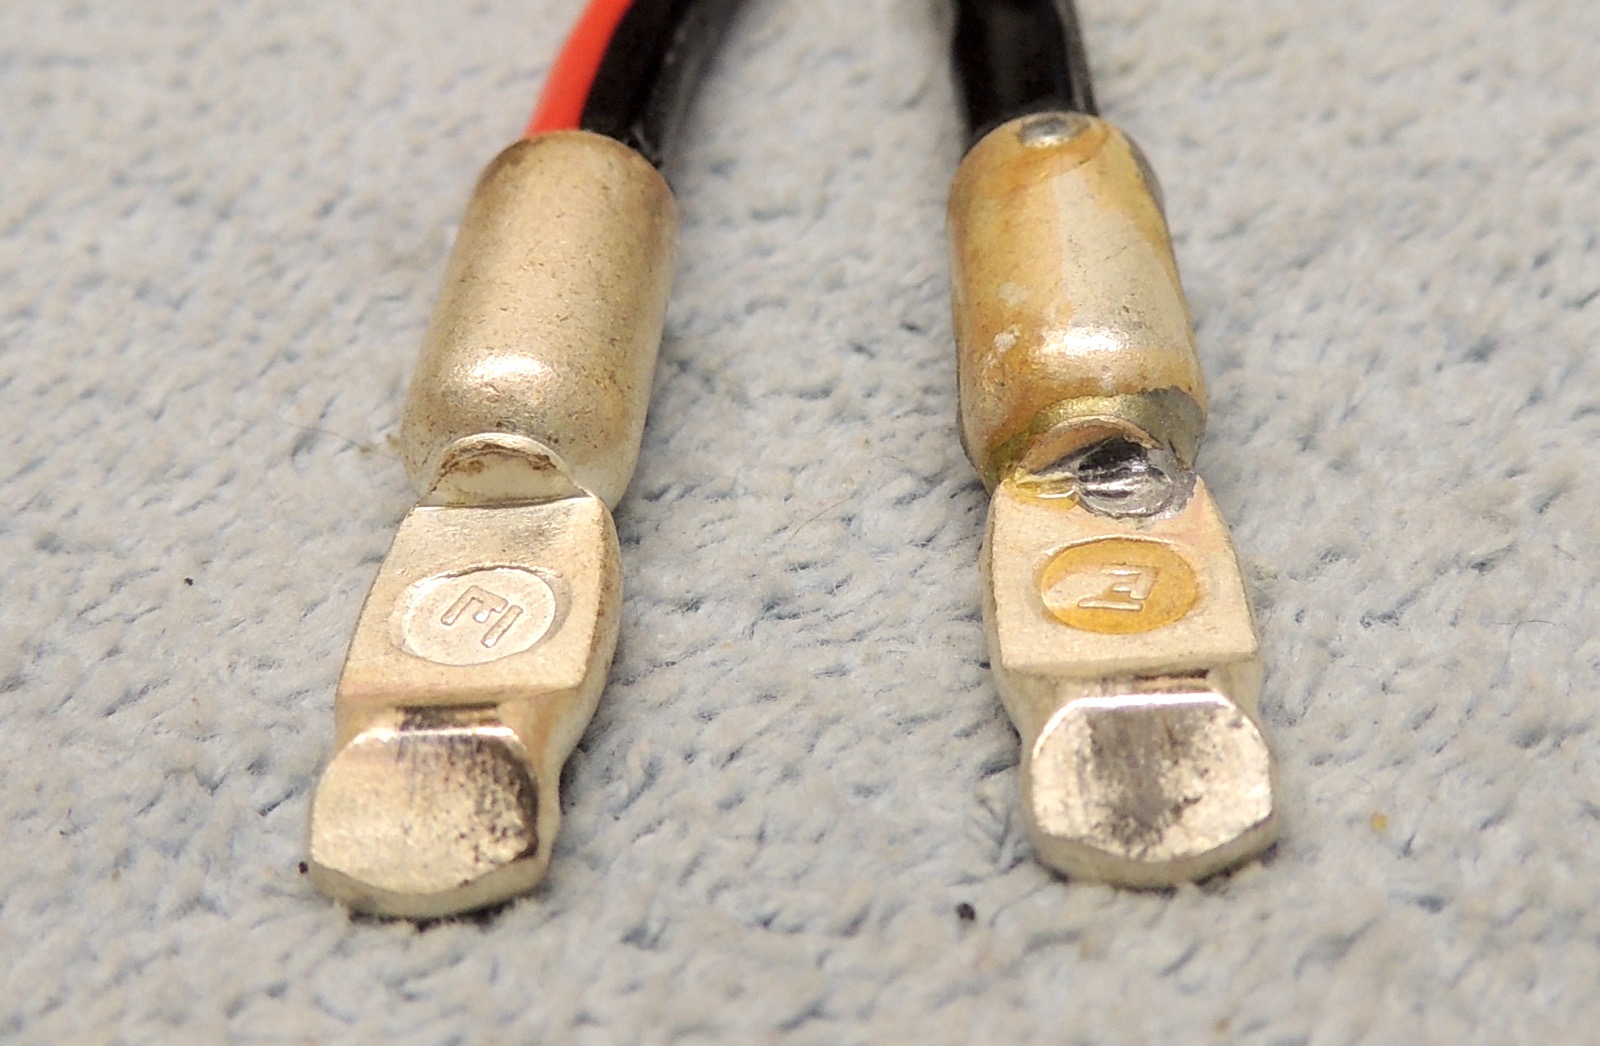
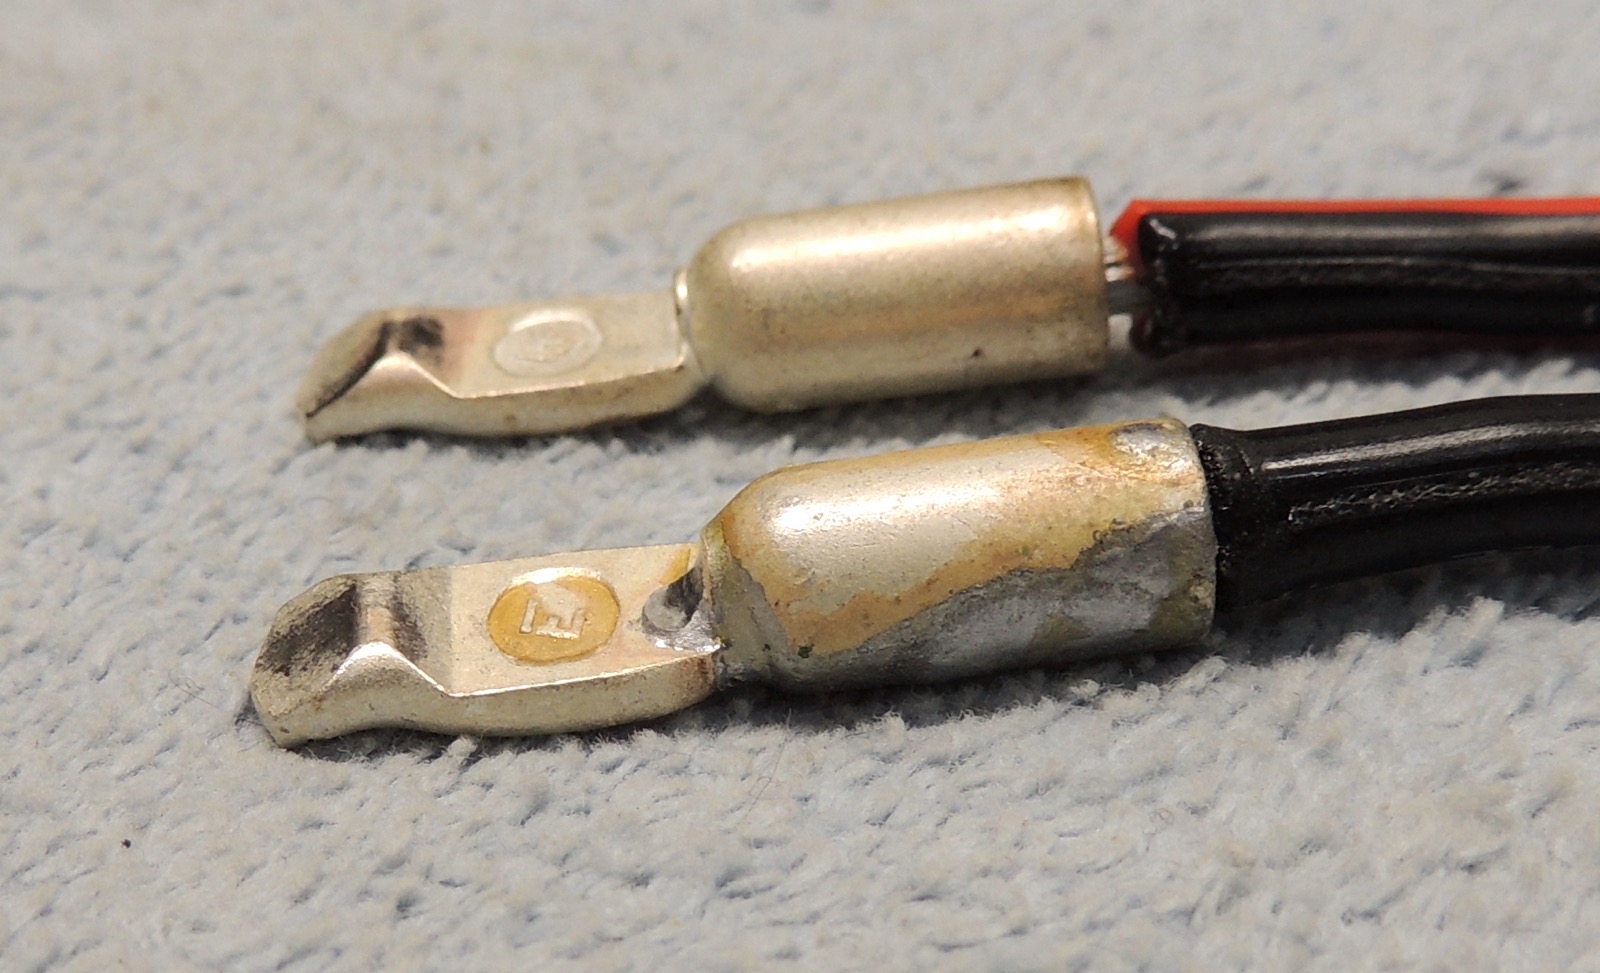
Interfering rosin: with the amount of solder you have to dump in, it's common to have some of it "bubble out"
the end of the contact as you're inserting the wire. If the rosin settles into that gap as pictured, the
housing won't be able to fully engage into the corner on the contact, causing the entire contact to move down
and compress the spring as would normally only hapen when connecting. This "pre-sunk" contact leads to loose
connections and less satisfying snap/click when connecting. I just use a blade to scrape out rosin from here.
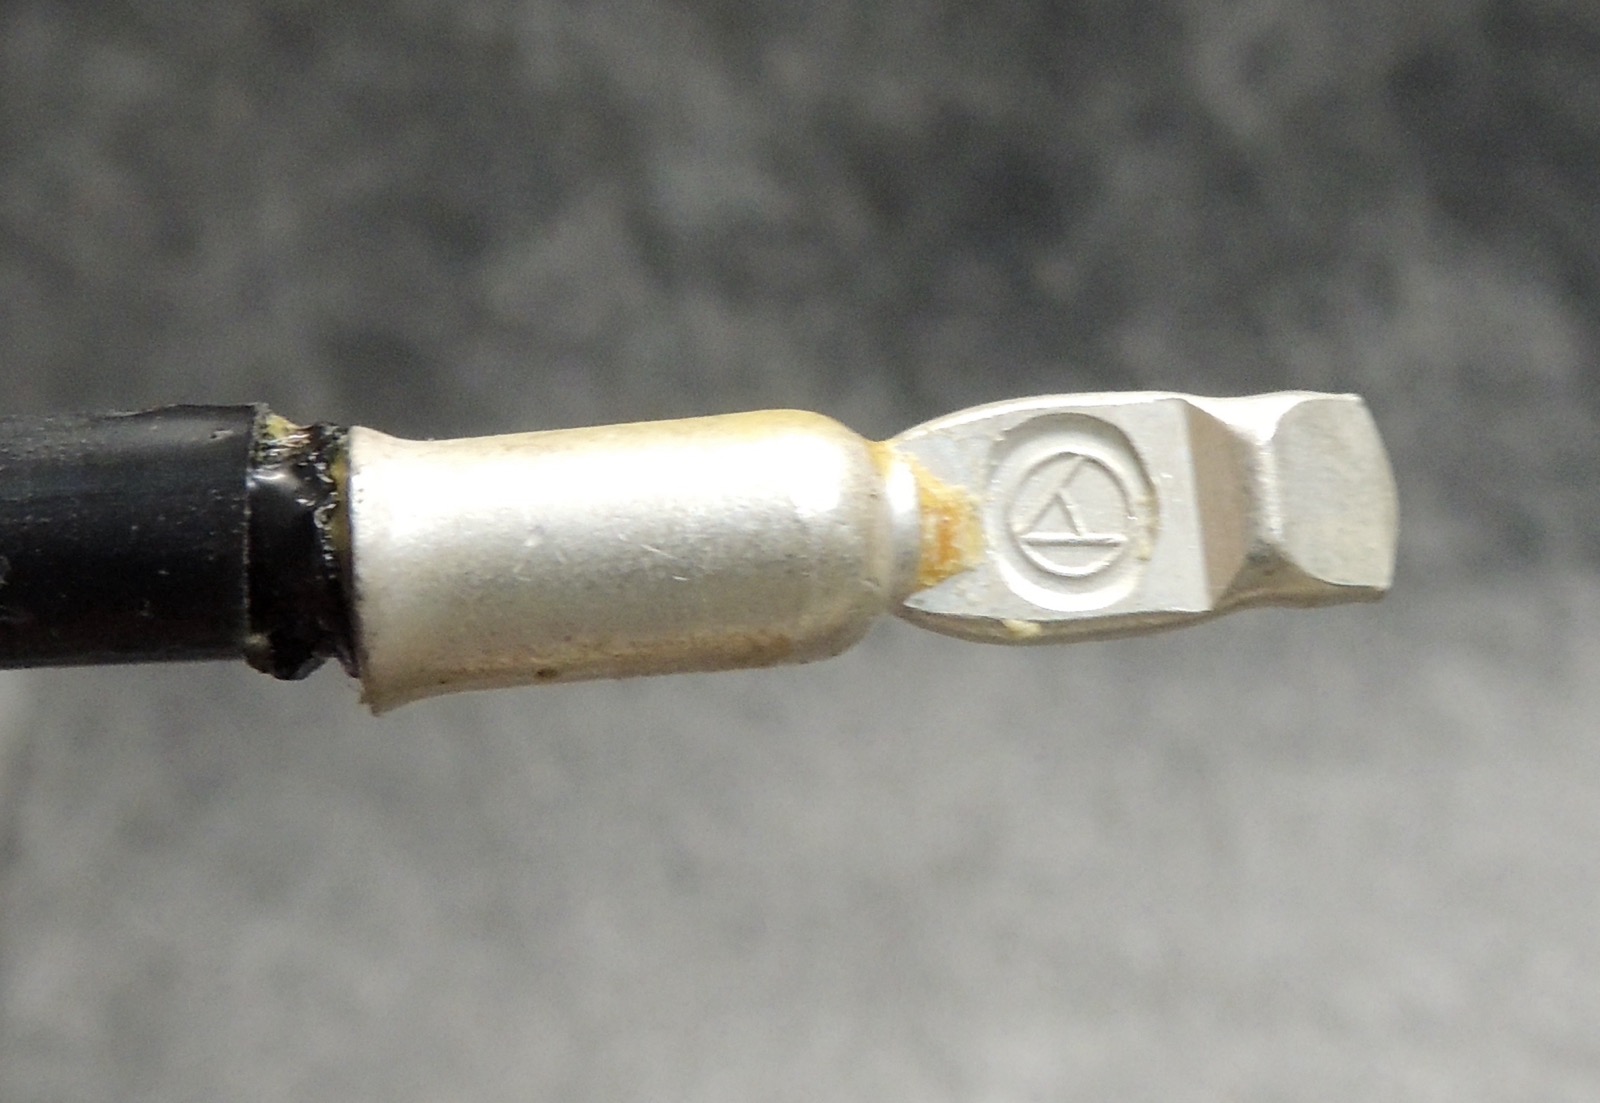
Interfering solder: this causes the same problems as the rosin can at the same location. The rosin might give
a little when trying to insert the contact, and just require a little more force to fully insert and lock the
contact, but SOLDER there will require significantly more force to insert, make removal quite difficult, and
will even deform the inside of the housing that belongs in that corner of the contact. It's also harder to
fix. Remove large amounts of solder with iron or torch, and use a sharp strong blade to carve out any solder
that remains until you're left with just the original clean corner.
In the one picture you might think I've already started removing the solder, but that was actually a dent
in the solder made by the HOUSING as I was struggling to remove it to fix. The housing was visibly dented a
bit but should be okay.
Another problem I don't have a picture for is getting rosin (or solder) on the mating surface of the contact.
The two contact "pyramids" slide over each other and mate on the inner side of the pyramid. So if there's
rosin there, clean it completely off. Solder may be more of a fight to get rid of.

|
|
|
|
|
|
| exit wire bent 1 |
exit wire bent 2 |
housing spring loose 1 |
housing spring loose 2 |
interfering rosin 1 |
interfering rosin 2 |

|

|
|
|
|
|
| interfering solder 1 |
interfering solder 2 |
interfering solder 3 |
|
|
|
highest resolution images
last updated 05/20/2025 at 15:50:27 by make_www_index.command version 2025.05.20.B