back to SB series (50,120,175,350)
SB50 soldering
SB50 soldering:
I gave up trying to use a regular soldering iron to solder anything heavier than 10ga wire to an SB50, (and I
don't like crimping them) so I developed a technique of using a little propane torch to solder them. I don't
have any pictures of the process (yet) but I'll try to describe it here:
- measure the depth of the contact, and use a blue sharpie to mark a line around the wire jacket at that length
- use an x-acto knife to cut the jacket at the line and expose the copper
- wrap 3-4 turns of polyimide film tape around the end of the jacket, to protect from the torch
- place a contact in a metal-jawed pan-o-vise, with the opening facing upward
- use an adjustable clamp to position the wire above the contact, about 1/2 inch above it and an inch back
- ignite the torch and heat the contact for about 10 seconds. keep the torch on the contact.
- feed in about 10 inches of solder into the contact. the goal is to fill the contact about half-way with
solder, and another 1/4 will be hot rosin, so the rosin will come up to about 2-3mm from the top of the contat
- move the wire up to the contact, and slowly lower it in. allow the rosin to wick up into the wire and then
slowly push the wire further into the contact, wicking in solder and lowering the level of the solder
- continue to press down and pause, until the wire hits the bottom of the contact. if you added the correct
amount of solder, it should just be coming up to reach the lip of the contact as the wire jacket is reaching
the contact and the wire is bottoming out
- just before removing the torch, verify that the wire is coming up straight away from the contact. if it is
at an angle, adjust the wire so that it is straight in line with the contact.
- remove the torch but continue to hold the wire in place for several seconds until the solder has cooled
- remove the contact from the vise and disconnect the wire from the clamp. set aside to cool. use this time
to solder any additional contacts you have
- once reasonably cool, remove the polyimide film tape from the jacket
- verify the wire is coming straight out of the contact. Use a pliers and vice grips to adjust the wire angle
if necessary, otherwise you will have problems inserting the contacts into the SB50 housing.
- remove any rosin from the outside of the contact if it overflowed out of the contact while you were soldering
- remove any solder that overflowed out of the contact, regardless of where it ended up. it will either cause
problems with correctly engaging the other connector, make connect/disconnect difficult, or make it hard or
impossible to insert and lock the contact into place.
- insert the contacts part-way into the SB50. Verify you have the + and - going into the correct sides of the
connector.
- look at the end of the contact through the mating end of the SB50. Twist the wire to align the contact
correctly before trying to push it further in. Press firmly on the wire to fully insert and secure the
contact on the leaf spring inside the housing.
- you should hear a satisfying 'Click' as the contact engages with the spring. Give the wire a bit of force
in and out of the housing to verify there is a very slight amount of freedom to move in and out. You want to
have around a quarter of a millimeter of free movement, as this will insure the SB50s will connect together
easily and securely. Problems with the wire angle leading away from the connector, or solder where it doesn't
belong can cause SB50's to be difficult to fully connect and disconnect,or fail to 'Snap' together and hold
firmly. Properly assembled contacts are not too difficult to connect, but not too easy to disconnect.
- If one side of the connector is too difficult or too loose, one contact may have a problem while the other
contact is okay
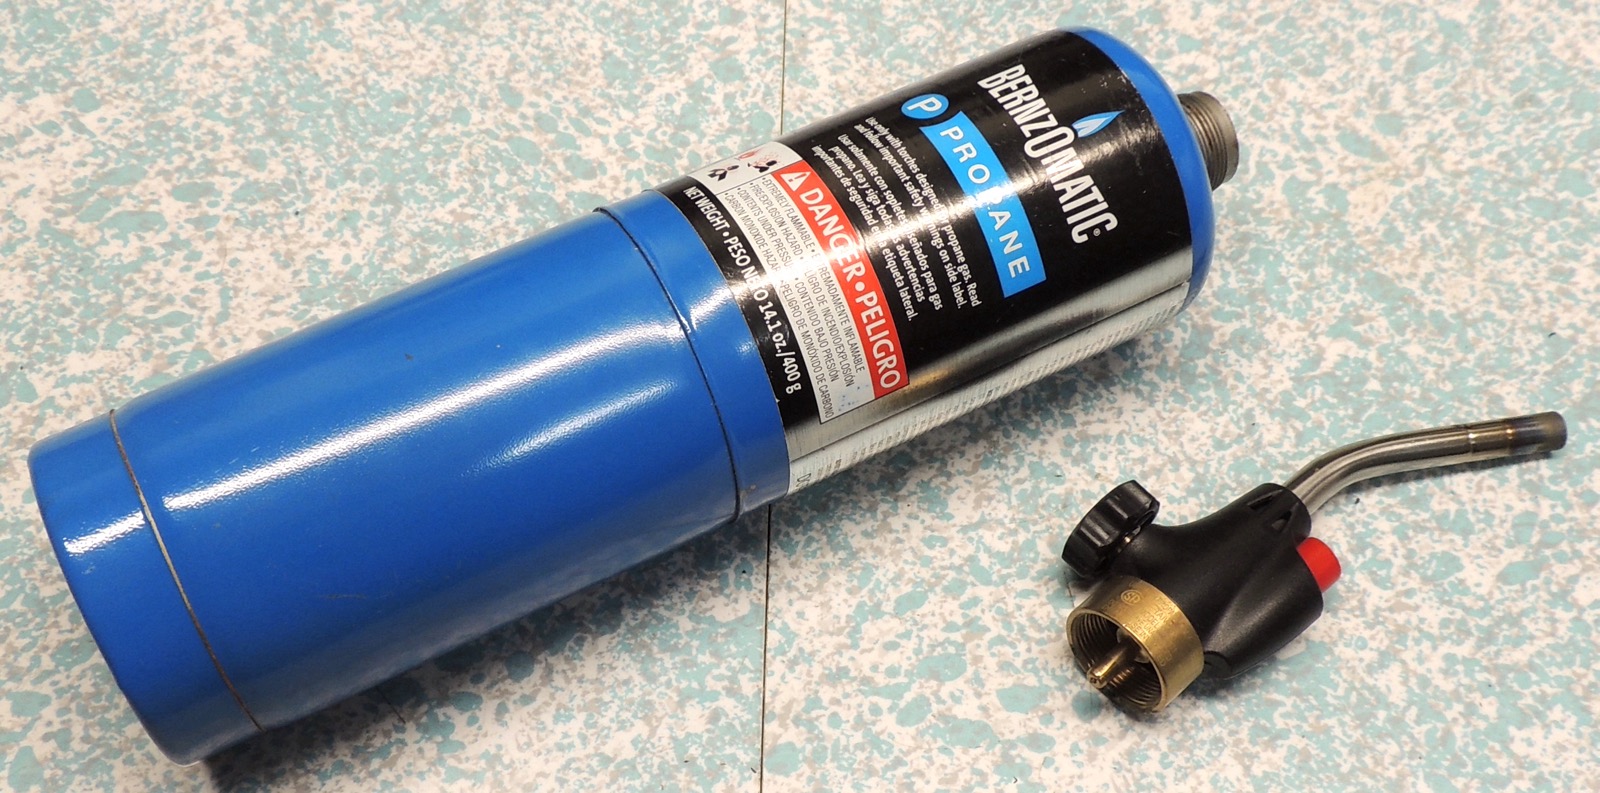
bernz-o-matic propane torch:

highest resolution images
last updated 08/04/2023 at 07:20:09