
|
|
|
|
|
|
|
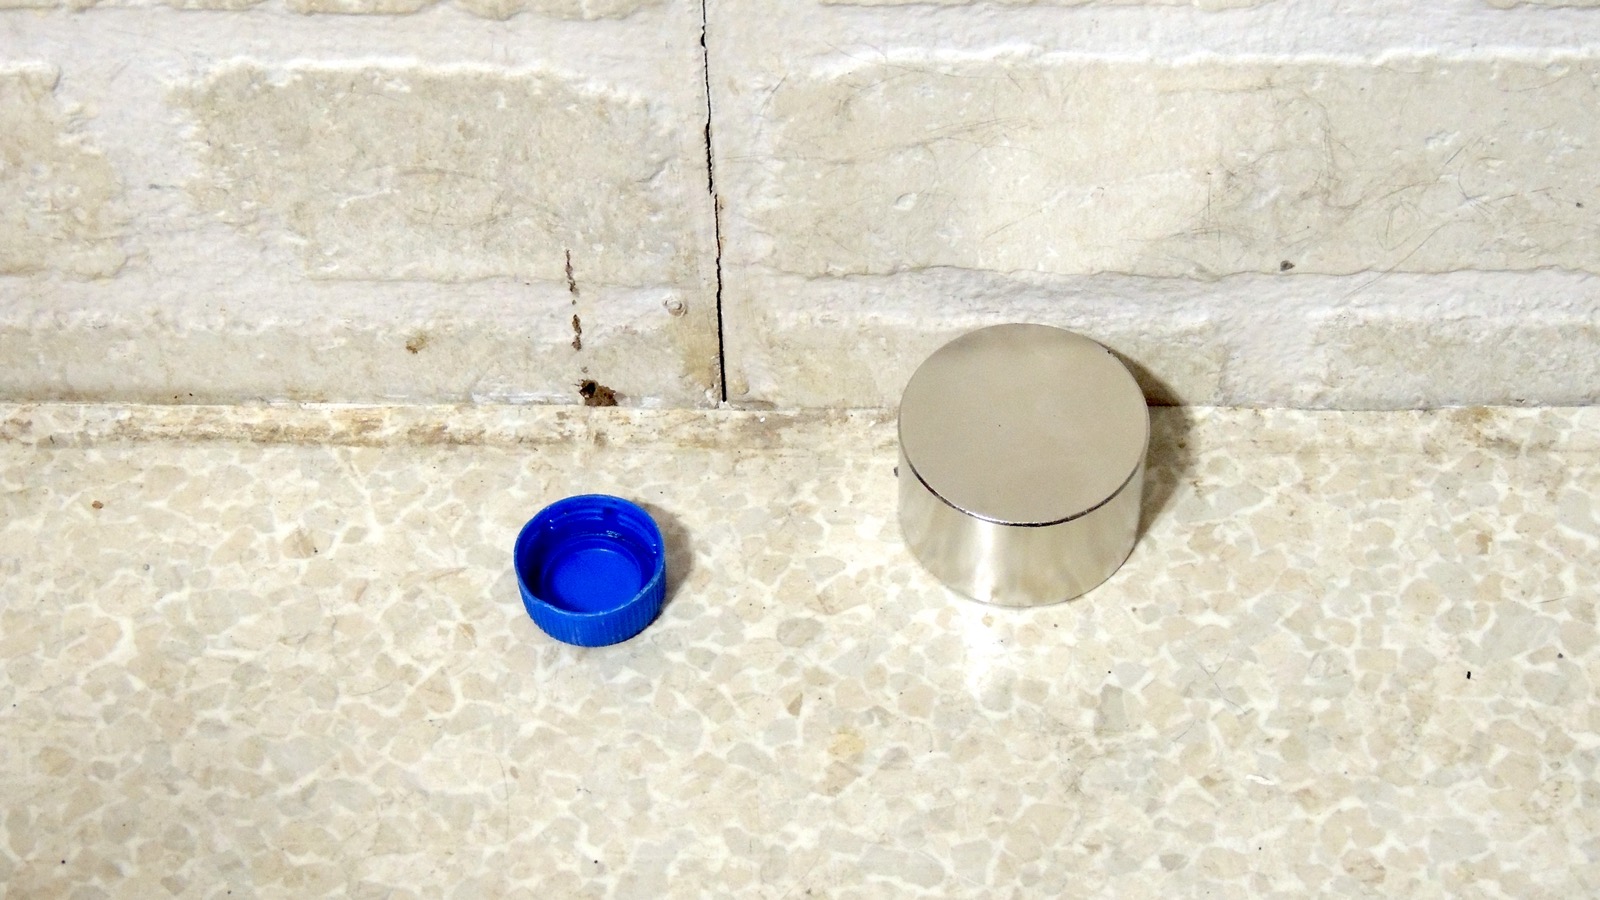
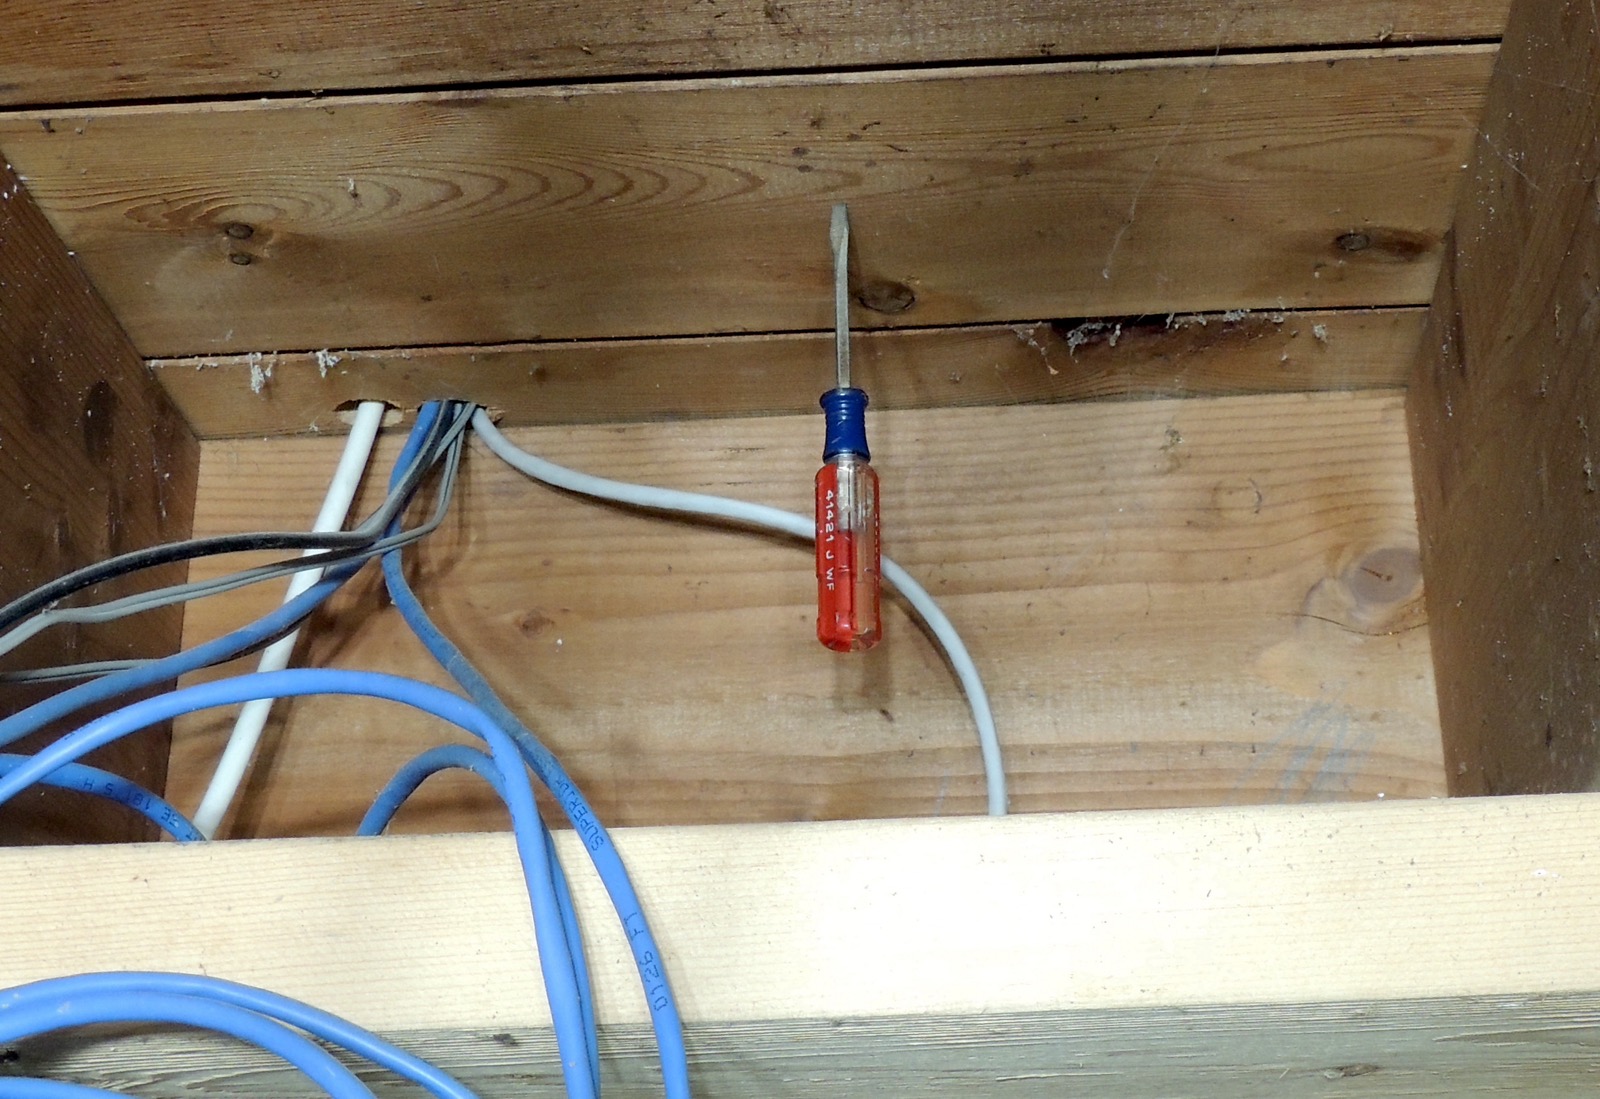
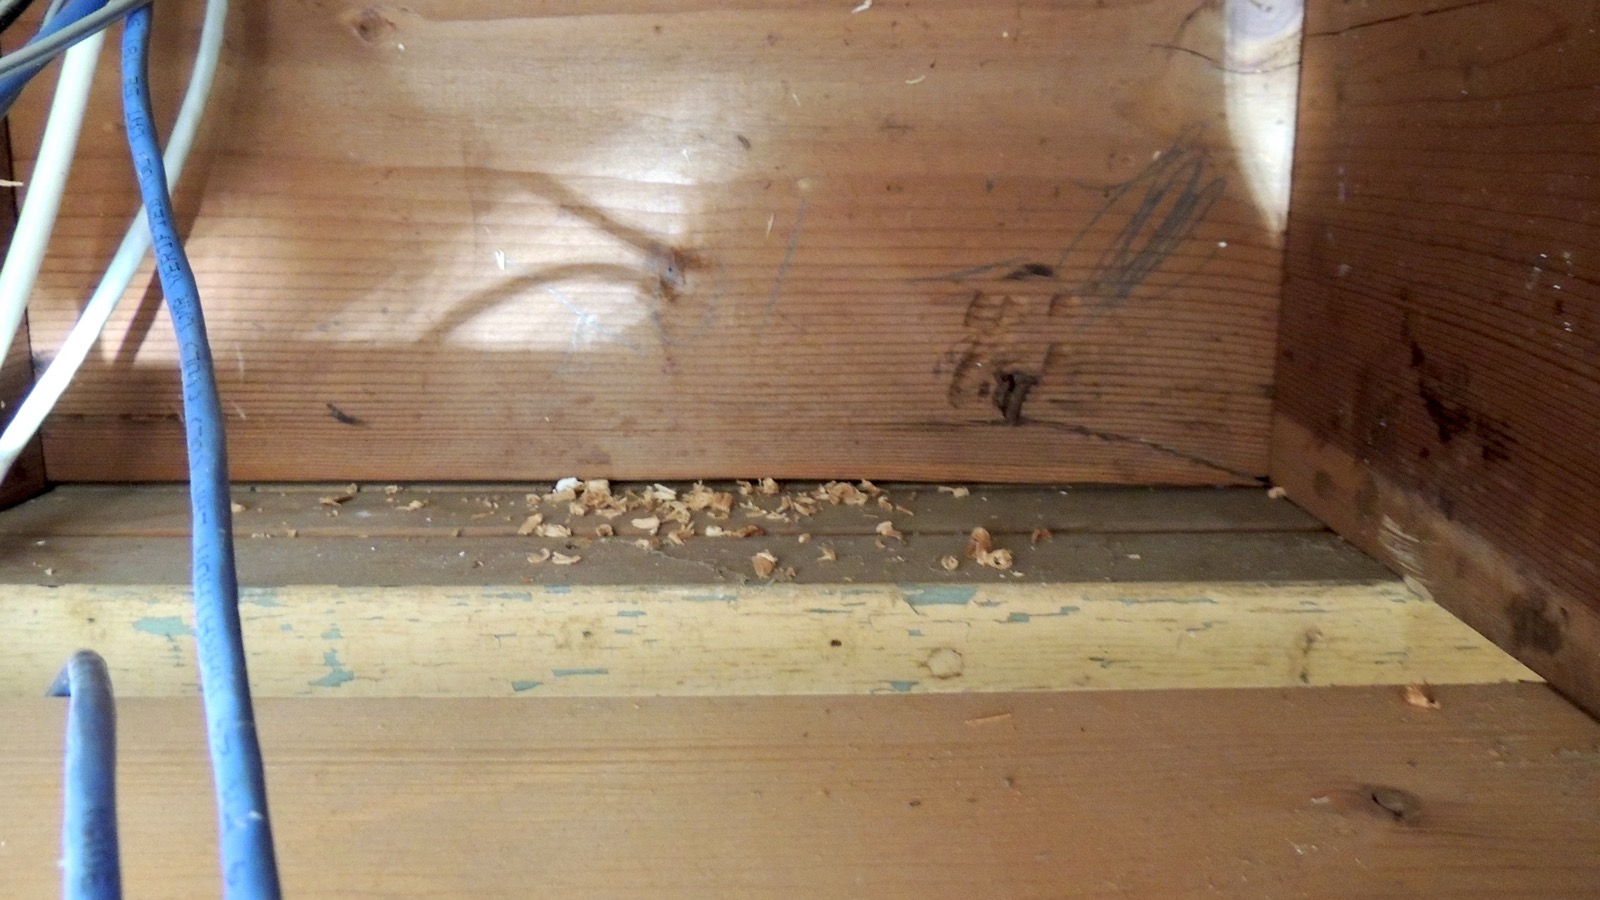
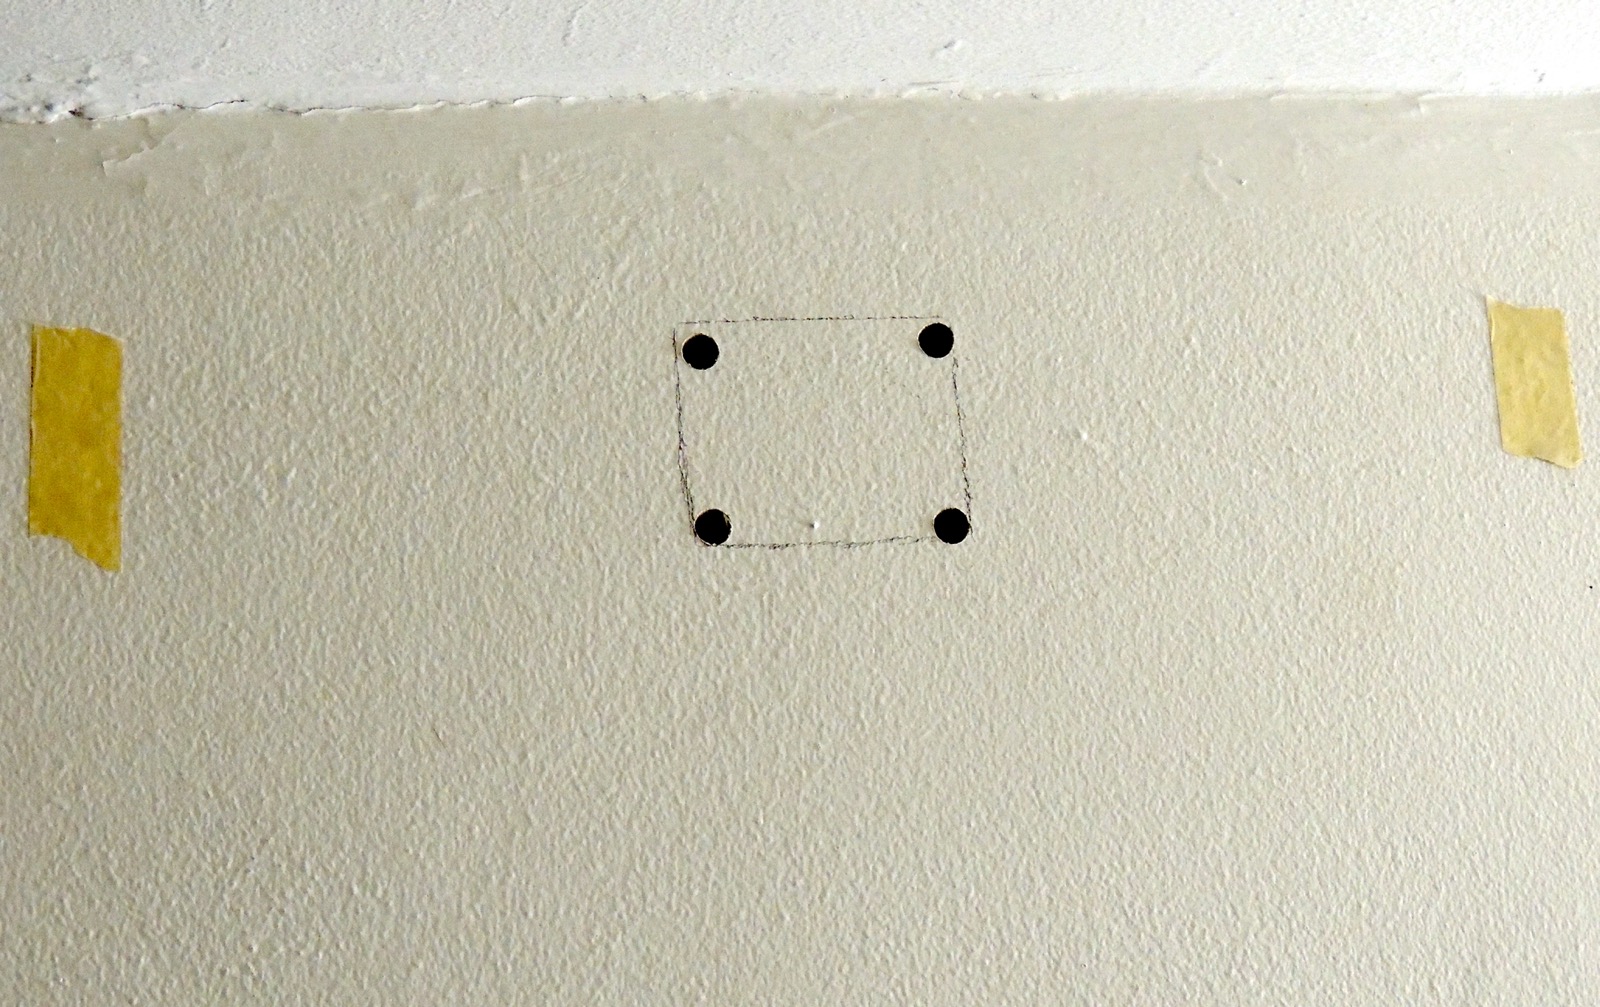
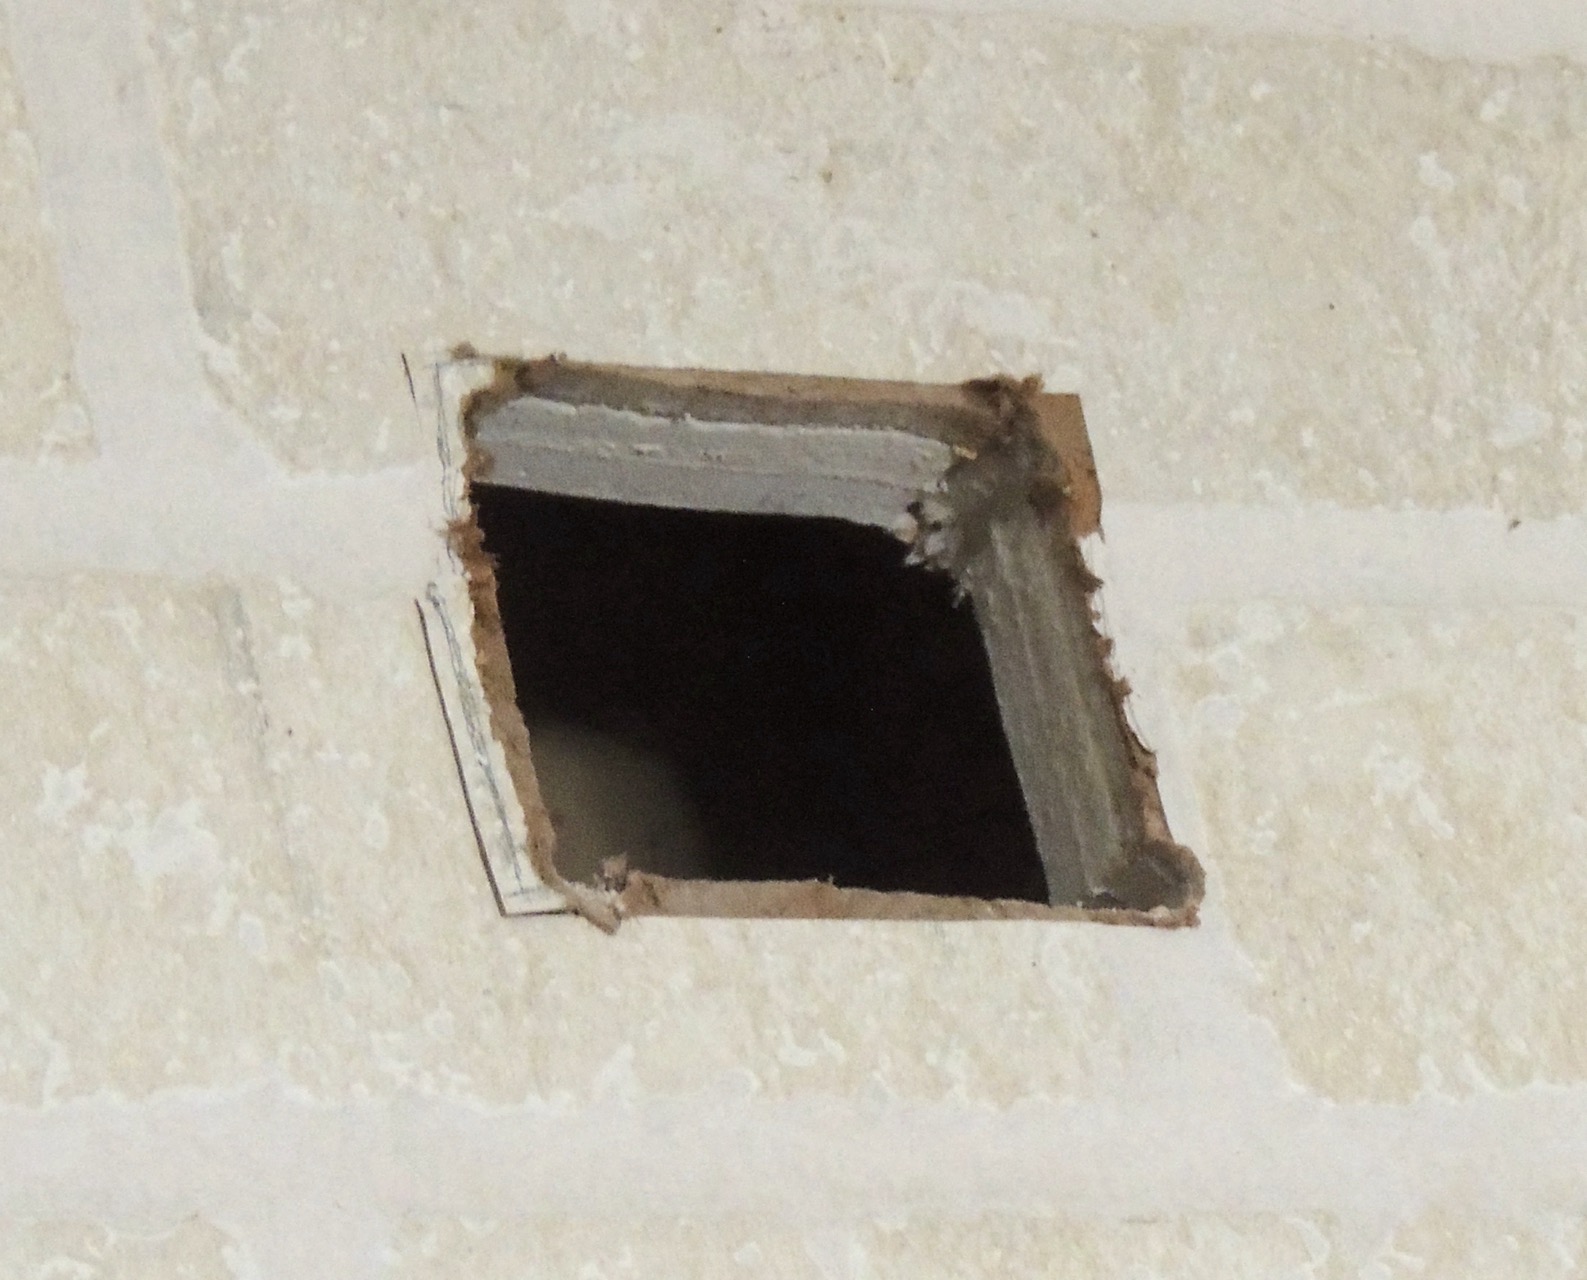
| 1 locating basement hole magnet (it's a big-un - soft drink cap for scale) | 2 locating basement hole screwdriver (I think I found the magnet) | 3 basement hole drilled | 4 clean-up in aisle 5 | 5 wall marked and pilot holes drilled | 6 hole cut (just look a how thick that wall is!) |
|
|
|||||
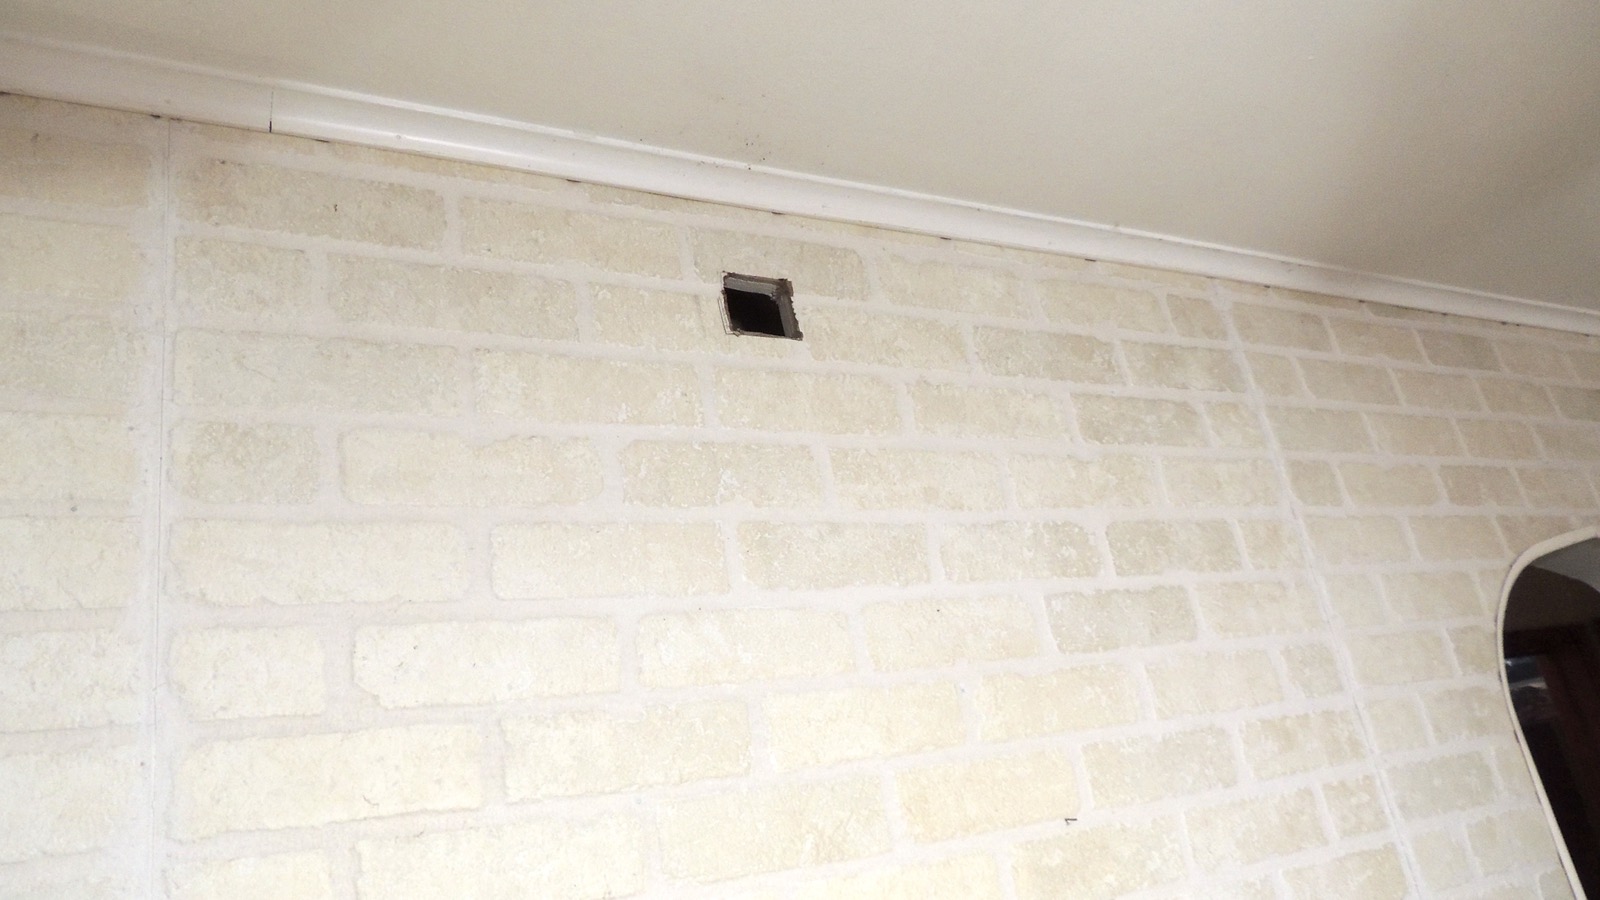
| 7 hole position |