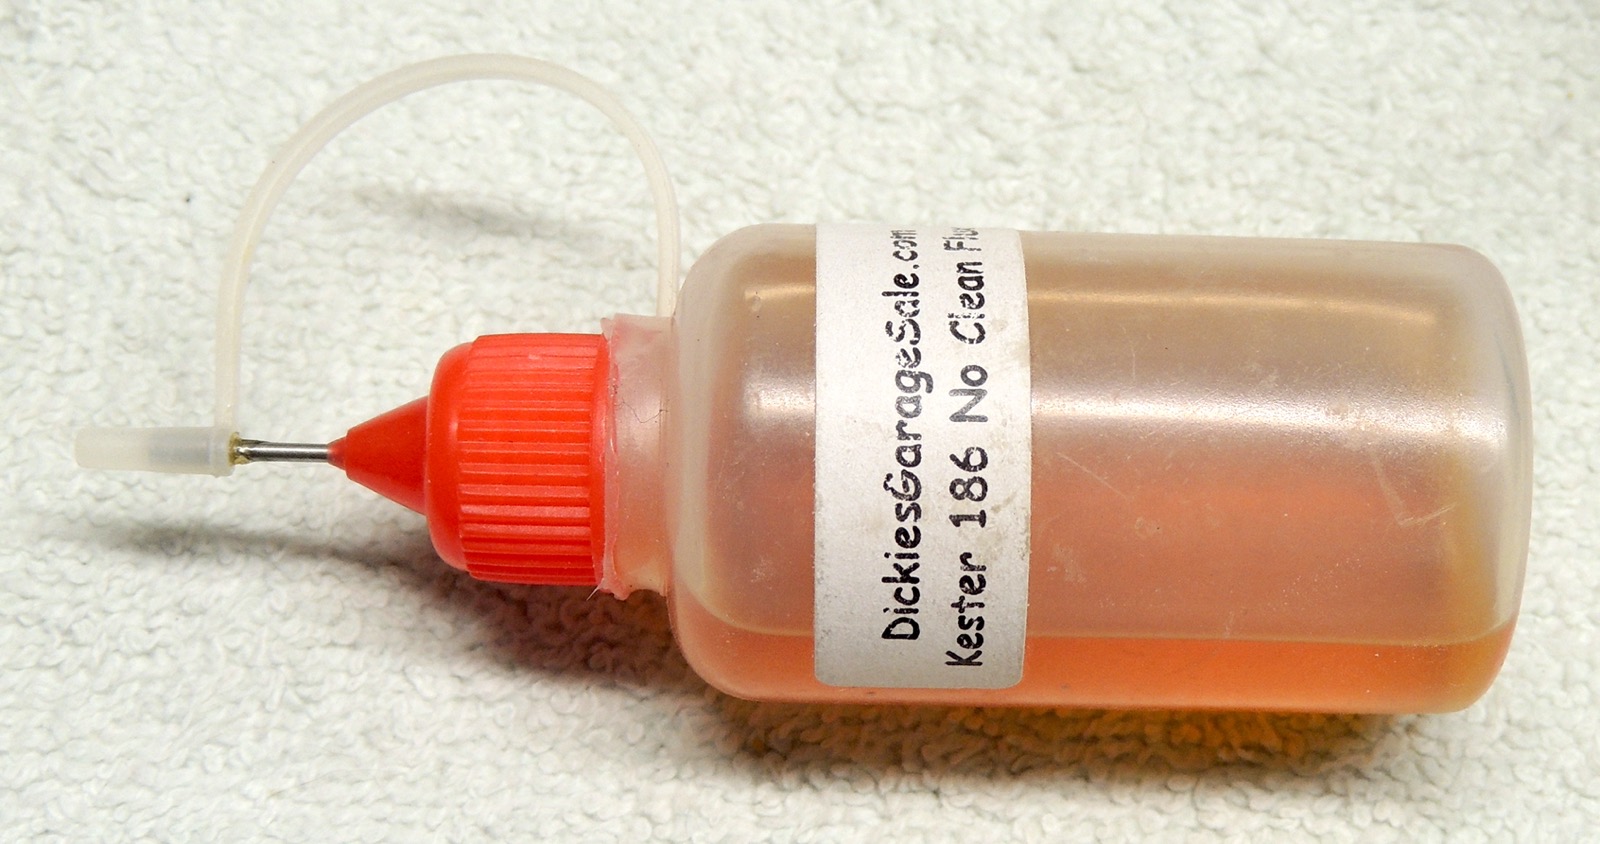
| DSCN6652 (Kester 186 in a needle bottle is super-helpful with soldering) |
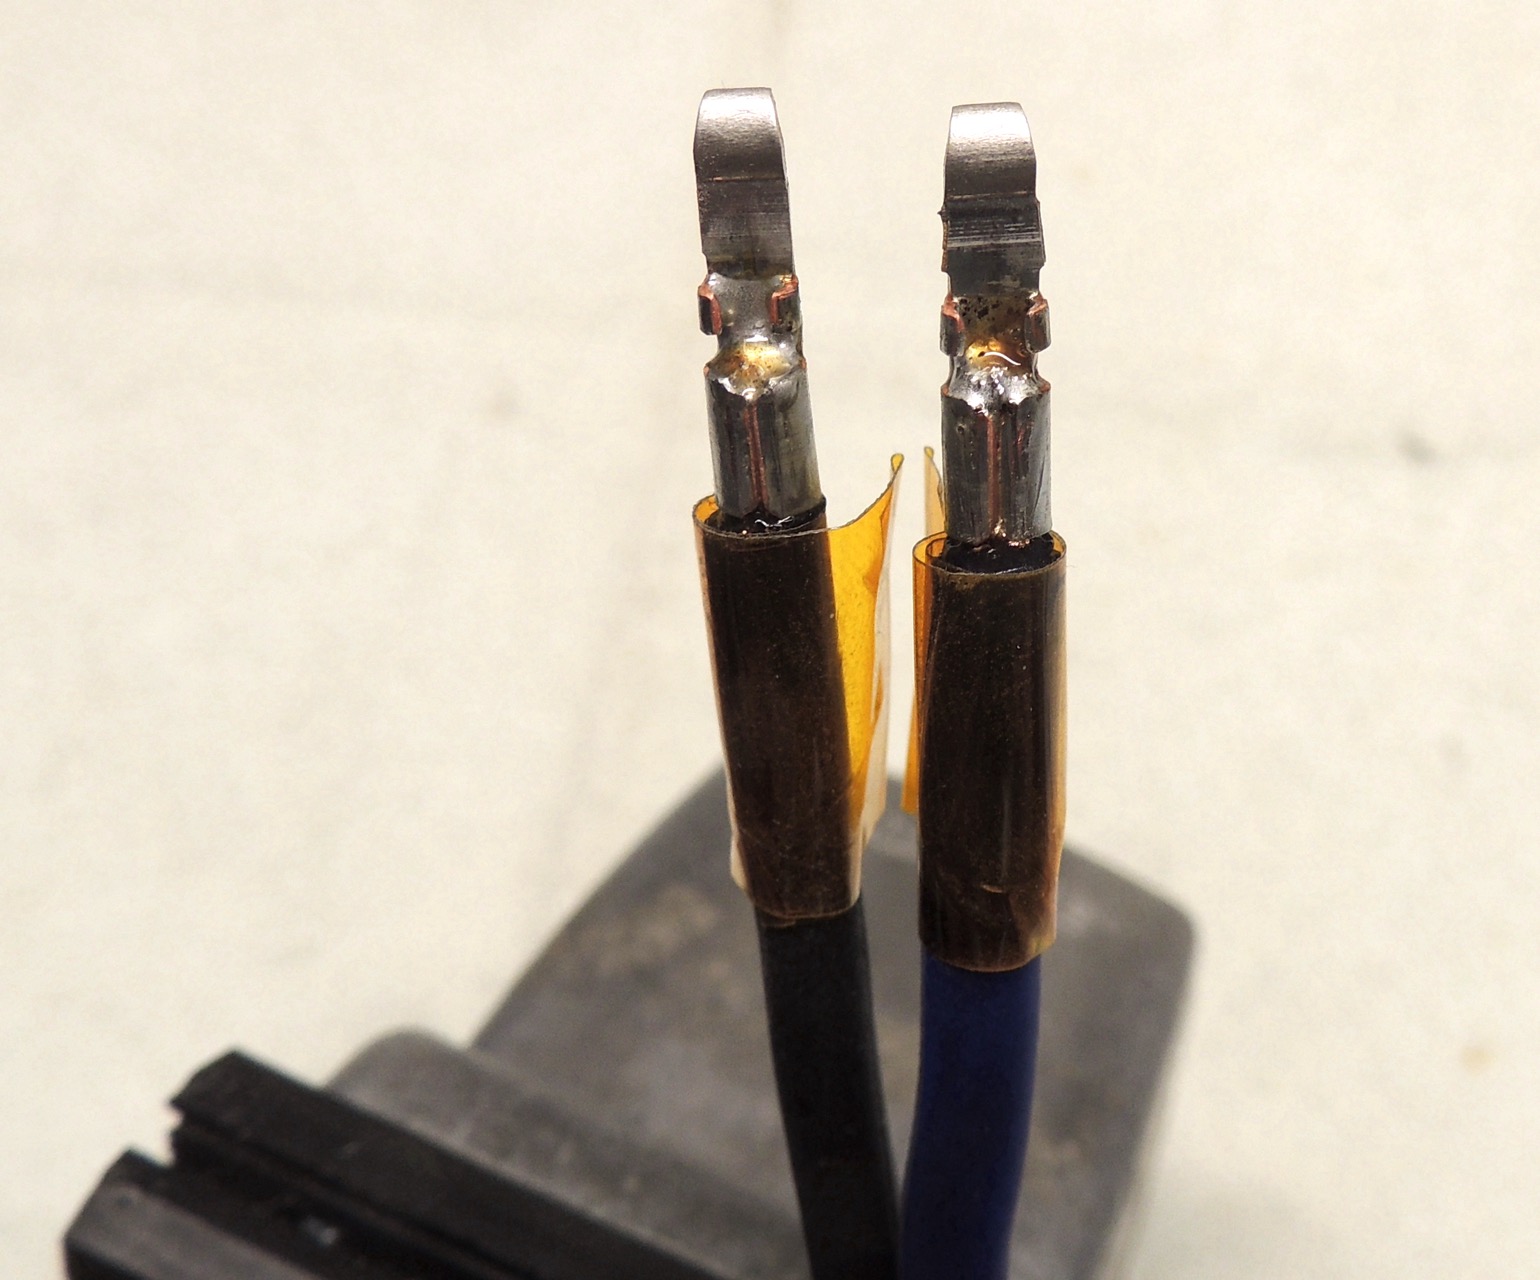
DSCN6653 (contacts look good after soldering, but will need to cool before untaping) |
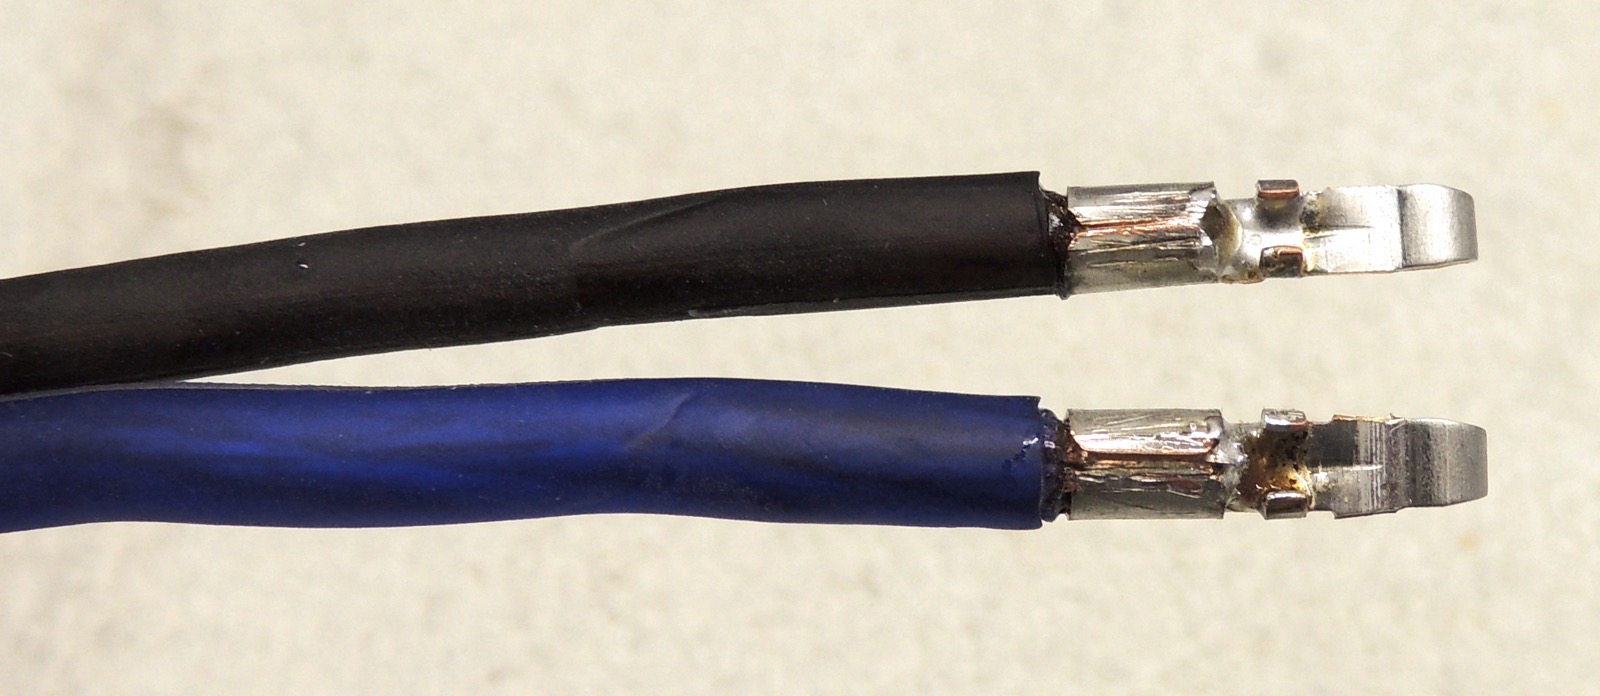
DSCN6655 (kapton tape is off, jackets are looking good) |
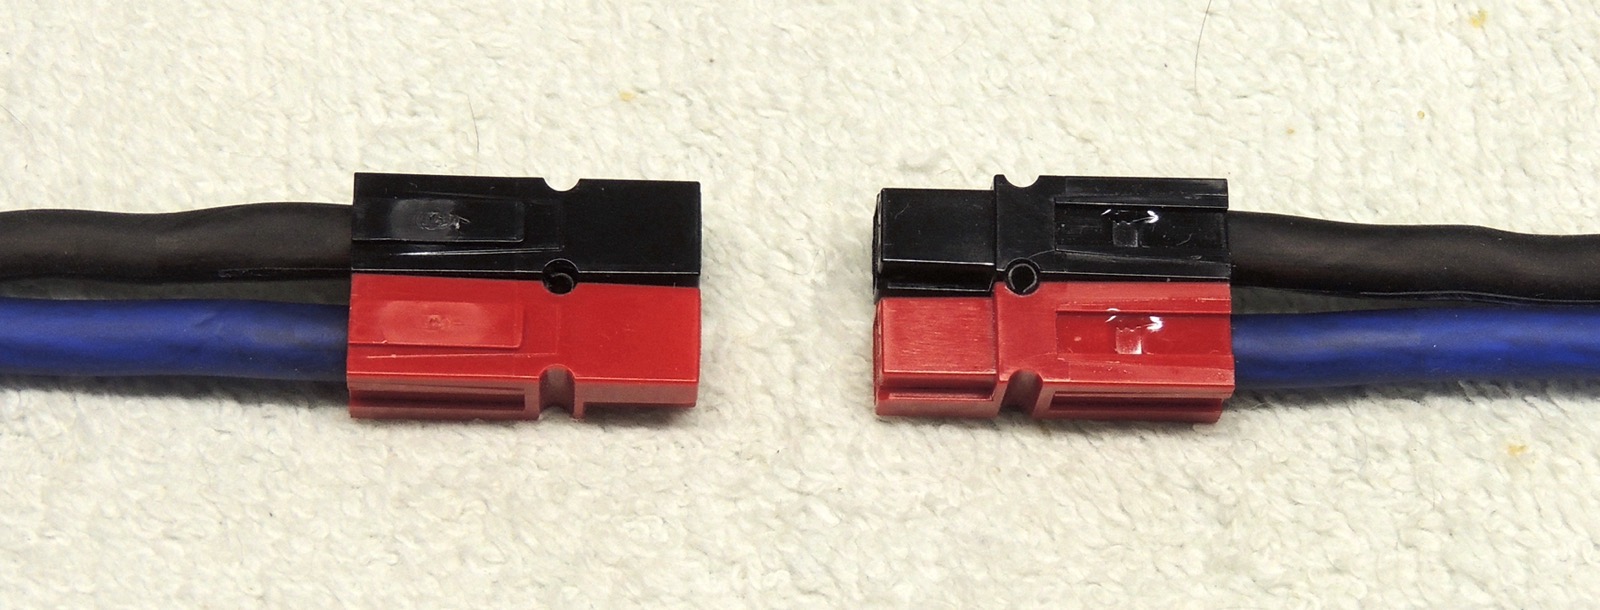
DSCN6657 (contacts went into housings without much of a fight) |
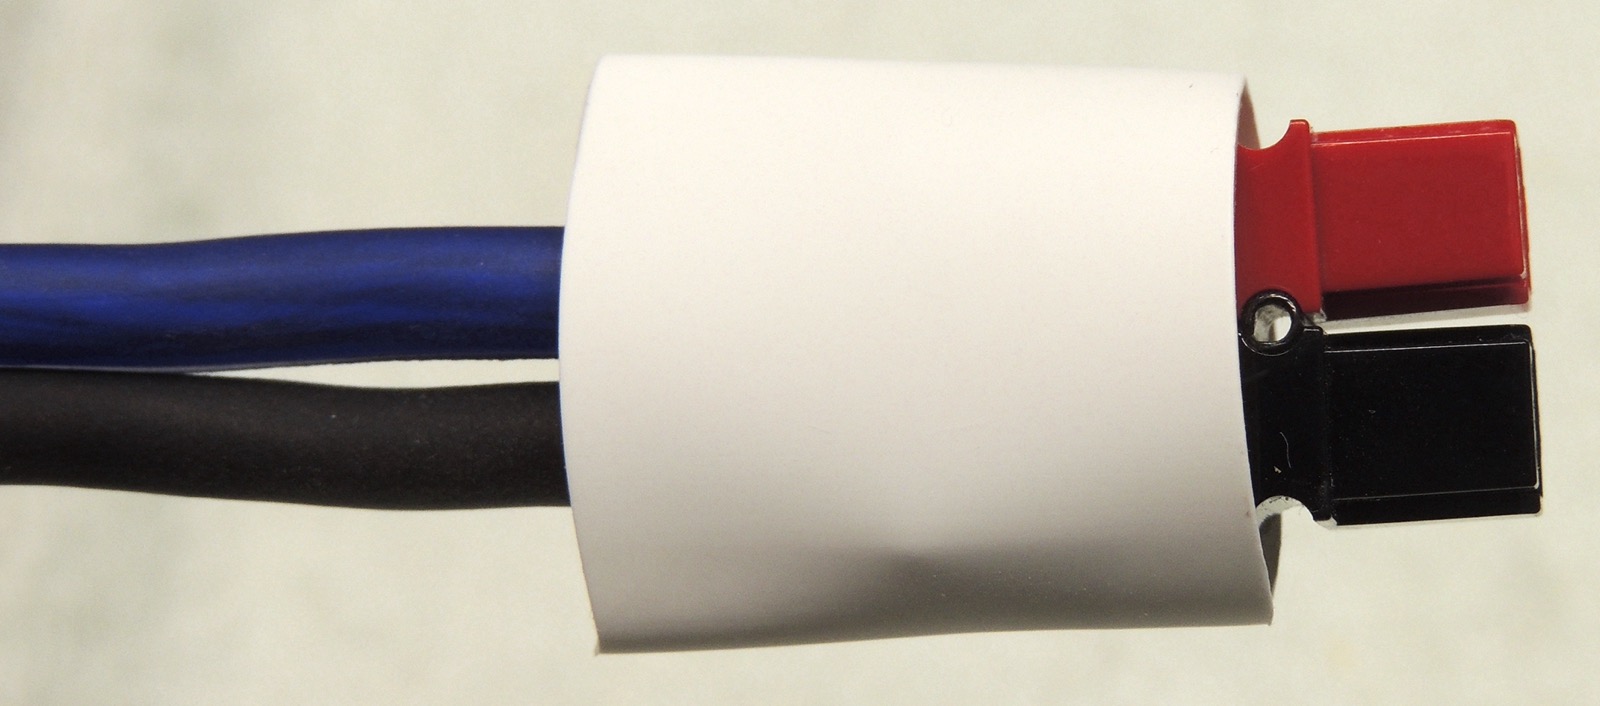
DSCN6662 (adding some heat-shrink tubing to strain-relief and protect the connectors) |
DSCN6663 (I warm the heat shrink using my SMD hot-air rework station) |
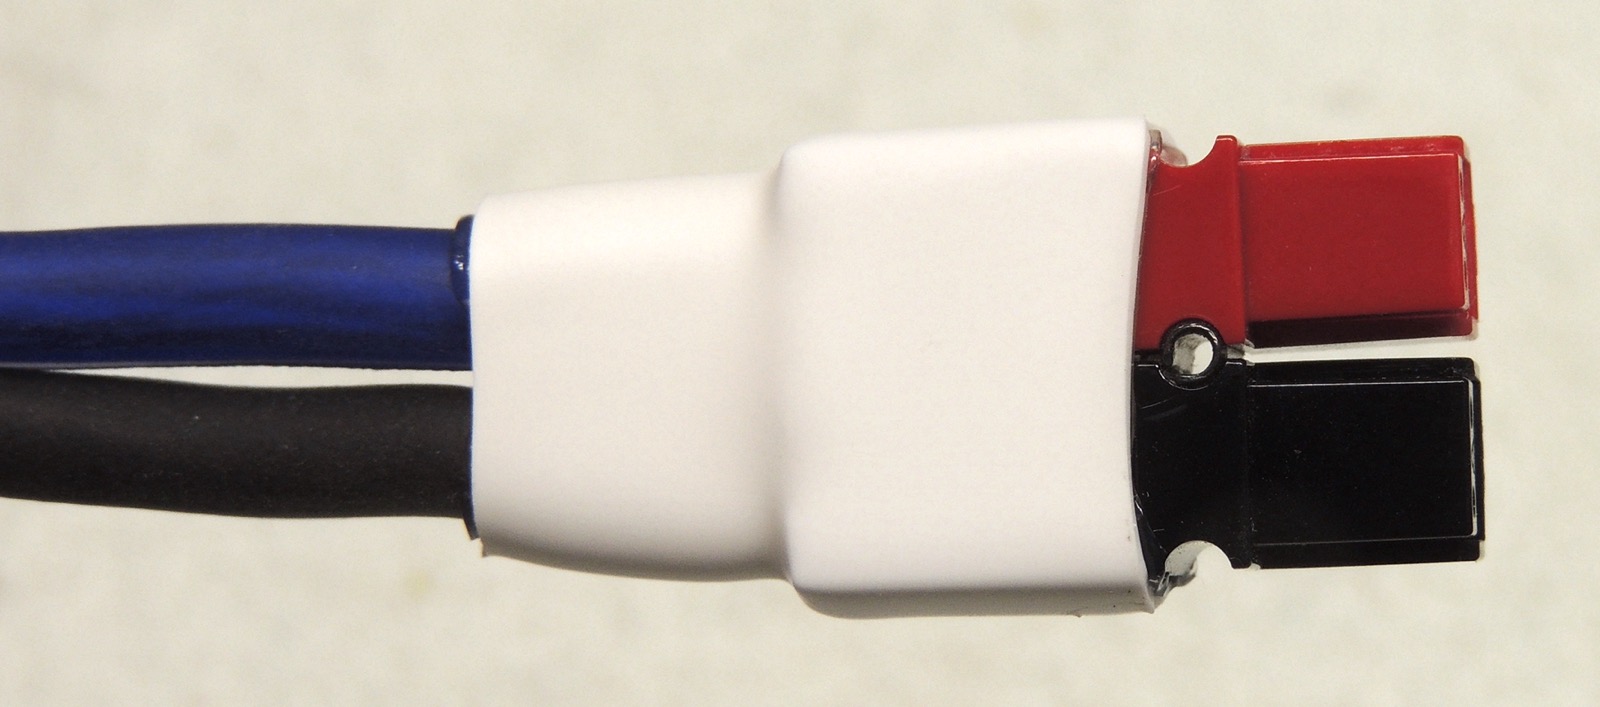
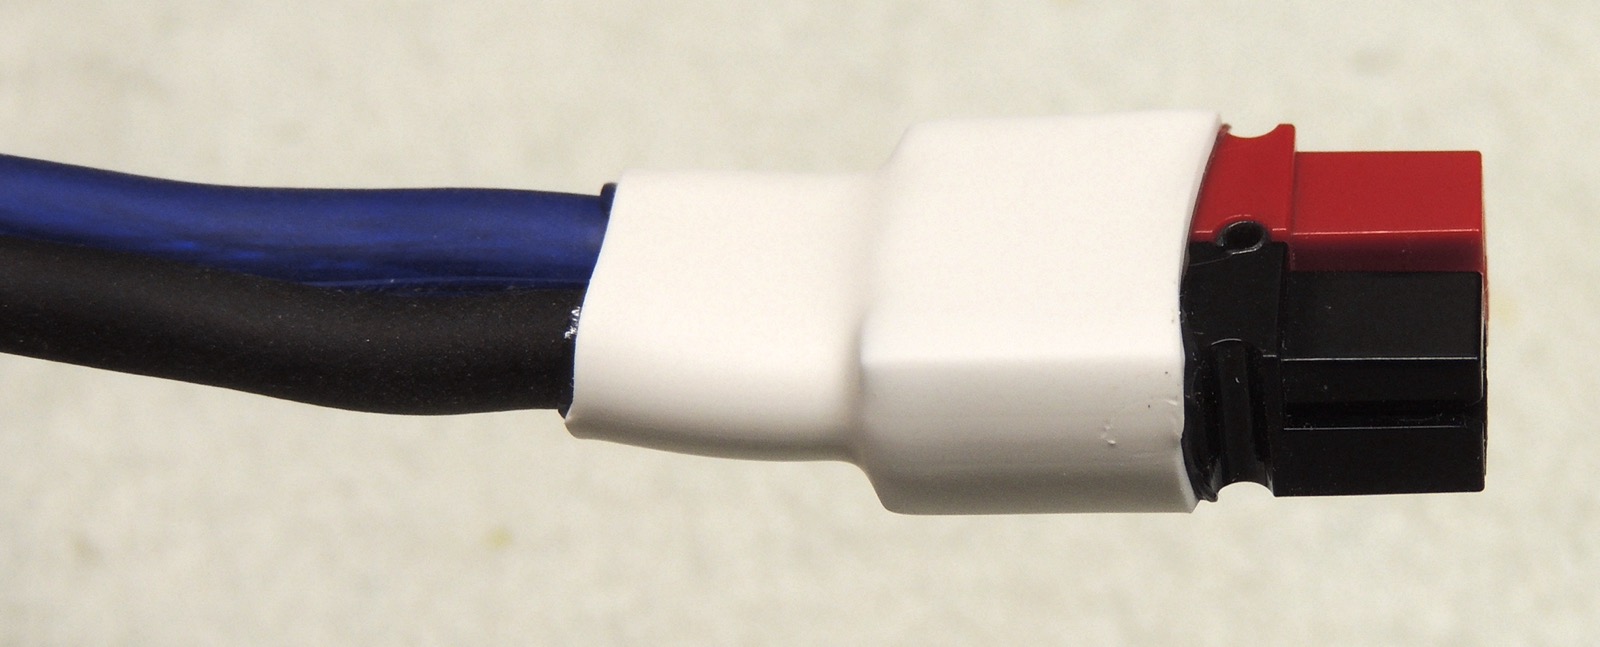
| DSCN6664 (heat shrink makes these housings a lot more comfortable to handle) |
DSCN6666 (I think they also look a bit more professional this way) |
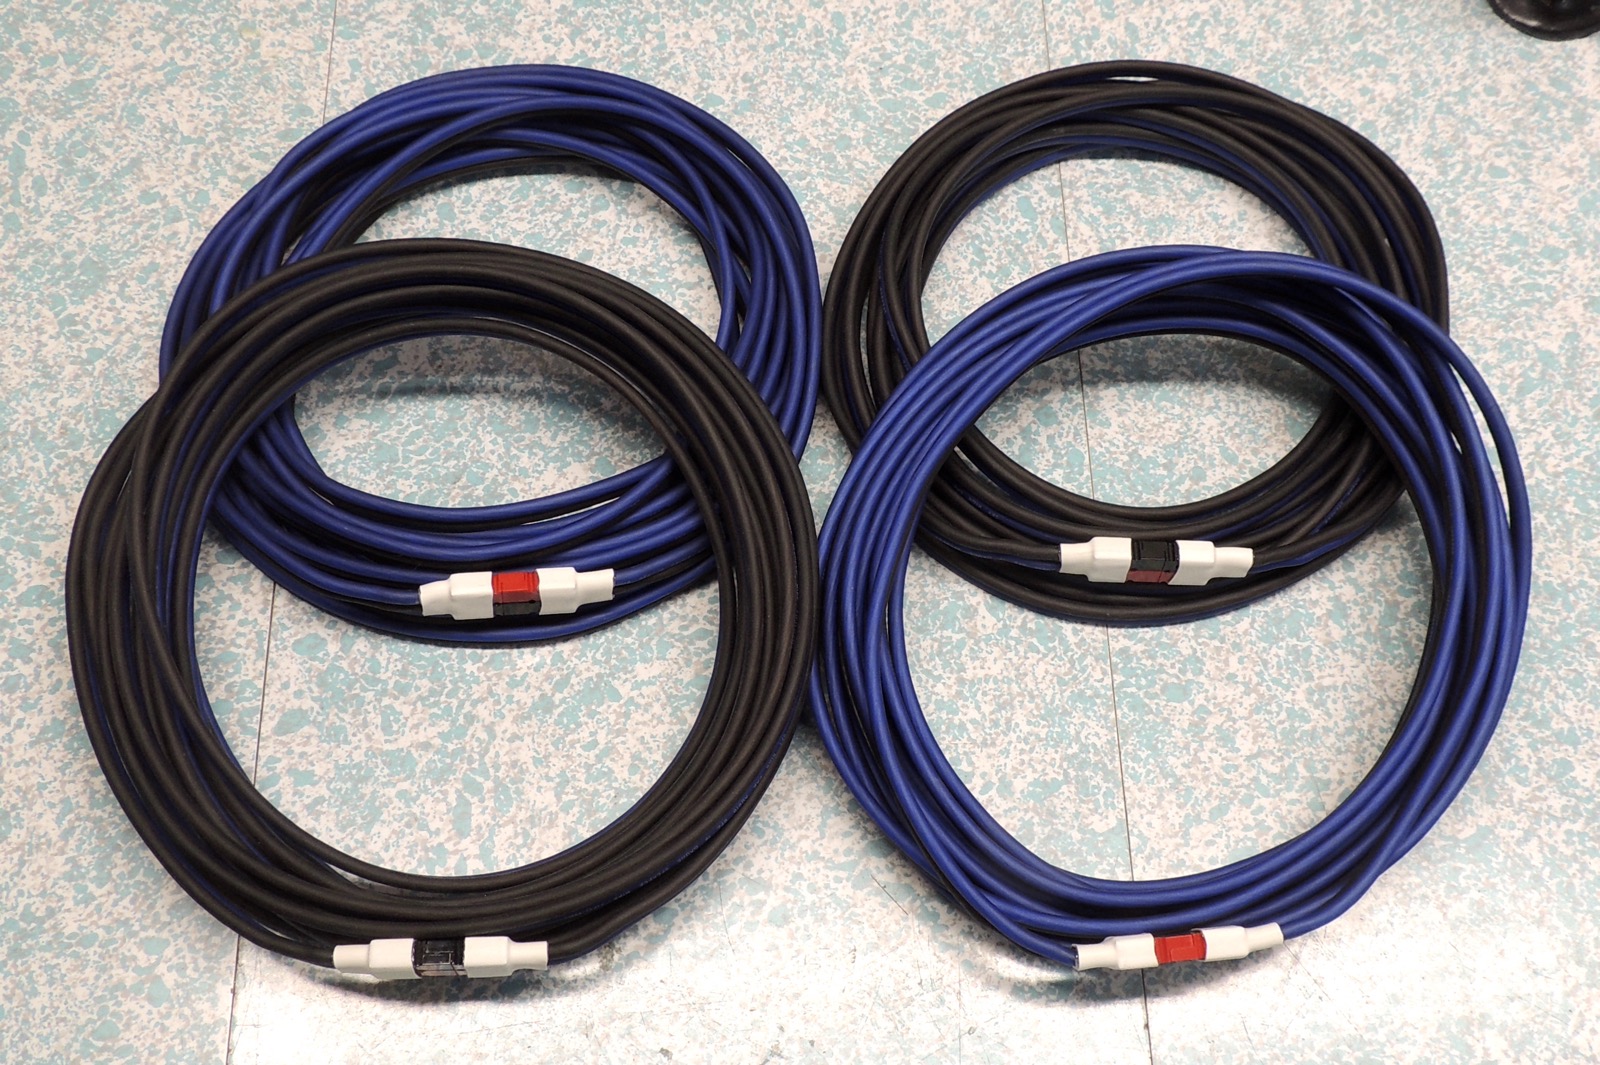
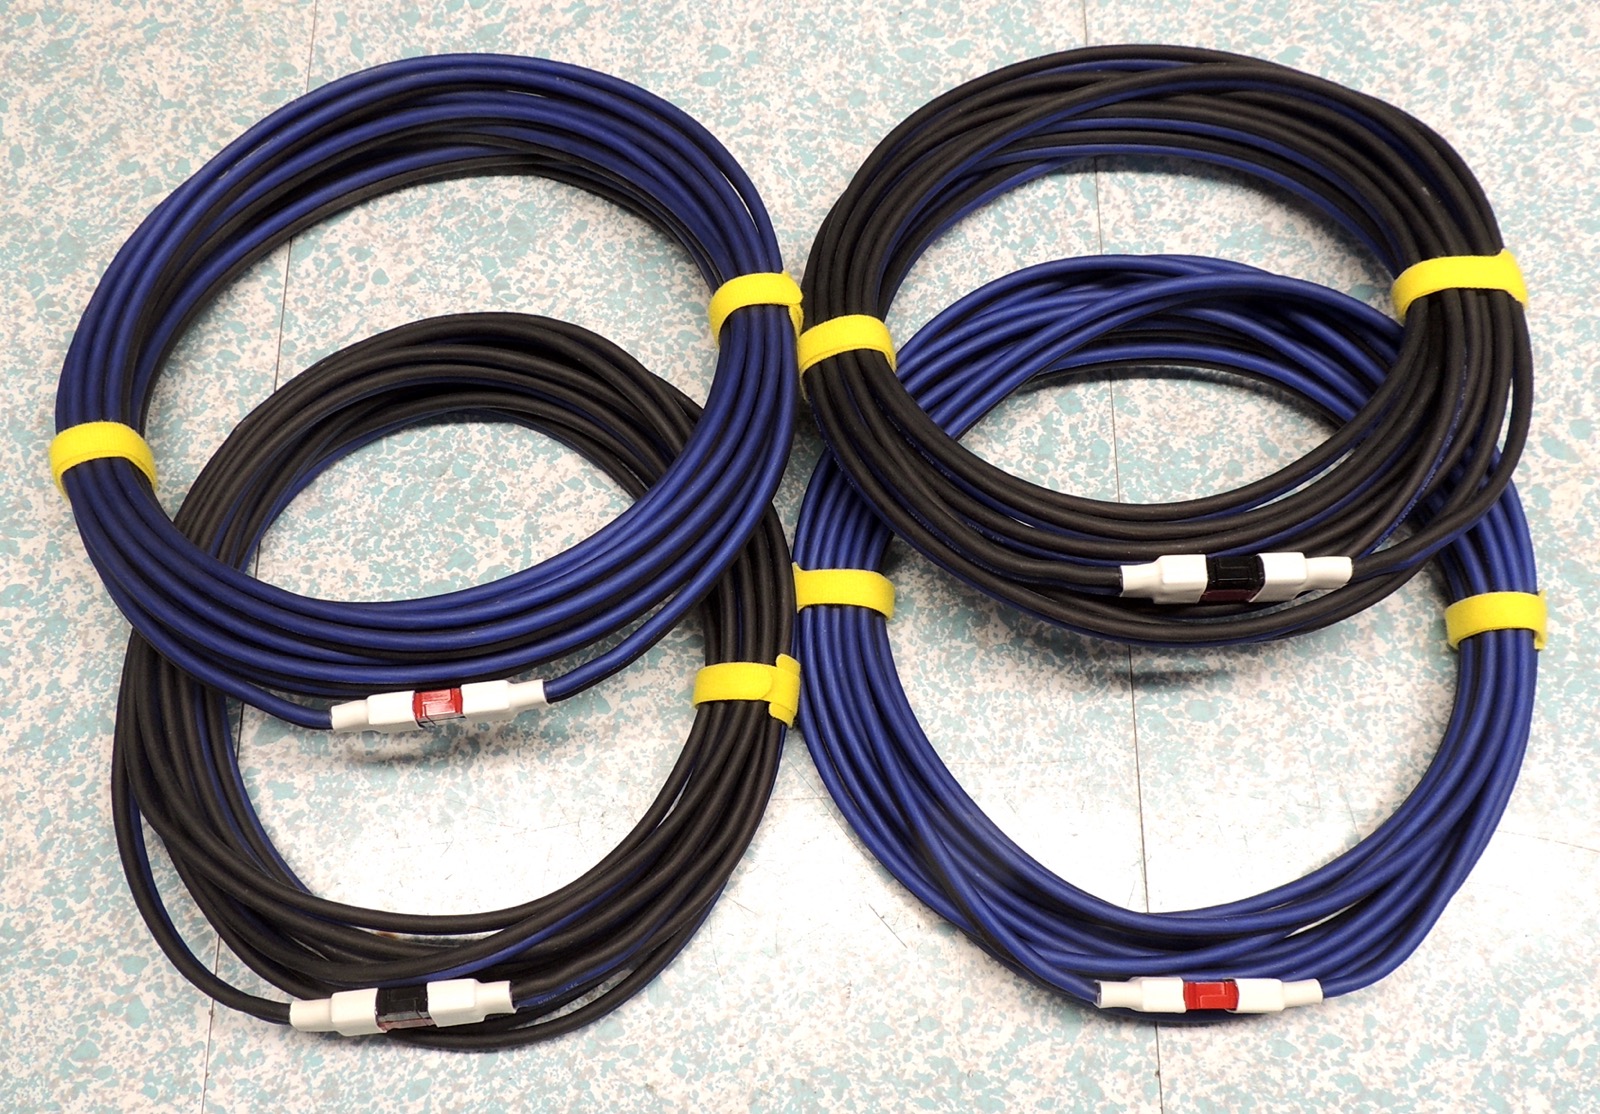
DSCN6669 (four finished coils - just over 2 pounds each) |
DSCN6672 (velcro cable ties will keep them from making a mess) |
|
|