2 installing first light
2 installing first light:
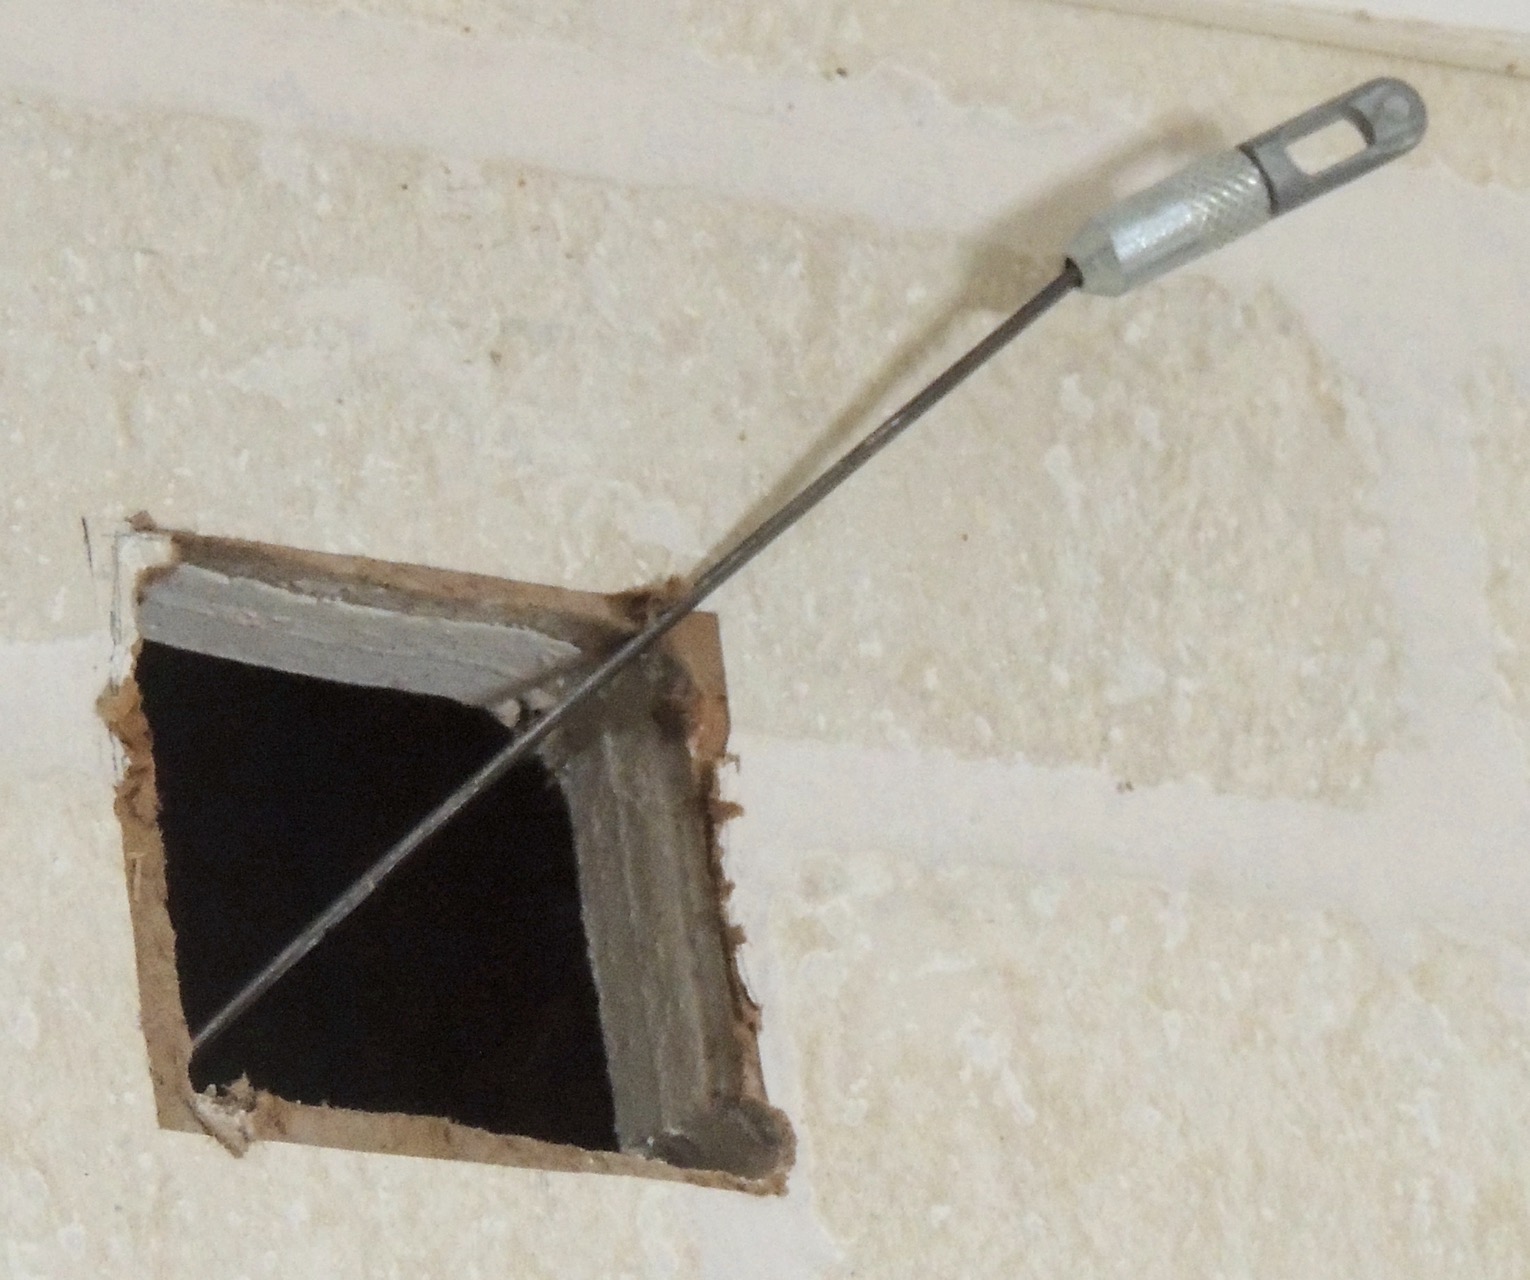
After the holes were made, I pushed up the fish tape till it hit the top of the wall, and clamped it to hold
it up. Then upstairs I used a bit of #12 solid wire with a hook on it to feel around and grab the fish tape
and pull it through the hole. From there I attached a bit of paracord 550 and pulled that to the basement,
tied the wire to it, and pulled that back up.
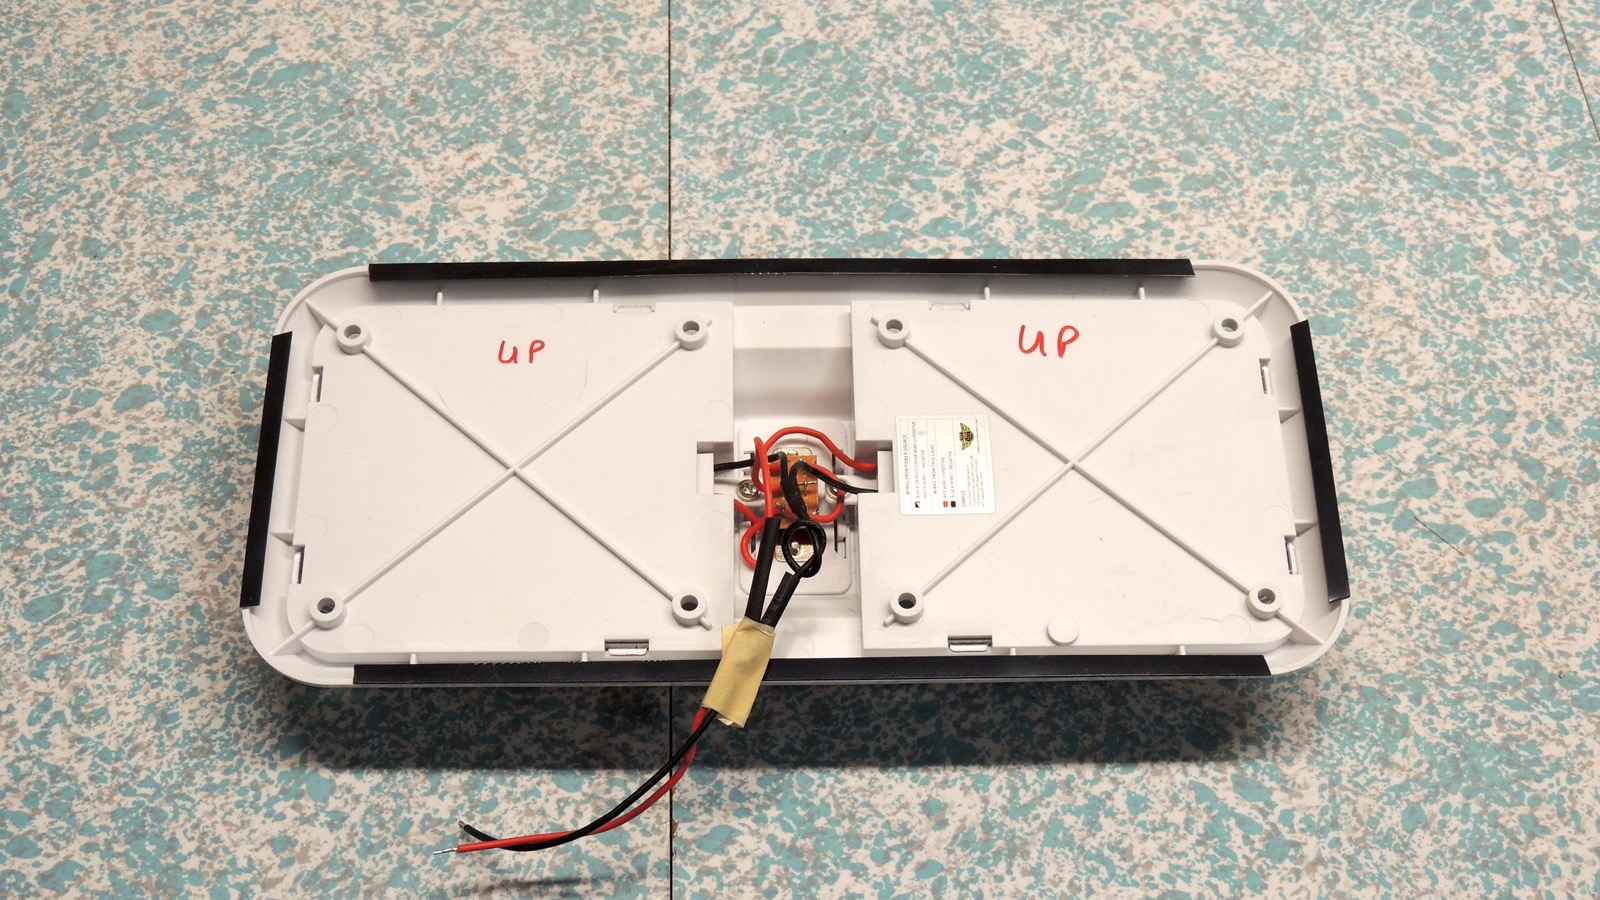
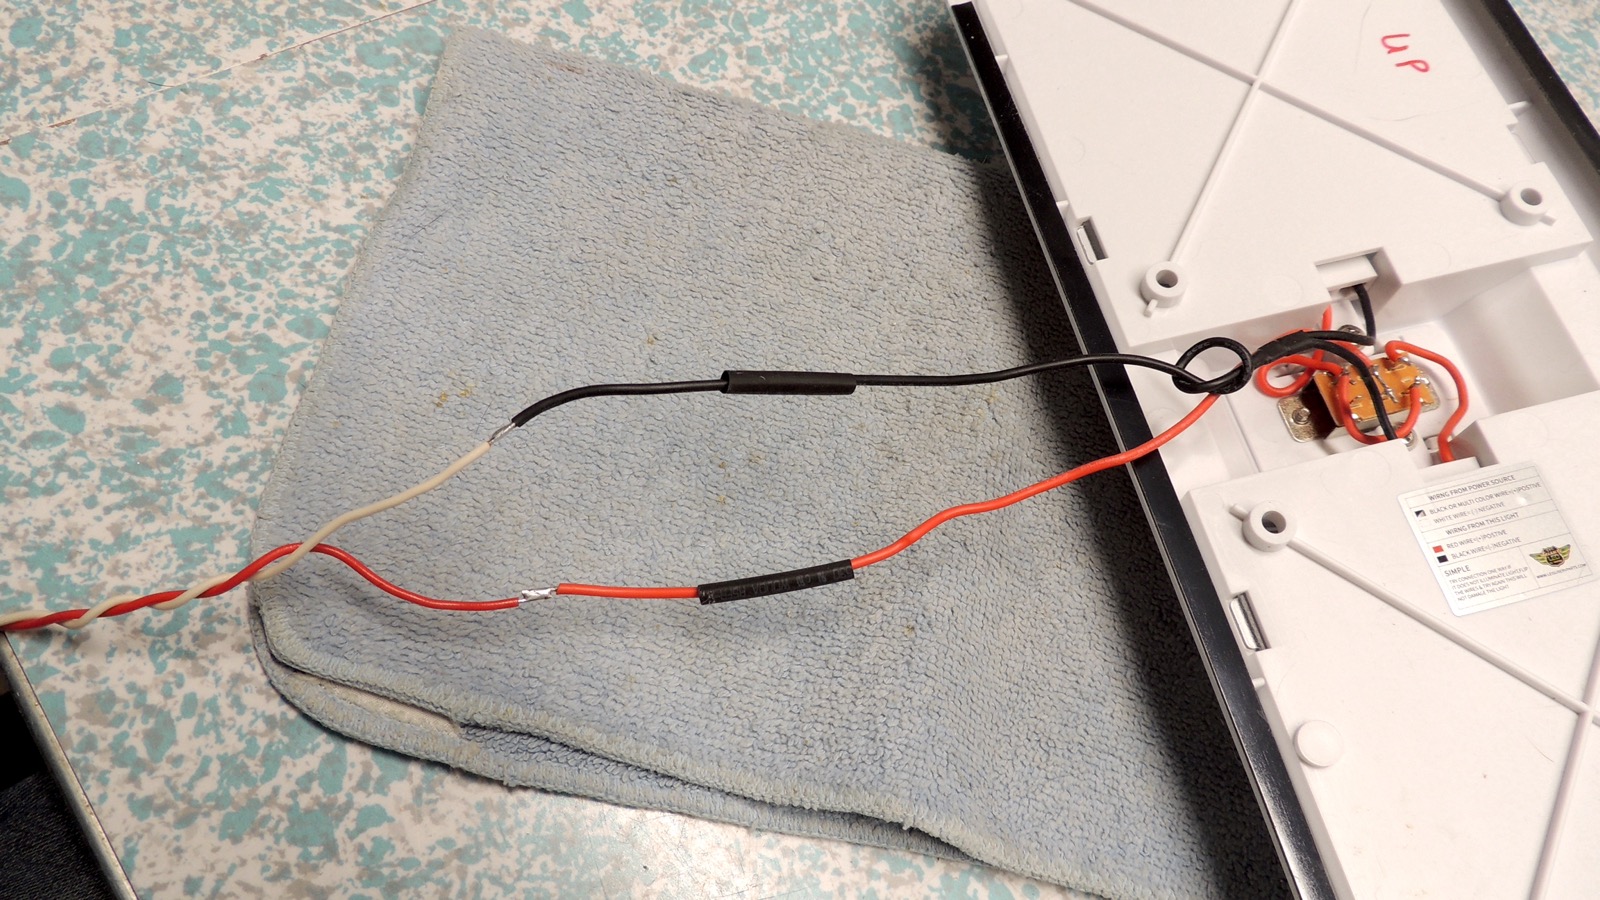
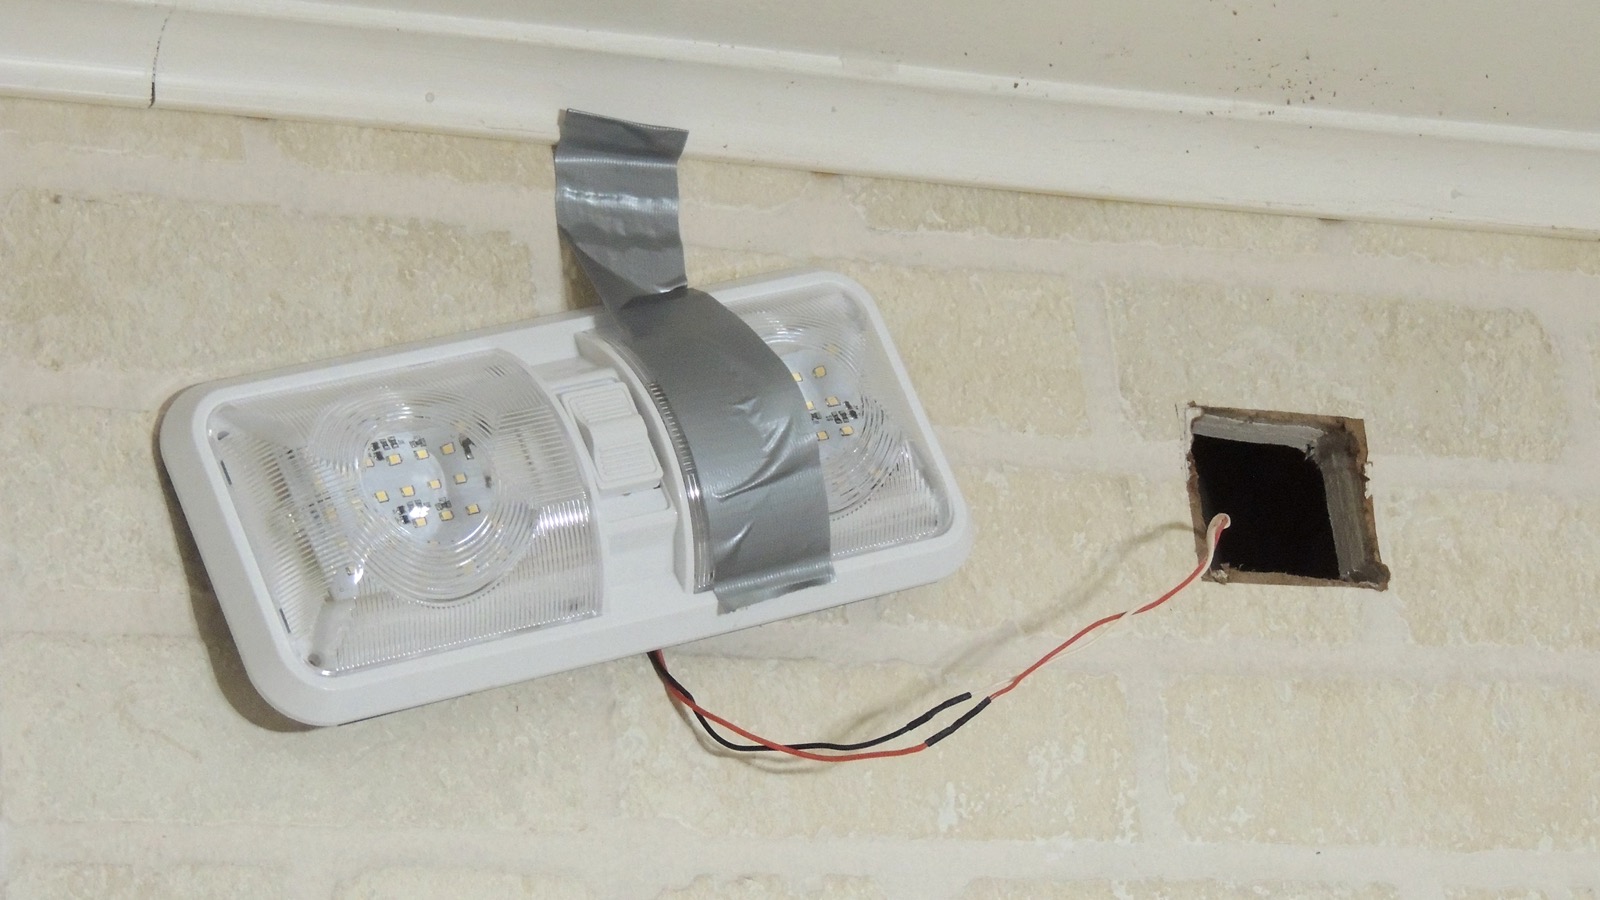
I bought a reel of 500ft of wire so I had no problem just hauling it to the lab to solder and heat shrink to
the light, which I had already prepped with some VHB tape. I decided to go with the tape rather than screwing
them to the wall just to make installation simpler. This tape is pretty close to permanent, but can be
removed with care.
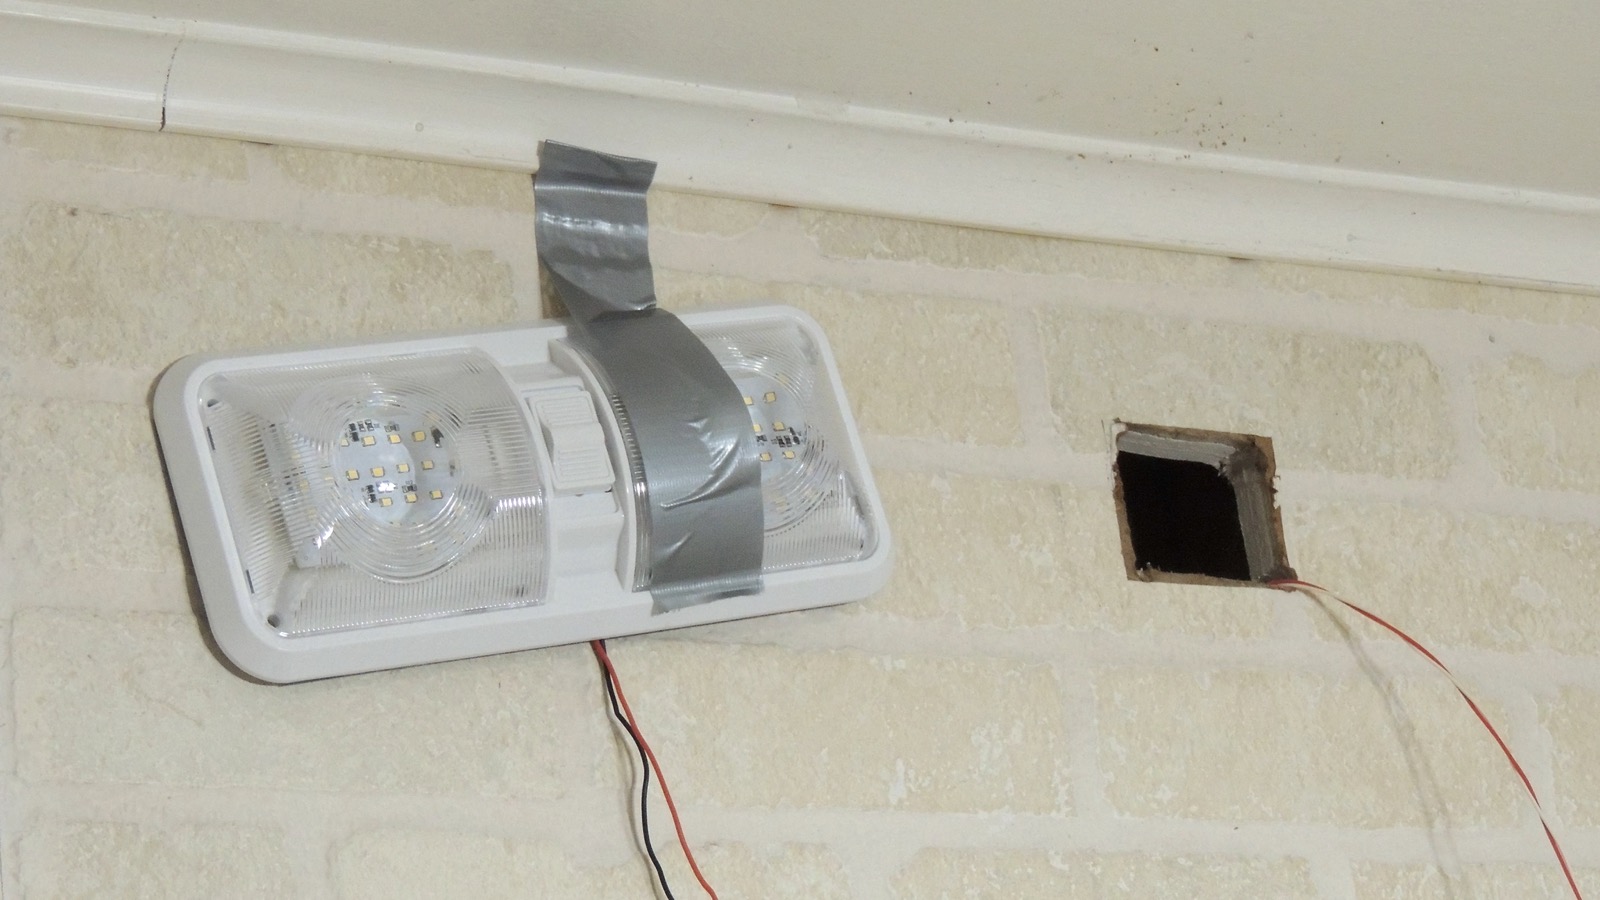
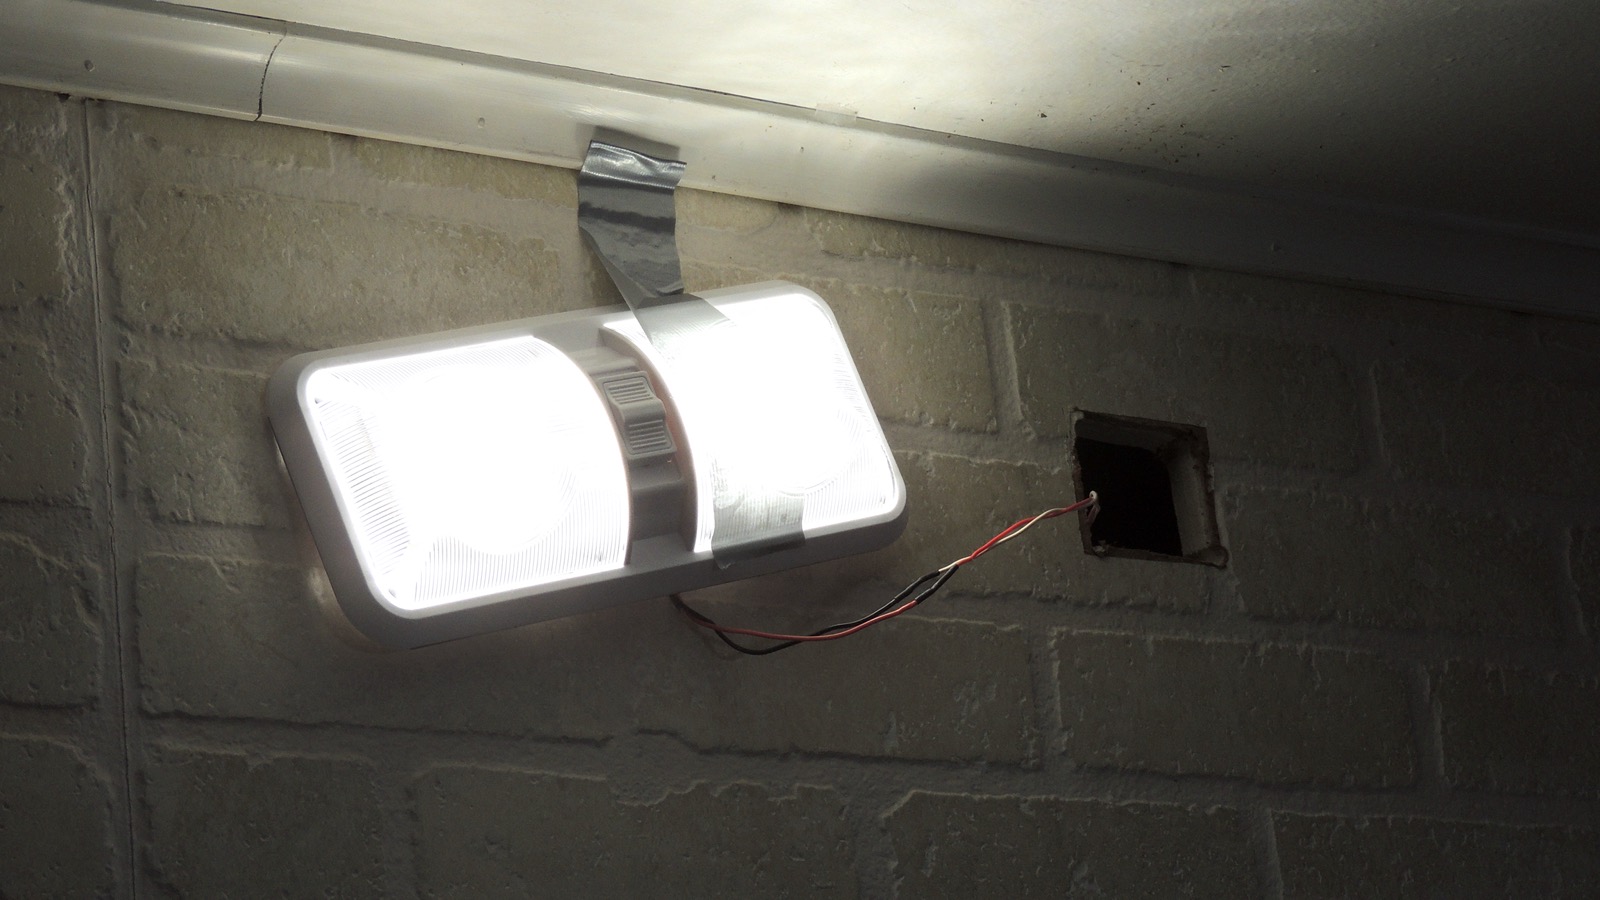
When the light was ready, I tacked it up beside the hole and went downstairs to pull back the loose wire.
After measuring and cutting it, I powered it up to verify it worked. After that, I went ahead and mounted it
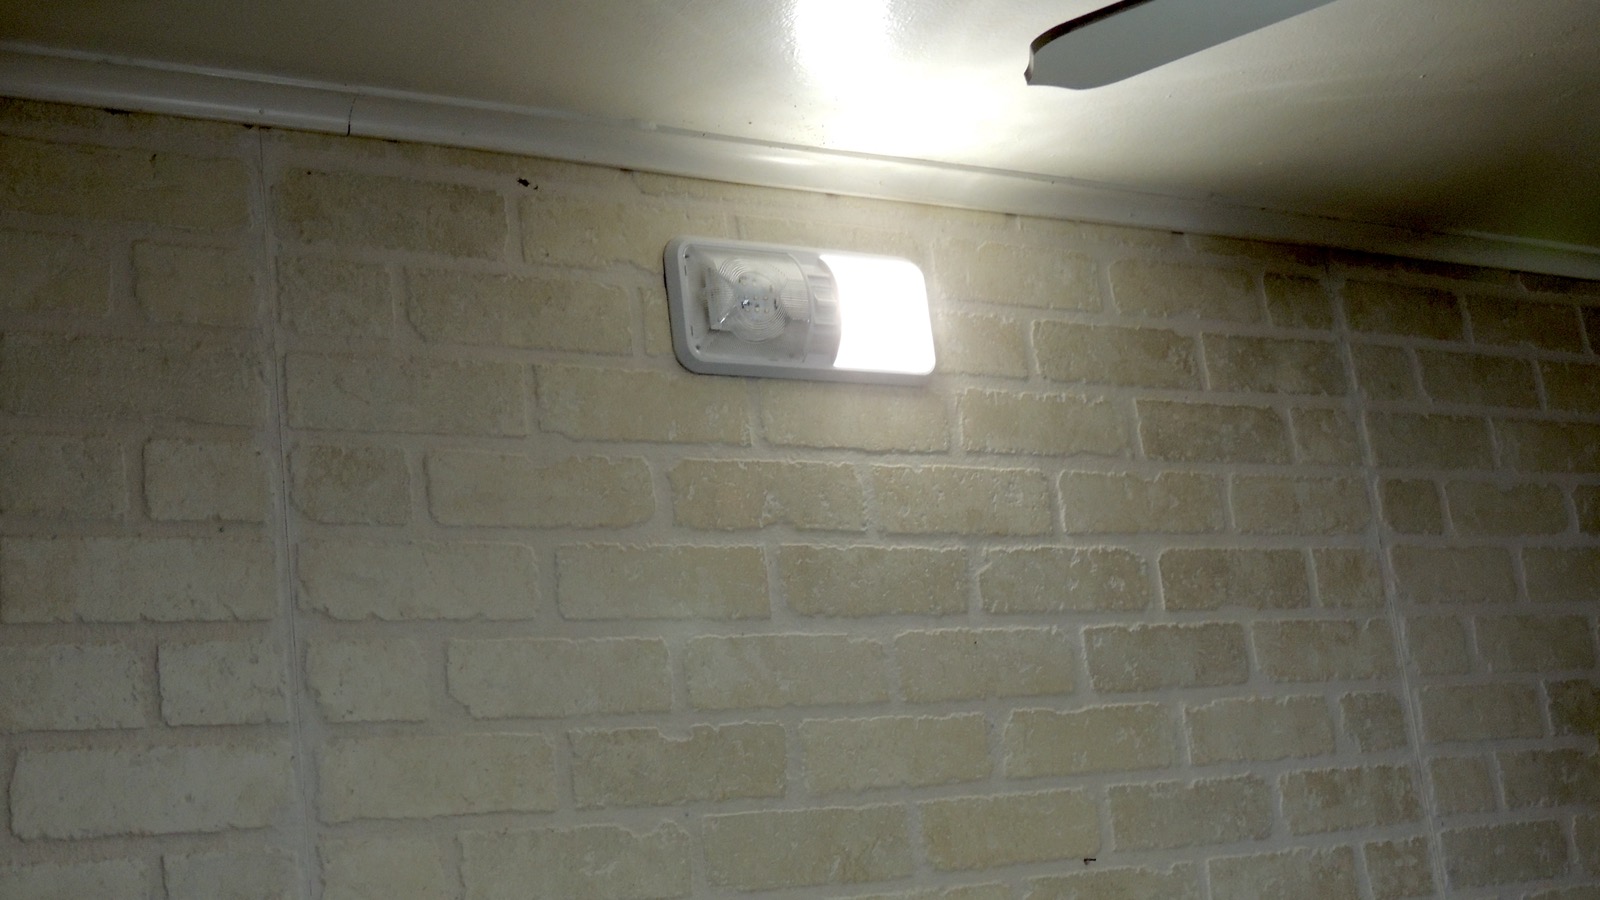
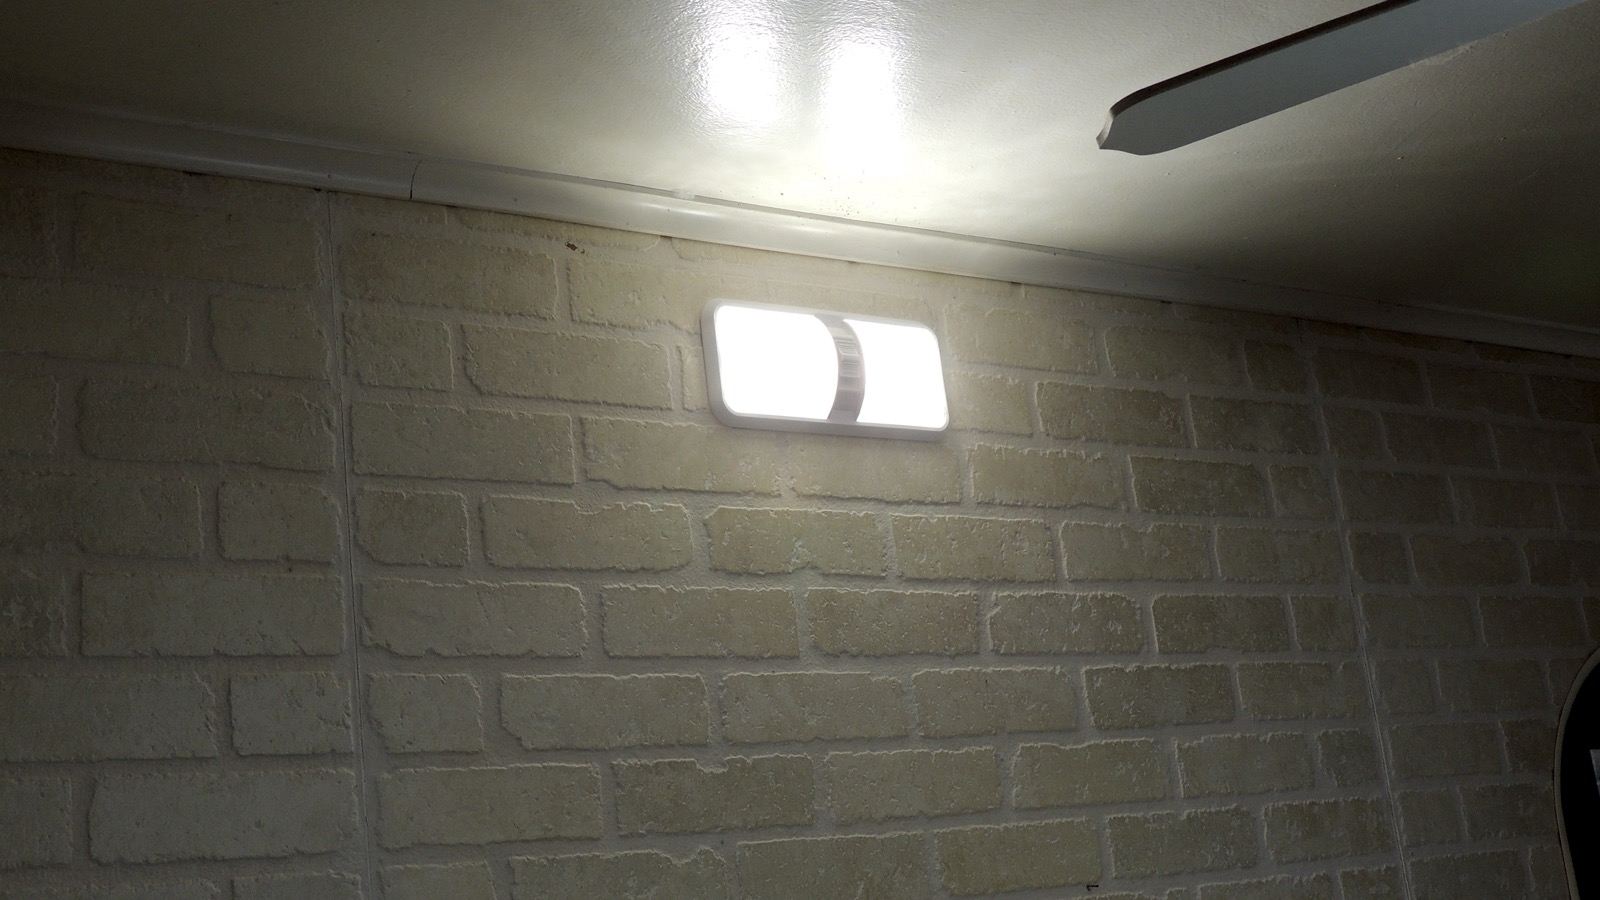
in place. A few final tests and it was done. Looks good too. I'm tall enough to reach the switch, which
easily changes between HIGH / OFF / LOW intensity. The fresnel lens covers do a good job of spreading out
the light coverage in the room, although I did see some bias to one side when in the LOW position.
1 pushing up fish tape
2 VHB tape on light
3 light wired
4 wire pulled and light staged
5 wire shortened and cut
6 test before mounting
7 LOW test
8 HIGH test
highest resolution images
last updated 05/02/2025 at 11:32:09 by make_www_index.command version 2025.04.21.A