back to 2025.07.06 K0DV beam troubleshoot
2025.09.18 replacement rotor repair
2025.09.18 replacement rotor repair:
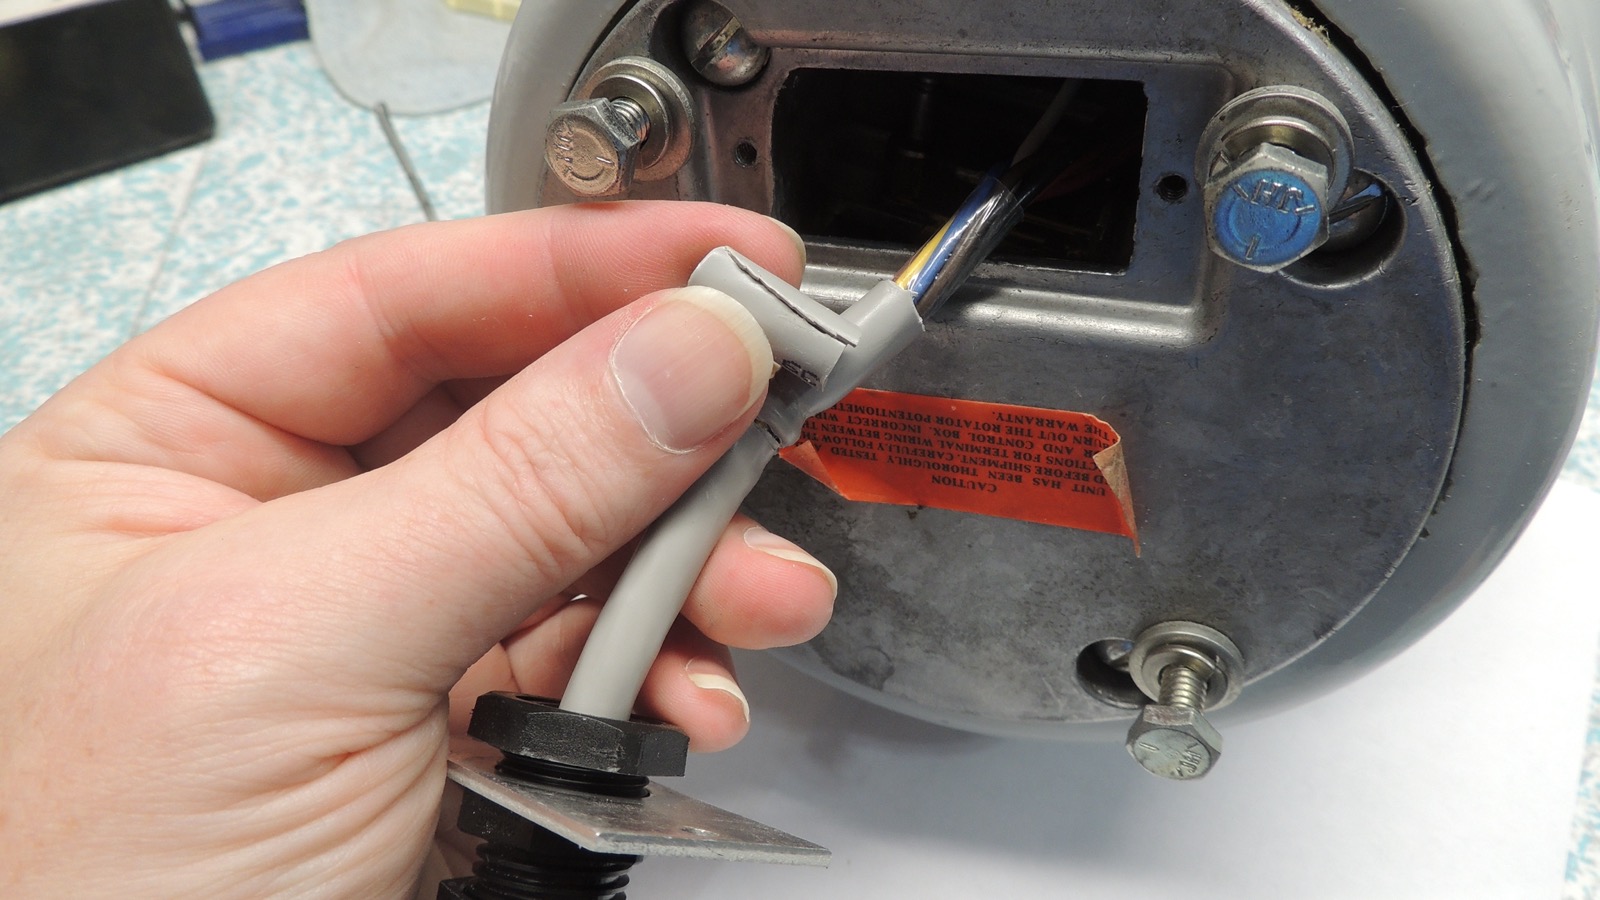
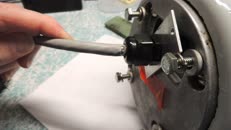
Finally found time to splice back in the original connector. I had to deal with two unexpected issues first
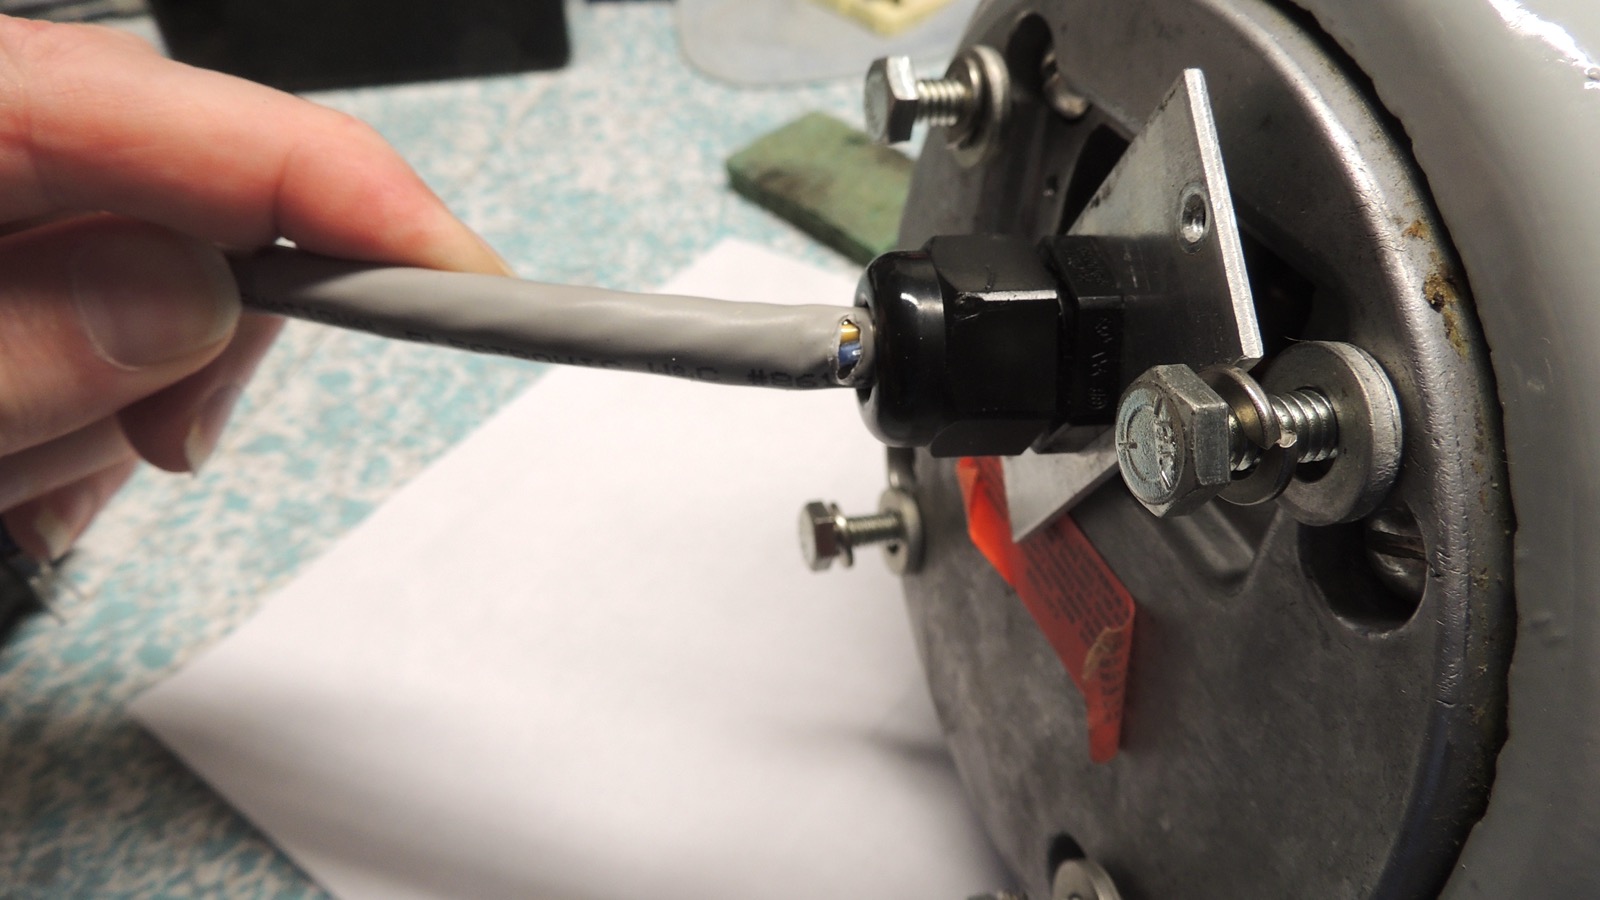
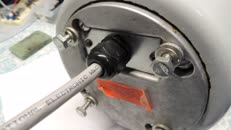
though. For one the wire gland on the connector plate on the rotor was loose. Like, wobble it side to side
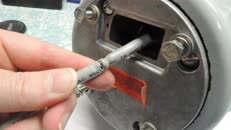
about 1/8 of an inch lose. As I was unscrewing the plate to tighten the nut inside, I noticed the wire jacket
had been damaged, probably from spending too much time bent at a sharp angle. (I had advised to just loosen
the four mounting nuts on the rotor all the way and set it upright on a table, not realizing the gland was so
tall that the stiff wire was coming out the bottom too far and bending the wire badly right at the gland)
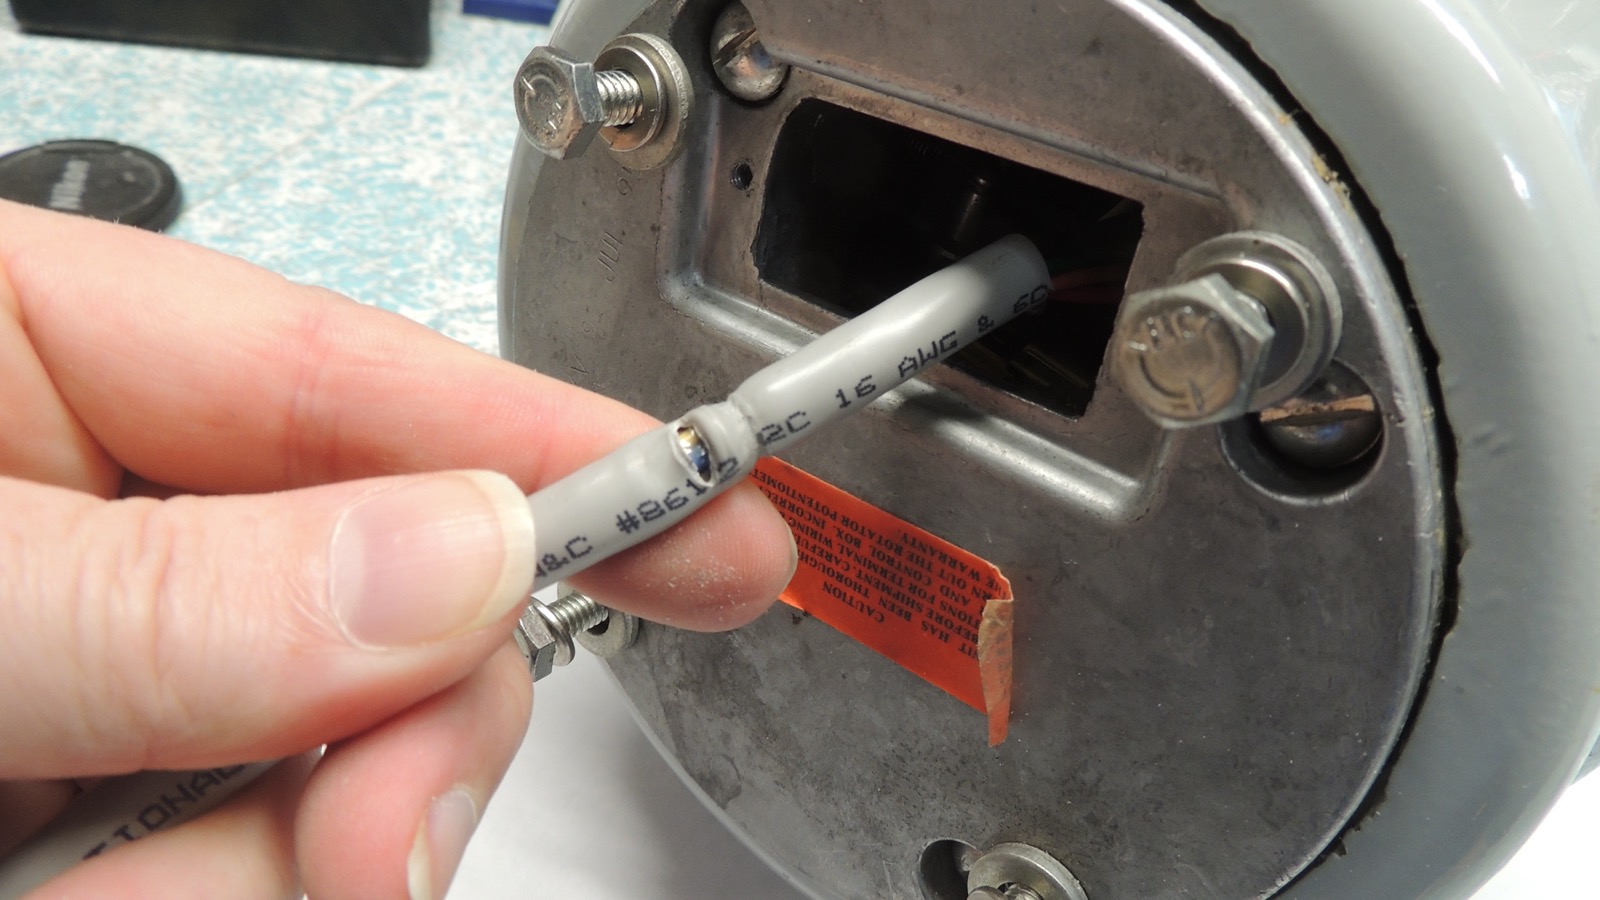
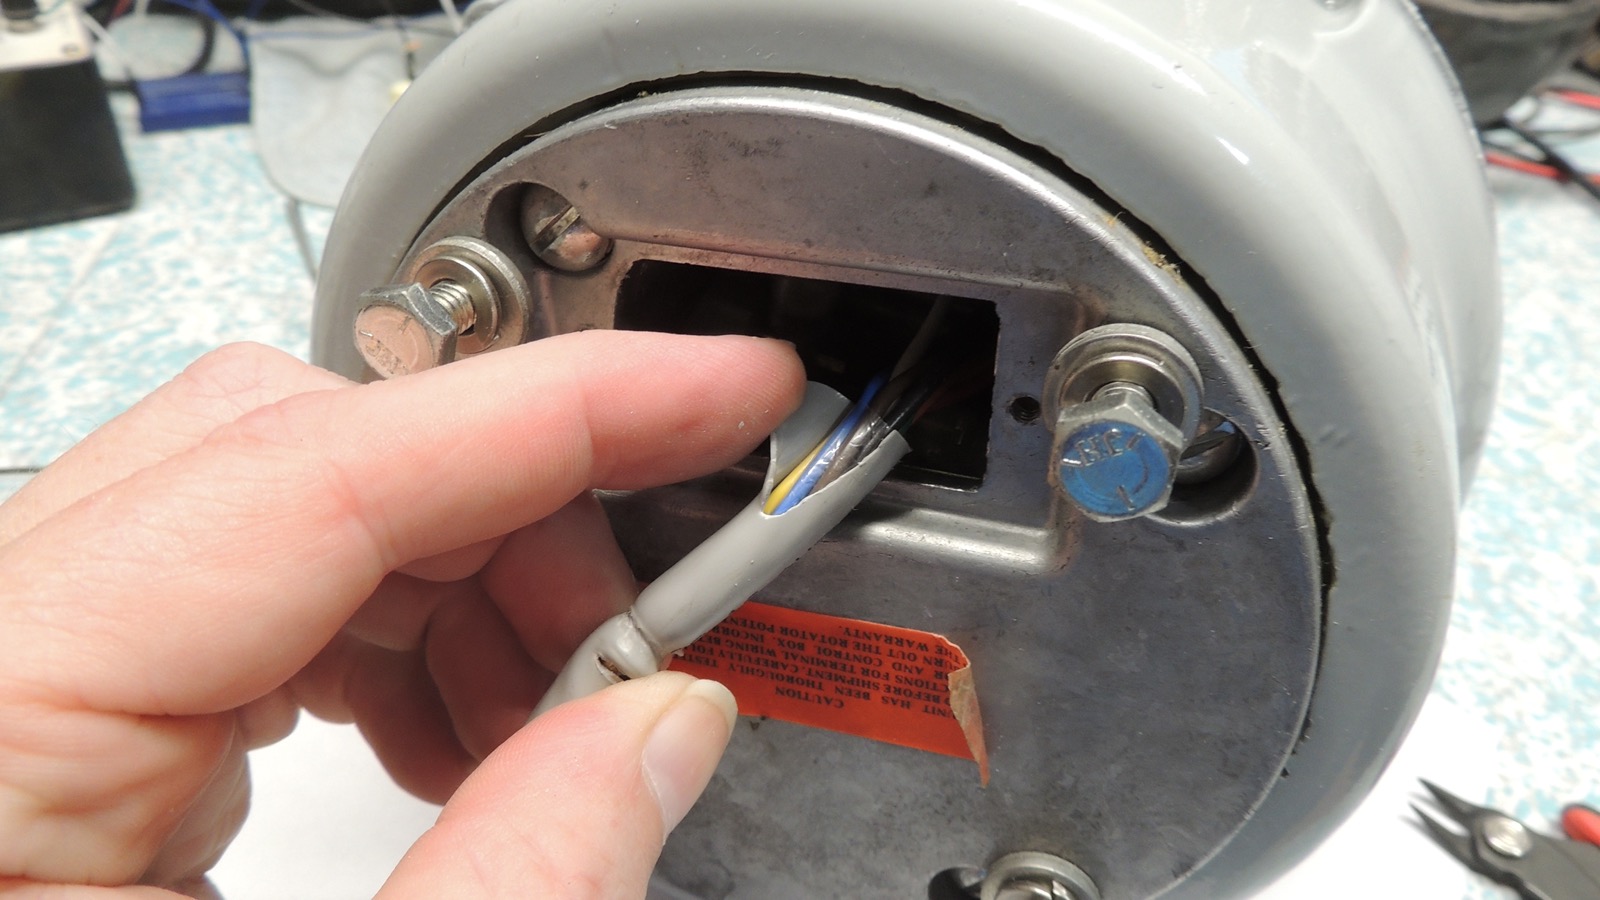
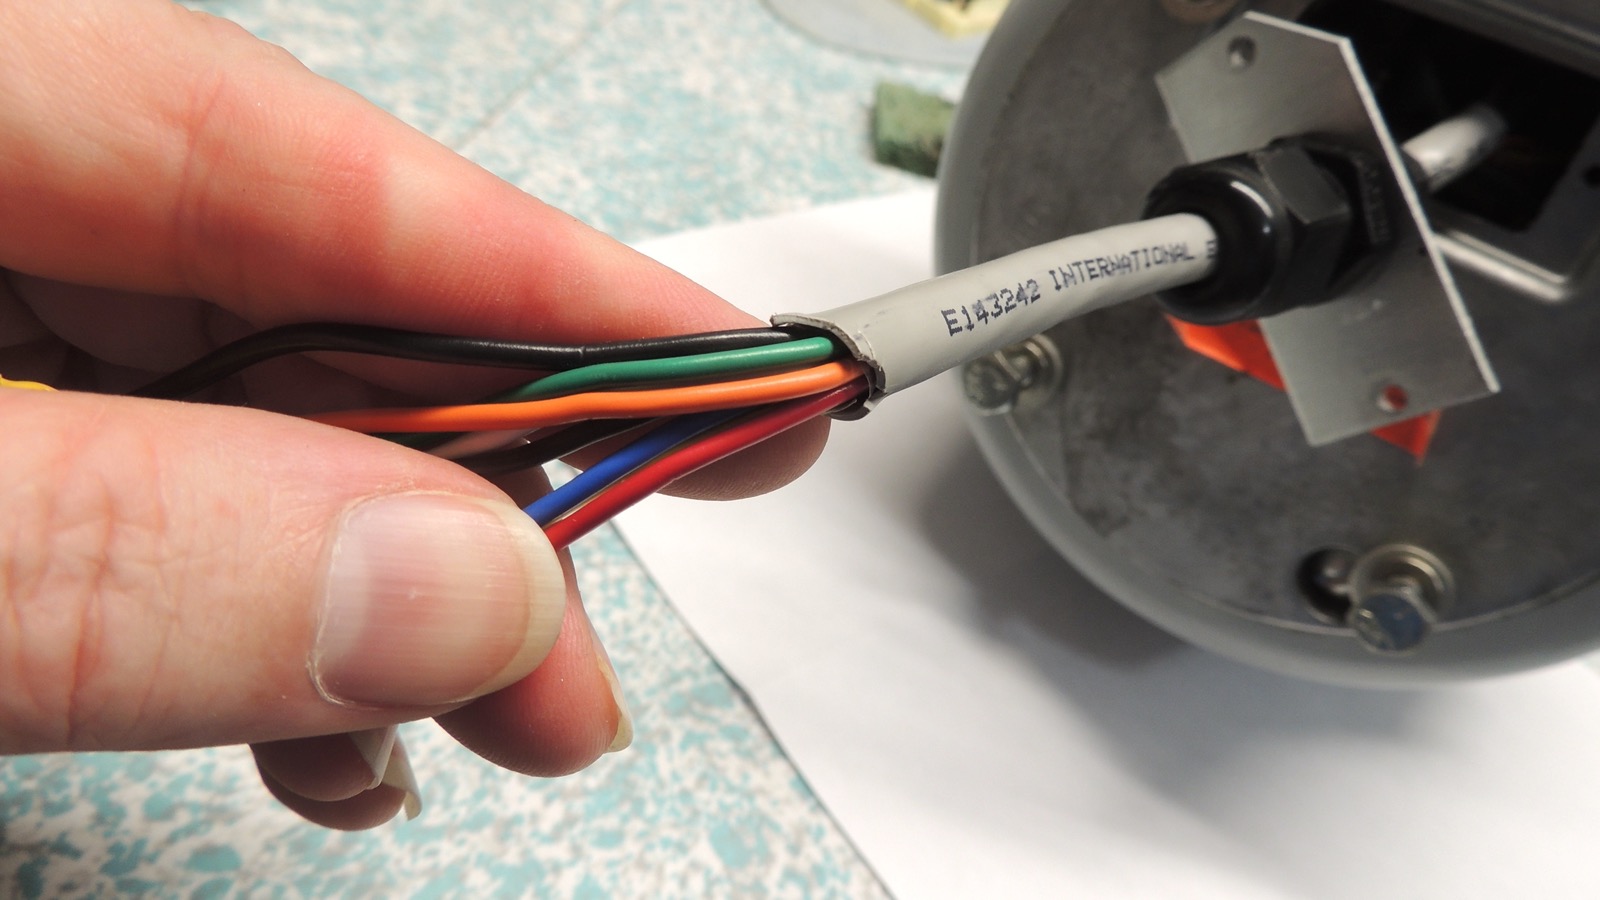
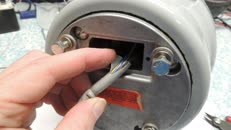
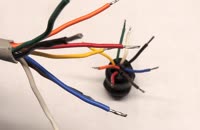
Looking inside the rotor, the wires go by the brake, so I can't just stuff wire into the rotor. I ended up
cutting about an inch of jacket off the wire, then pulling each wire out the other end about an inch, finally
pulling the wire with jacket into the rotor. This left the end of the jacket in about the same place with no
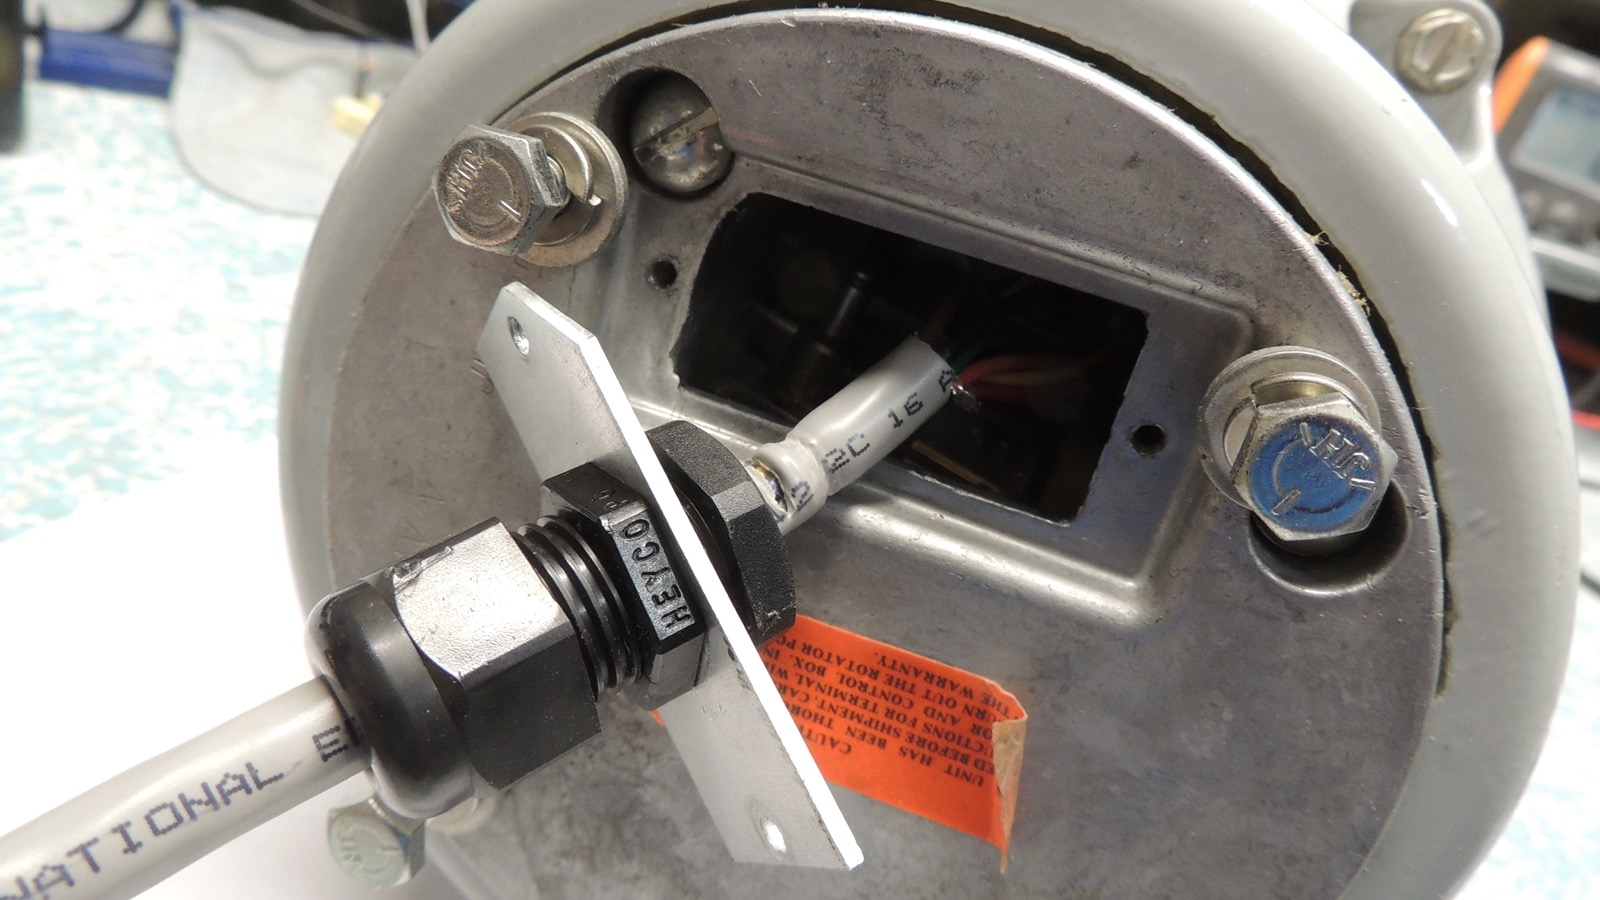
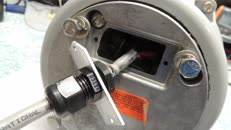
change in inside wire, but the damaged jacket was now inside the rotor. Re-clamped the gland and back together,
with the wire pigtail now about an inch shorter. (and all the lead wires about an inch longer)
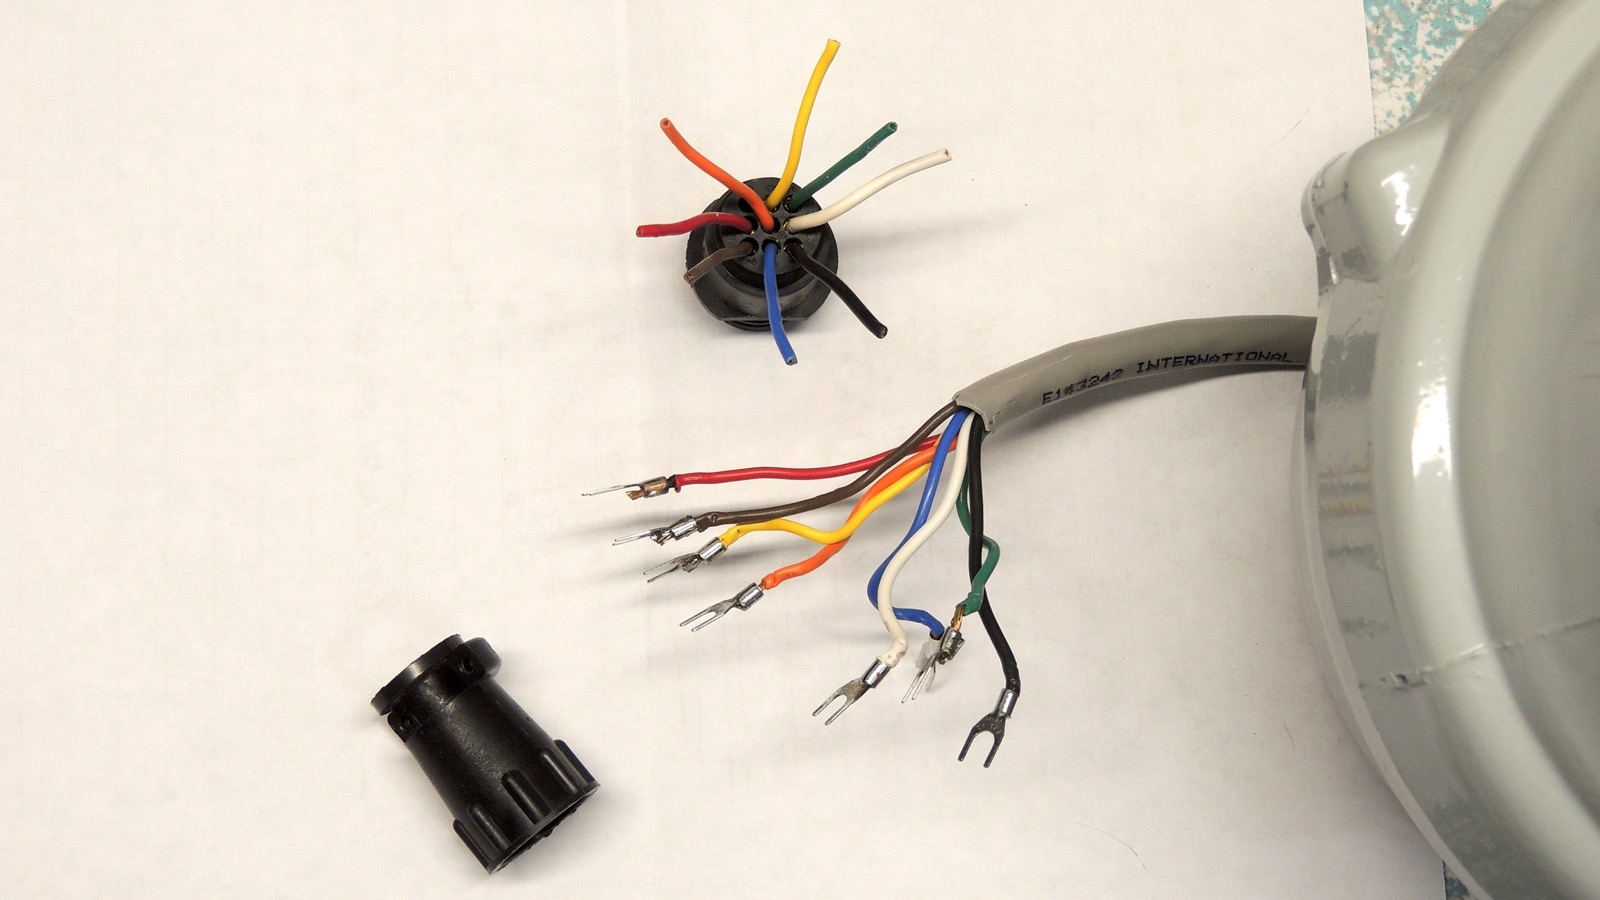
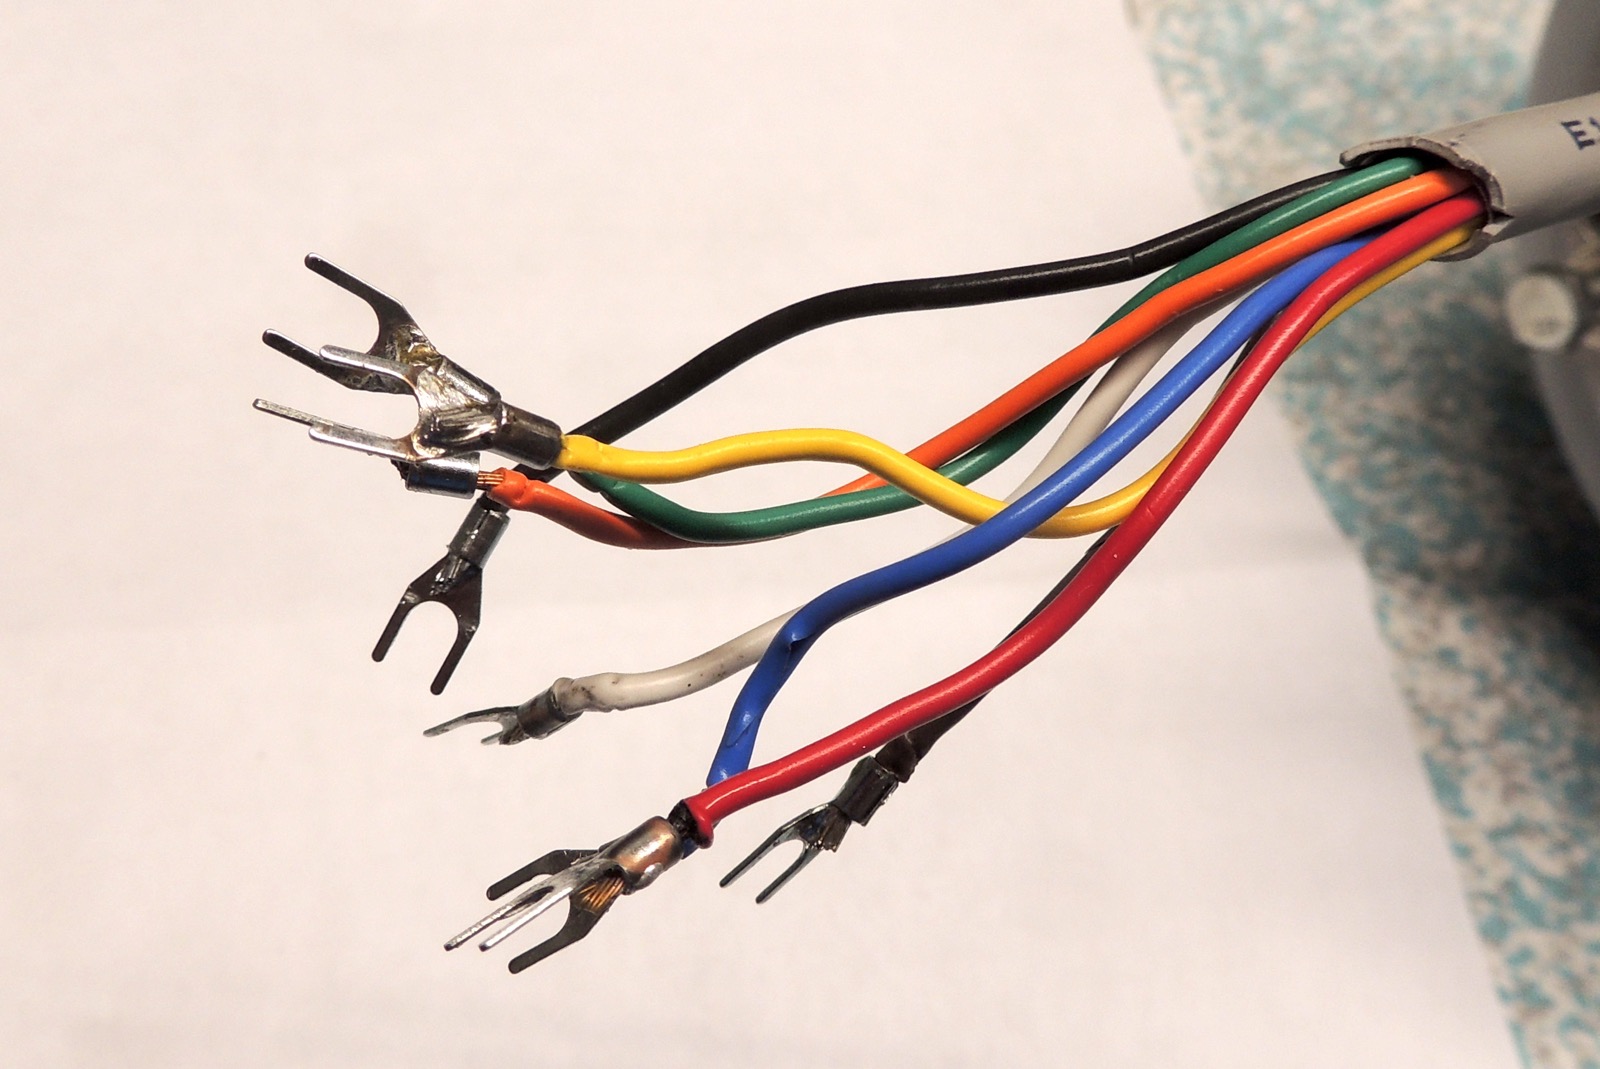
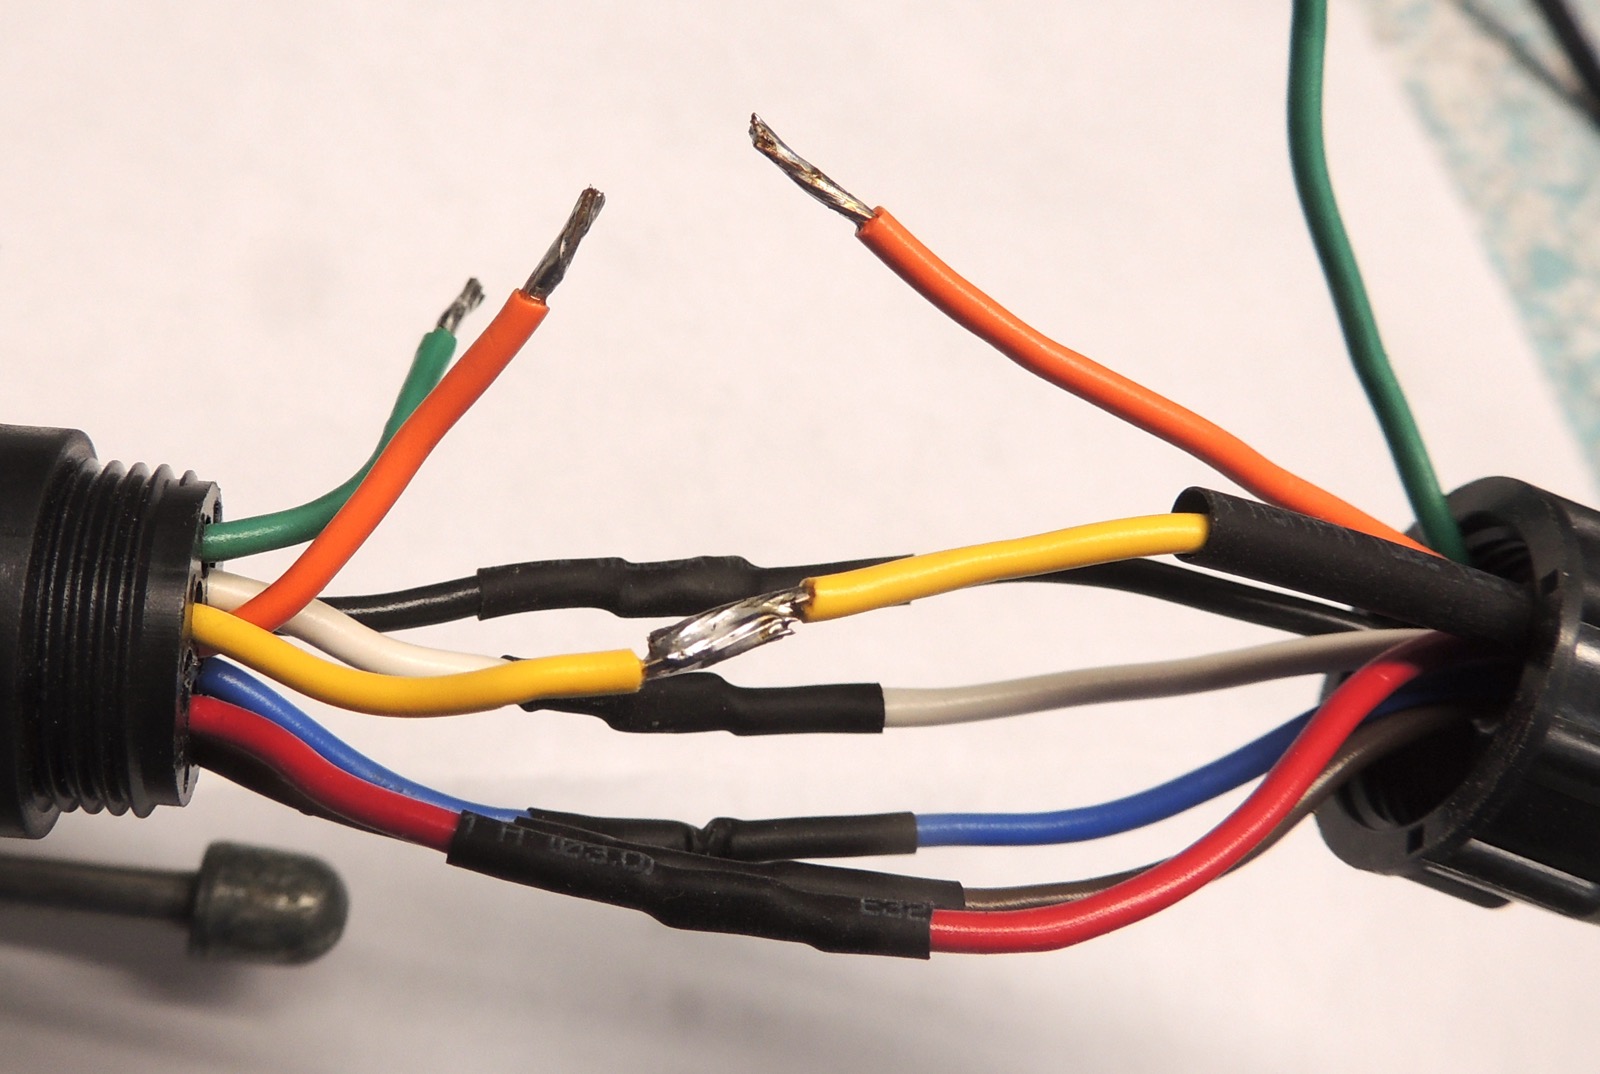
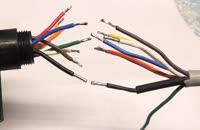
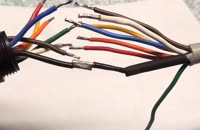
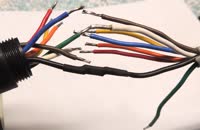
That handled, I cut off the spades instead of unsoldering them since I now had even more wire I didn't need.
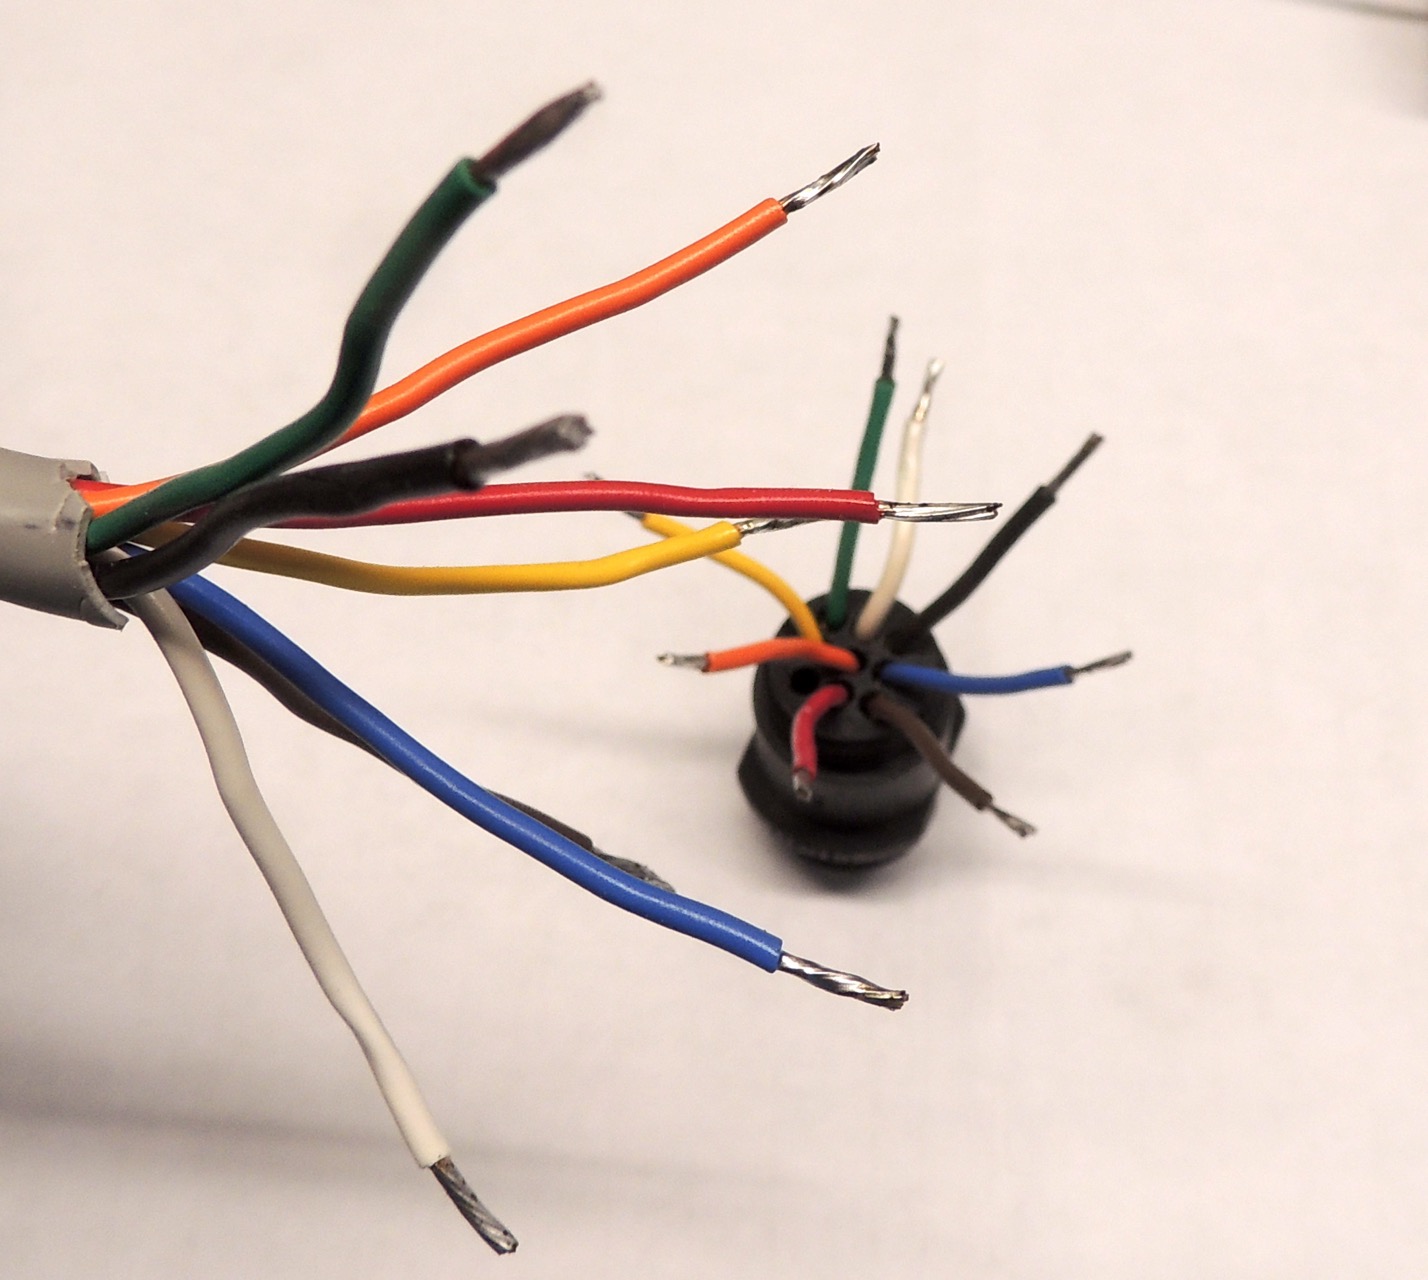
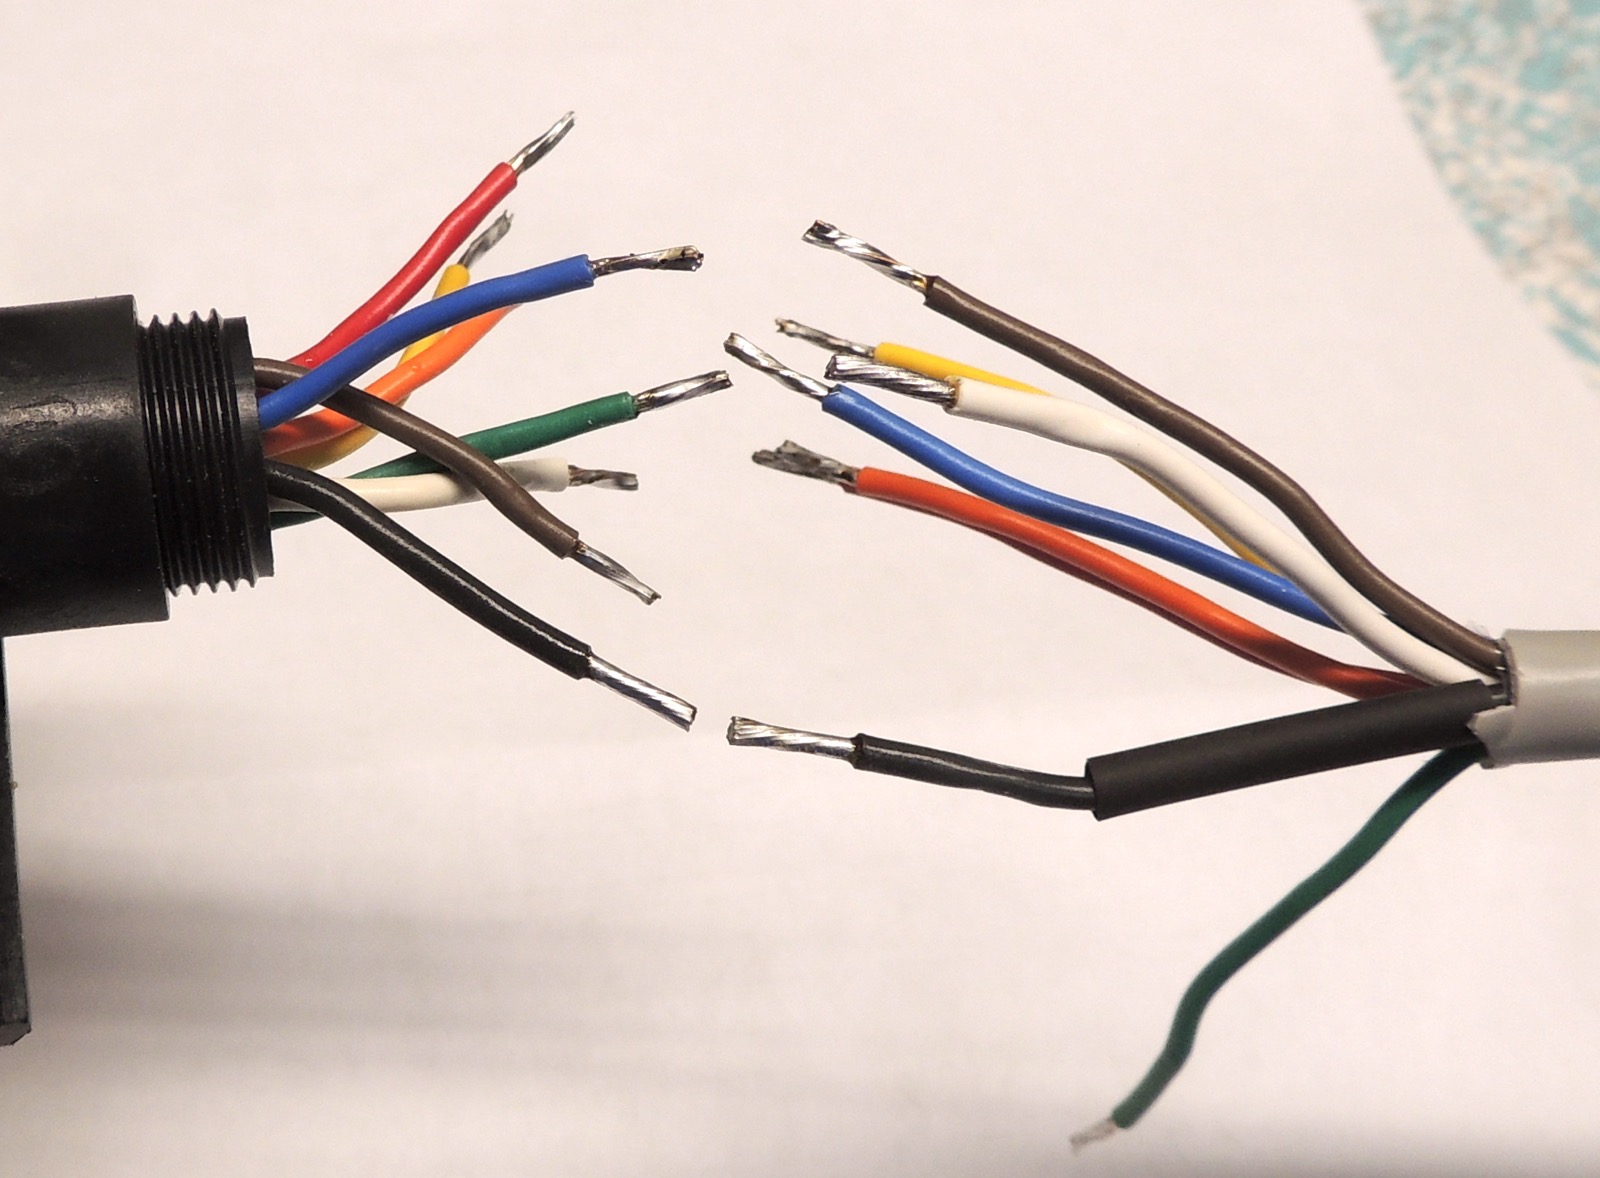
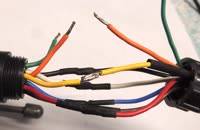
Stripped and tinned wires on both ends, remembered to slide on the plug housing, and prepped some heat shrink
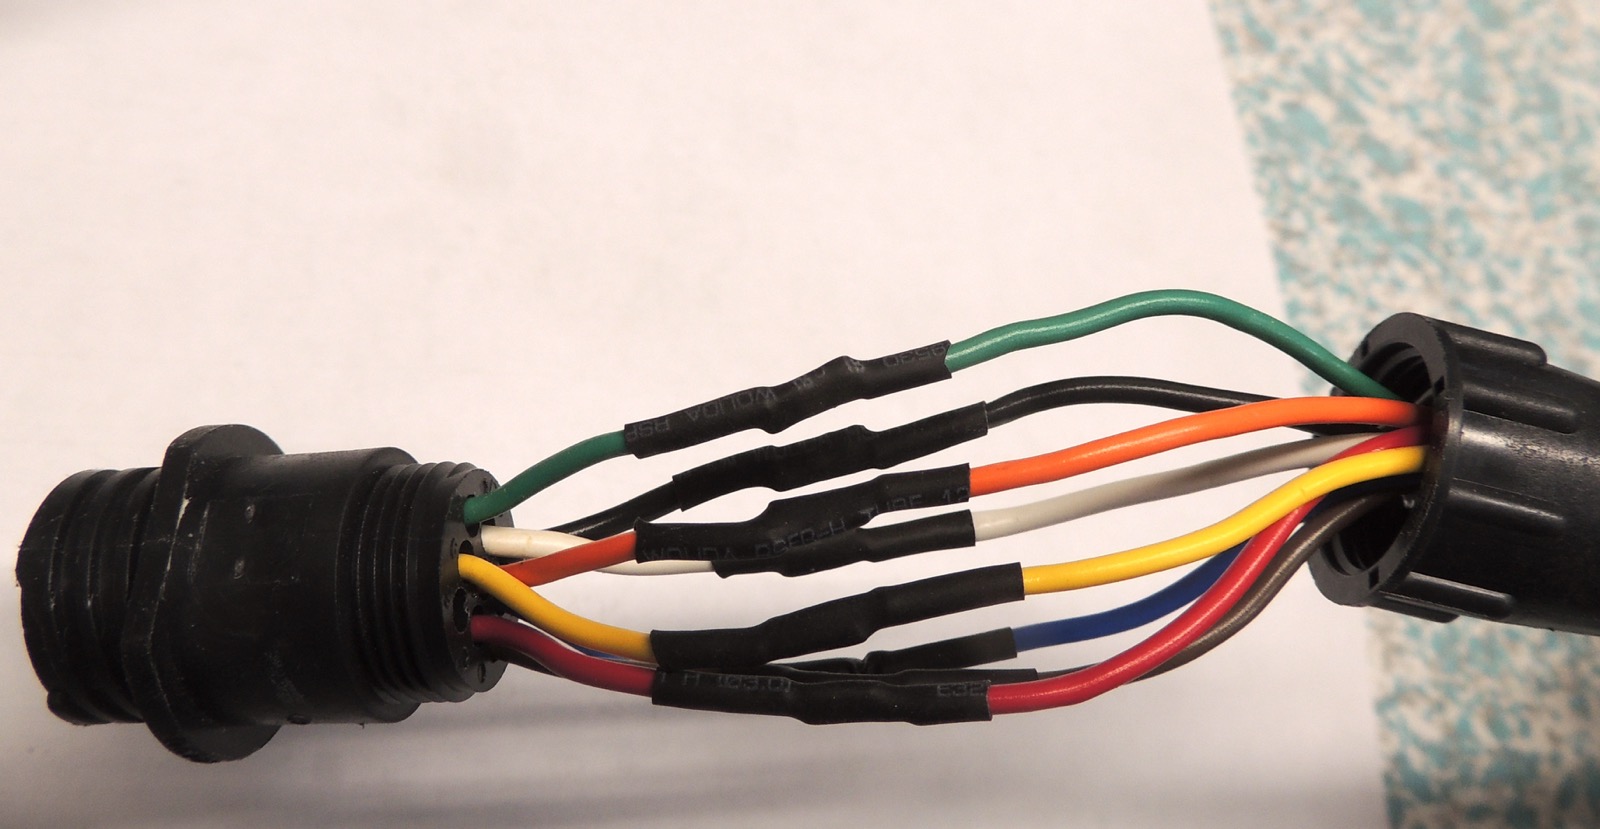
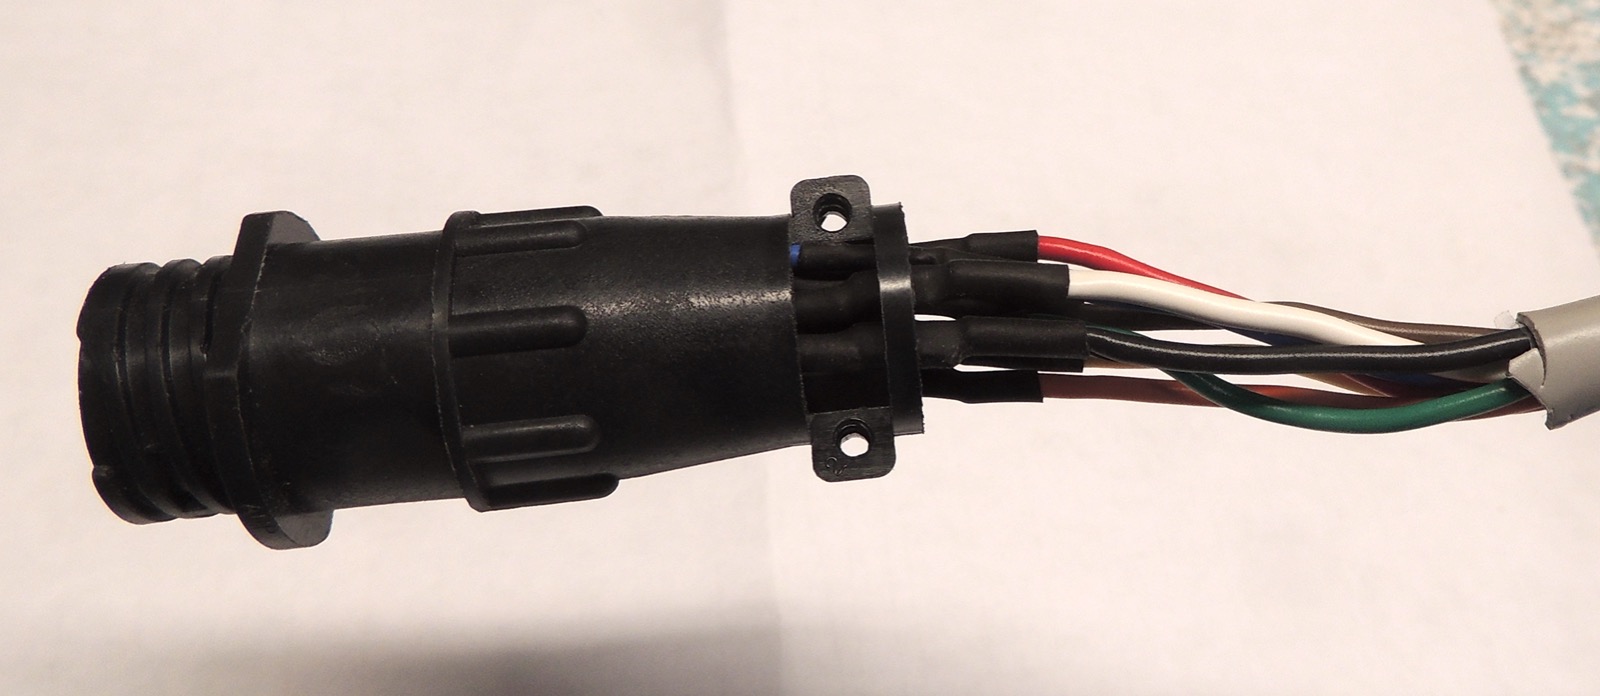
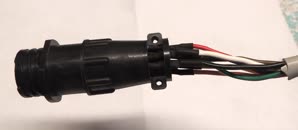
tubing for each wire. Parallel-soldered all eight wires with heat shrink. Plug housing screwed back on. I
don't have the wire clamp for the housing, but it won't be getting put on very tight. This will all need to
be secured with tape and mastic anyway.
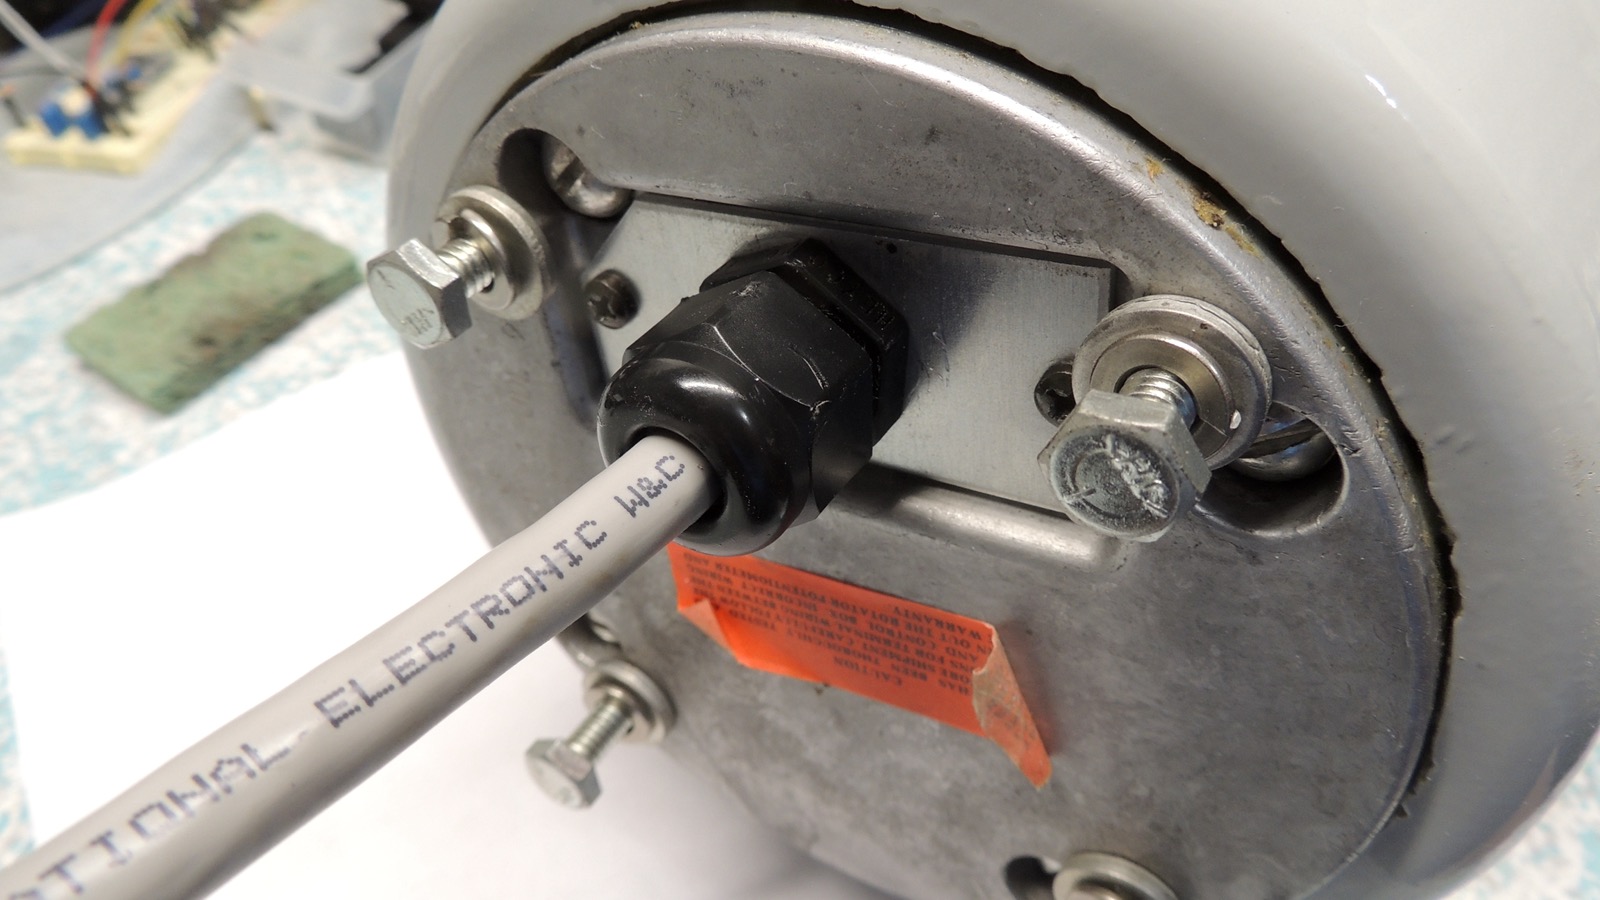
Also I'm NOT impressed with the connector plate on the rotor where the gland is. It's plain untreated and
unpainted metal, with no gasket, and attached to the rotor with two ordinary steel screws. This looks just
as bad as the eight wire lugs on the original design - designed to rust immediately. I think that's going
to get extra mastic attention too.
|
|
|
|

|

|
| A get ready |
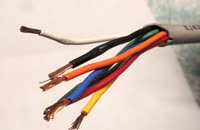
B jacket damage |
C jacket damage |
D cut back jacket |
E jacket removed |
F wires pulled |
|
|

|
|
|
|
| G jacket damage moved |
H plate reinstalled |
I long wires with spades |
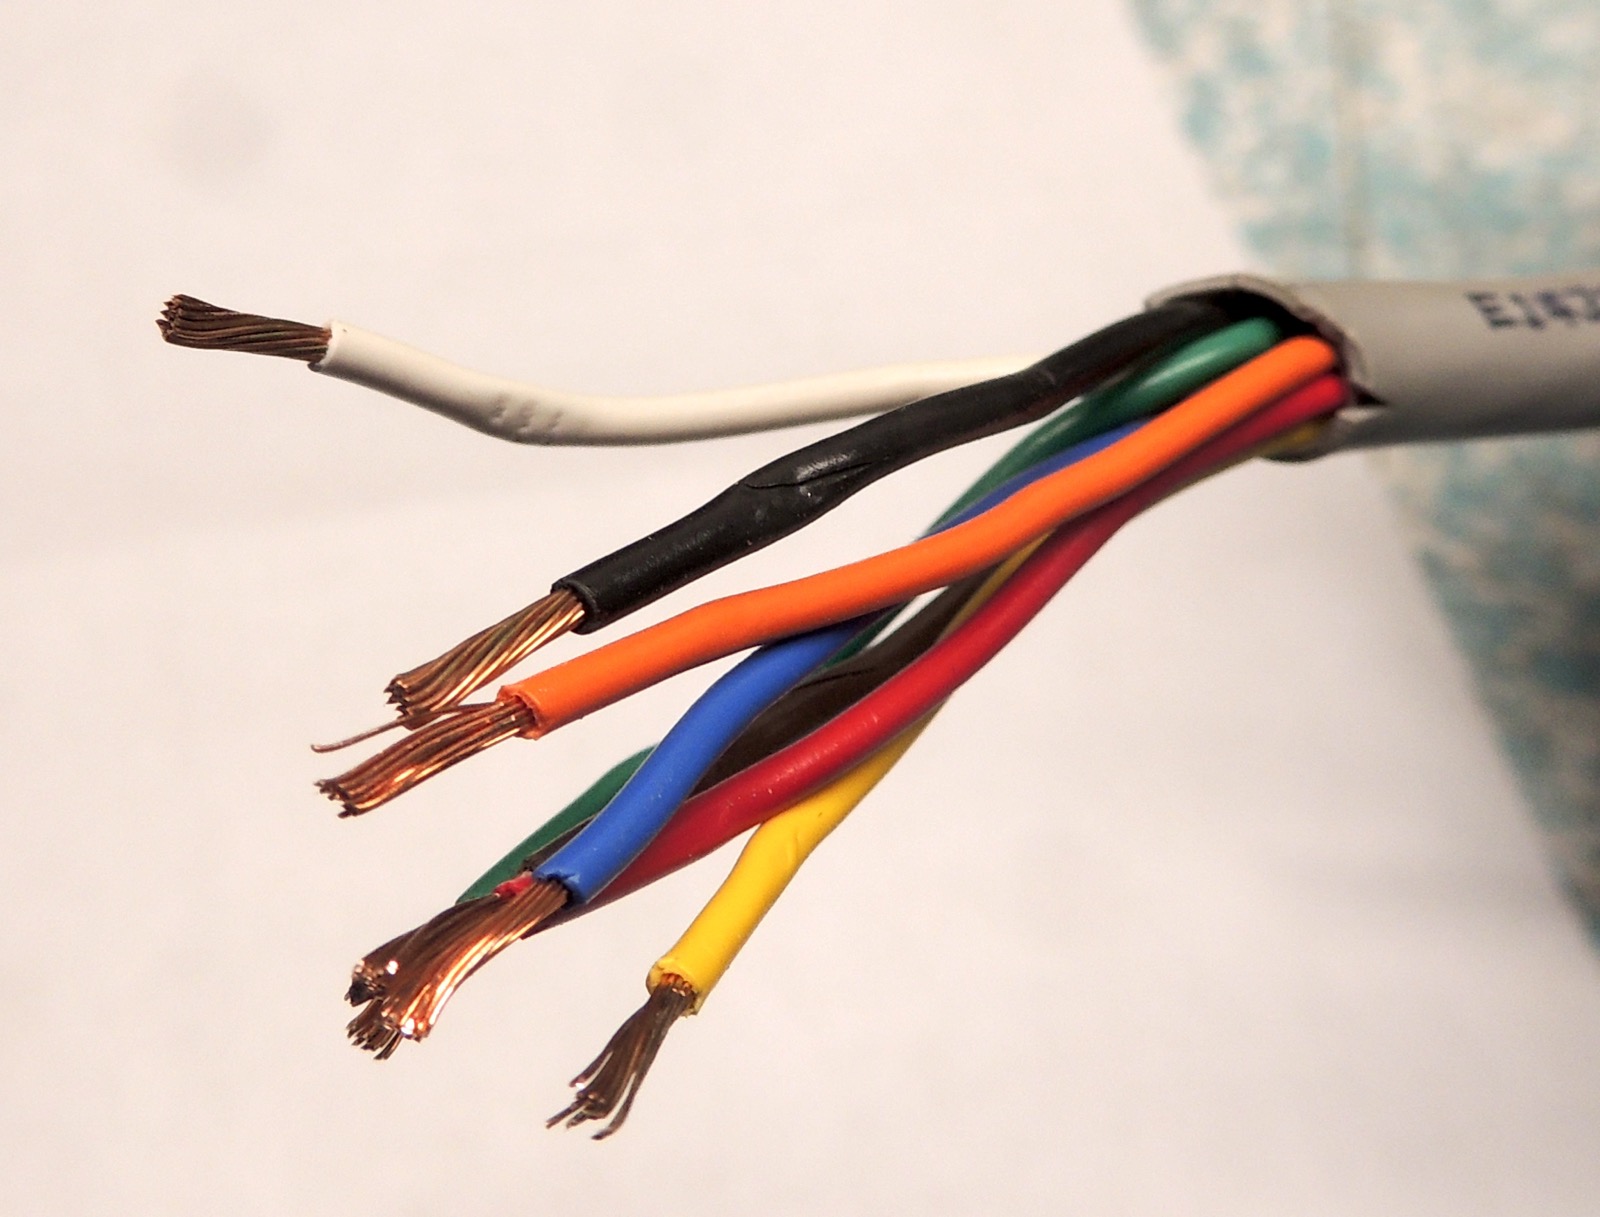
J wires cut and stripped |
K stripped and tinned |
L preparing to splice |
|
|
|

|
|
|
| M splicing begins |
N heat shrinking |
O half done |
P spliced and shrunk |
Q plug hood installed |
|
highest resolution images
last updated 09/18/2025 at 21:55:10 by make_www_index.command version 2025.06.28.A